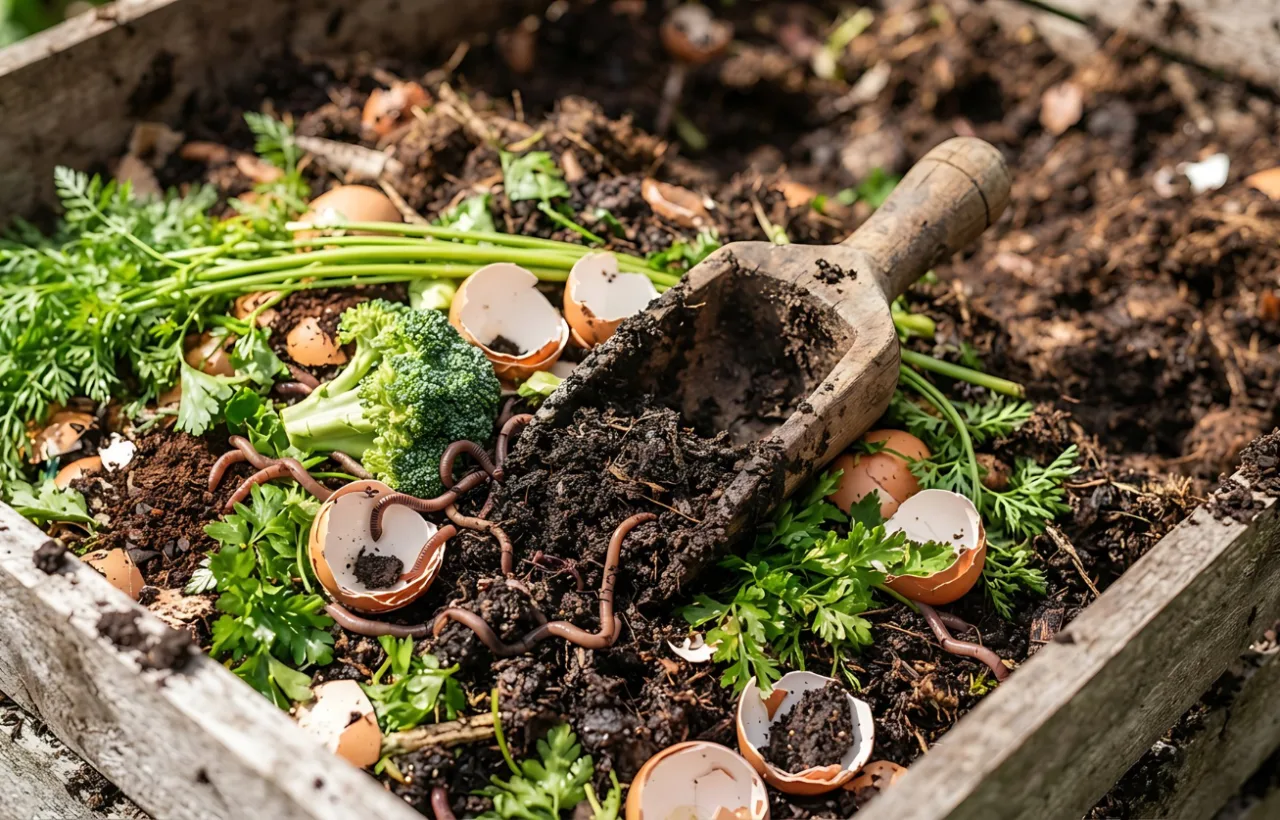

I started composting three years ago with zero clue what I was doing. Kitchen scraps piled up. Yard waste mocked me. I just wanted less trash and better soil for my sad little tomato plants. Learning how to compost for beginners saved my garden and cut my garbage almost in half. This guide walks you through exactly what I did, the mistakes I made, and the easy system that finally clicked.
Honestly? It felt overwhelming at first. All those rules about ratios and temperatures. I ignored most of them and still got great results. You can too.
Why I Bothered Learning How to Compost for Beginners
I hated throwing away apple cores and coffee grounds. Landfills turn that stuff into methane. Gross. Composting flips the script. It turns waste into free fertilizer that makes plants thrive.
My first year, I cut my trash bag count by about 30 percent. My clay soil went from brick-hard to crumbly. Tomatoes doubled in size. Bonus: I stopped buying bags of potting mix every spring.
See, compost builds soil structure. It holds water better. It feeds microbes that fight plant diseases. I noticed fewer pests after a full season of using my own stuff. Worth every minute.
The Only Gear You Actually Need
I wasted money on fancy tumblers early on. Skip that. Start simple.
- A bin or just a pile: I began with three wooden pallets zip-tied into a square. Free from a local warehouse. Open bottom lets worms crawl in. A cheap plastic bin from the hardware store works too if you prefer lids.
- Kitchen collector: An old yogurt tub with a lid sits under my sink. Empty it every couple days.
- Pitchfork or shovel: For turning. A cheap one lasts years.
- Optional water source: Hose nearby helps in dry spells.
That’s it. No special “compost starter” needed. Soil from your yard already has the microbes.
Location matters more than gear. I picked a shady corner near the back fence. Easy walk from the kitchen. Good drainage. Not right against the house (smells can drift if you mess up the mix).
Avoid chemically treated pallets. Look for HT stamp to keep toxins out of your compost.
Greens and Browns: The Real Secret Sauce
Everyone talks about this. I got it wrong for months. Greens are nitrogen-rich wet stuff. Browns are carbon-rich dry stuff.
Aim for roughly two to three parts browns for every one part greens by volume. Not weight. Volume. Scoop with a bucket and eyeball it.
What Counts as Greens
- Fruit and veggie scraps
- Coffee grounds and filters
- Fresh grass clippings
- Tea bags (paper ones, no staples)
- Crushed eggshells
- Plant trimmings that are still green
What Counts as Browns
- Dry leaves (I stockpile bags in fall)
- Shredded cardboard and newspaper (no glossy stuff)
- Twigs and small sticks
- Straw or hay
- Paper towels andunbleached)
- Sawdust from untreated wood
I keep a big pile of leaves next to my bin year-round. When greens get heavy, I bury them under a thick blanket of browns. No food showing means fewer pests.
Chop big pieces. Corn cobs and broccoli stalks take forever whole. I smash them with a shovel first. Speeds things up a lot.
Building Your First Pile Step by Step
I still follow this exact process every time I start a new batch.
- Clear a spot about three feet by three feet. Bigger is better for heat, but smaller works fine for beginners.
- Lay down a base of twigs or coarse browns four to six inches deep. Airflow starts here.
- Add a layer of greens. Cover completely with browns so nothing peeks out.
- Sprinkle a handful of garden soil. Introduces more microbes.
- Repeat layers like lasagna until the pile hits three feet high.
- Water lightly until it feels like a wrung-out sponge. Not dripping. Not dusty.
That’s the build. Now leave it alone for a week. Feel the center. If it warms up, you’re golden. My piles hit 130 degrees easy in summer. Hot enough to kill most weed seeds.
A $10 compost thermometer takes the guesswork out of heat. Insert it 18 inches deep.
Keeping the Magic Alive Without Obsessing
I turn my pile every two weeks. Fork the outside stuff into the middle. Fresh air wakes everything up. Some folks never turn and still get compost in a year. I prefer faster results.
Moisture check: Grab a handful and squeeze. A few drops should come out. Too dry? Hose it and turn. Too wet and smelly? Add more browns and turn.
I add new scraps weekly. Always bury them deep and cover with browns. Kitchen tub goes out every two or three days. No big deal.
Winter slows things down. I still add stuff. Just pile it higher and wait for spring. The pile freezes but microbes bounce back.
Common Mistakes I Made (So You Don’t Have To)
My first pile smelled like a swamp. Too many greens. Grass clippings turned into slime. I fixed it by dumping in three bags of dry leaves and turning hard.
Pests showed up once. Raccoons. I had left melon rinds on top. Never again. Bury everything. No meat, dairy, or oily foods in backyard piles. They attract trouble and don’t break down well without high heat.
I added whole branches. Still digging them out a year later. Chop first. Always.
Diseased plants went in early. Bad idea for cold piles. I stick to healthy stuff now or run a separate hot pile if needed.
Rats never came. Noise from the kids playing nearby helped. A solid lid and proper browns ratio keep them uninterested.
Weed seeds can survive in cold piles below 130°F. Hot composting or pre-soaking kills them.
Hot Compost vs Cold Compost: What I Use Now
Cold compost is set-it-and-forget-it. Pile stuff. Wait six to twelve months. Easy. I did this first year.
Hot compost needs more attention. Balance the. Turn often. Get finished stuff in two to three months. I switched once I got the hang of it. Faster feedback keeps me motivated.
Both work. Pick based on your patience. My current system runs hot in summer and cold in winter. Flexible.
Worm bins (vermicomposting) sit inside for kitchen scraps if you lack yard space. Red wigglers do the work. I tried it for a while. Fun but I prefer the outdoor pile volume.
When Your Compost Is Ready and How I Use It
Finished compost looks dark and crumbly. Smells like forest floor. No recognizable scraps left. Mine usually finishes in four to six months with regular turning.
I screen it with a piece of hardware cloth over a wheelbarrow. Big chunks go back in the active pile. Fine stuff goes straight to the garden.
Uses I swear by:
- Top-dress garden beds one to two inches deep in spring and fall.
- Mix into potting soil 50/50 for containers.
- Side-dress tomatoes and peppers mid-season.
- Spread thin under mulch on lawn bare spots.
Never use pure compost for starting seeds. Too rich. Dilute it.
My plants love it. Healthier leaves. Better yields. Soil holds moisture longer so I water less.
Troubleshooting the Stuff That Goes Wrong
Pile too dry and slow? Water and add greens. Turn.
Smelly and slimy? Too wet or too many greens. Browns and air fix it fast. FYI, a healthy pile should smell earthy, not rotten.
Not heating up? Needs more greens or bigger size. Or more turning.
Flies? Cover food scraps better. Cardboard on top helps.
Weeds sprouting? Your pile never got hot enough. Pull them and restart with better balance next time.
I hit every one of these. Fixed them all with the same simple adjustments. No drama.
My Personal Timeline from Mess to Mastery
Month one: Built the pallet bin. Added random scraps. Smelled bad. Almost quit.
Month three: Learned the browns rule. Smell vanished. Heat appeared. Elated.
Month six: Harvested first batch. Mixed into raised beds. Tomatoes exploded. Whoopee!
Year two: Stockpiled leaves like a squirrel. Added coffee grounds religiously. Consistent black gold every season.
Now I compost without thinking. It’s just part of the kitchen and yard routine. Takes ten minutes a week max.
Frequently Asked Questions
How long does it take to learn how to compost for beginners? Most people get decent compost in their first season if they stick to the basics. I saw usable stuff after four months once I balanced greens and browns.
Can I compost if I live in an apartment? Yes. Try a worm bin under the sink or a bokashi system for fermenting scraps. Then drop the finished product at a community garden.
What if my compost attracts animals? Bury food deep under browns. Skip meat and dairy. Use a bin with a tight lid and small holes. I never had real problems after the first month.
Do I need to buy special compost activators? No. A scoop of finished compost or garden soil works better and costs nothing. The microbes are already everywhere.
Is it okay to compost citrus and onions? Yes in moderation. I toss them in. Worms dislike heavy amounts but backyard piles handle them fine.
Final Thoughts From My Compost Corner
Composting turned my waste into something useful. It made my garden better and my trash lighter. Start small. Use what you have. Adjust as you go.
Grab those kitchen scraps tomorrow. Build a simple pile. Cover with leaves. Water a bit. Wait.
You’ll mess up. I did. Then you’ll fix it and smile when you spread that first batch of dark crumbly gold. Your plants will thank you. The planet gets a tiny break too.
Go make some dirt.


