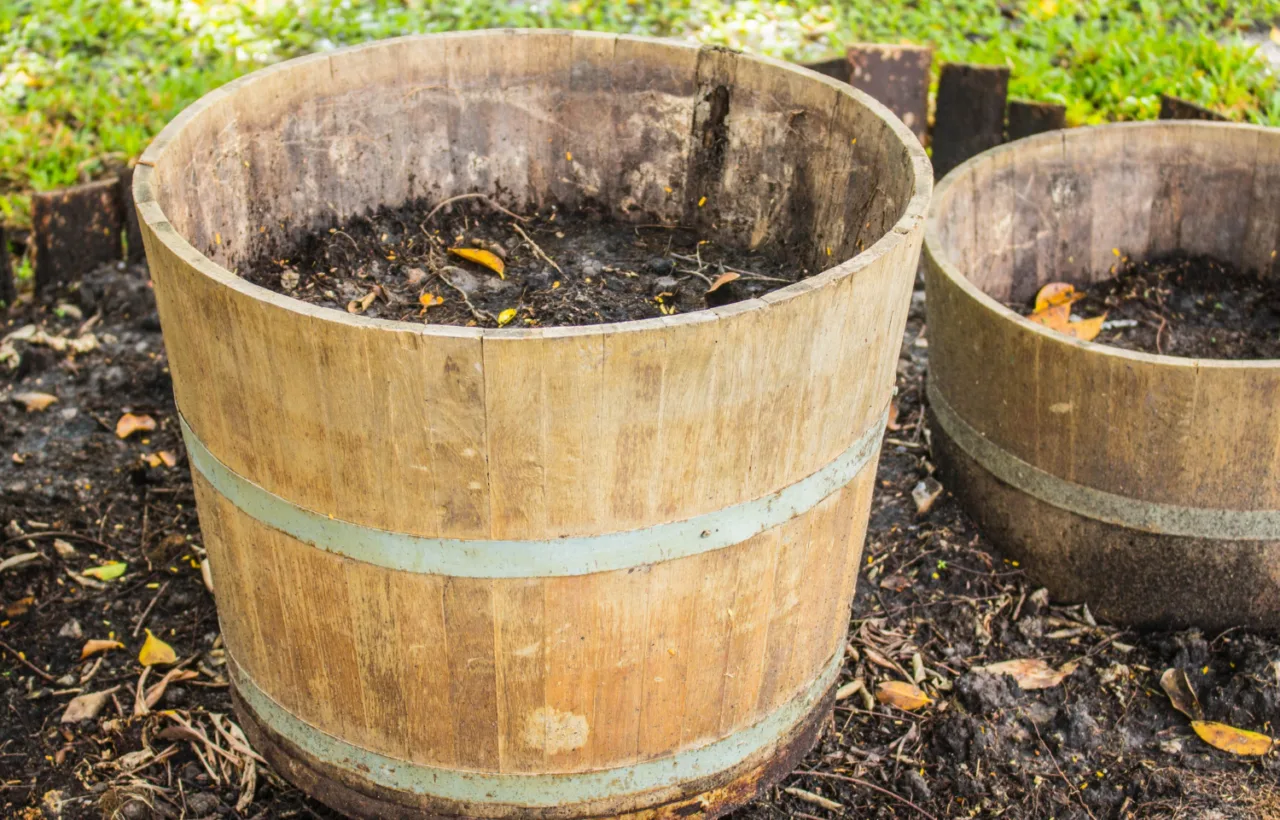

I wasted so much good kitchen waste before I finally figured out how to start a compost bin the right way. Honestly? I used to toss apple cores and coffee grounds straight into the trash like everyone else. Then my garden soil turned into sad, lifeless dirt and I got tired of buying bags of the fancy stuff. So I built my first bin. It smelled weird for a week. I almost quit. But now I pull out rich, dark compost every few months and my tomatoes thank me. If you want free fertilizer and less trash, this is exactly how I do it.
See, starting a compost bin is not rocket science. You just need the right spot, the right mix, and a little patience. I will walk you through every step I took, the mistakes I made, and the simple system that works for me year after year.
Why I Bothered Learning How to Start a Compost Bin in the First Place
My neighbor had this beautiful pile of black gold behind her shed. I asked her about it. She handed me a scoop. My plants went wild the next season. That was the push I needed.
Composting cuts the trash I haul to the curb. It feeds my garden without chemicals. And it feels good. I turn potato peels and fall leaves into something useful instead of letting them rot in a landfill. Simple as that.
You do not need a huge yard. You do not need fancy gear. You just need to begin.
Picking the Perfect Spot for Your Compost Bin
Location makes or breaks the whole thing. I learned this the hard way when I stuck my first bin right against the fence. Airflow died. Everything stayed soggy. Smelled like a swamp.
Choose a spot that drains well. Standing water ruins the process. I picked a flat patch of dirt about ten feet from my back door. Easy to reach with kitchen scraps. Close enough that I actually use it.
Give it some sun and shade. Full blazing sun dries it out too fast in summer. Deep shade keeps it cold and slow. My sweet spot gets morning light and afternoon shade.
Keep it away from the house and neighbors. Nobody wants fruit flies at the patio table. Leave at least two feet of breathing room on all sides for airflow.
Water source nearby helps. I drag a hose over when things get dry. Rain does most of the work, but a quick splash keeps the pile happy.
That is it. No perfection required. Just good drainage, decent air, and convenience.
Place your bin on bare soil, not concrete or pavement. This lets worms and microbes migrate in naturally to boost decomposition.
Choosing Your Bin: What Actually Worked for Me
I tried three different setups. Here is the honest breakdown.
The Open Pile
I started with a simple heap on bare ground. Cheap. Easy. But raccoons visited. Wind blew leaves everywhere. Not my favorite.
The DIY Wire or Wood Bin
I built one from leftover pallets and chicken wire. Cost almost nothing. Holds a lot. Airflow is excellent. Downside: it looks a little rough and critters can still dig under if you skip the floor mesh.
The Store-Bought Plastic Bin or Tumbler
I eventually bought a basic black plastic bin with a lid. Best decision. Holds heat. Keeps pests out. Easy to turn. Tumblers spin for lazy people like me on busy weeks. They cost more up front but last years.
My current winner: a simple enclosed plastic bin on bare soil with wire mesh underneath. Worms crawl up from the ground. Perfect.
Size matters. Aim for at least three feet wide, three feet deep, and three feet tall. Smaller piles struggle to heat up. Bigger ones work fine if you have the space.
Gathering Your Greens and Browns: The Real Secret
This is where most beginners mess up. Including me. I dumped nothing but kitchen scraps at first. Slimy mess. Gross smell. Lesson learned.
You need two types of stuff.
Greens (nitrogen-rich):
- Fruit and vegetable scraps
- Coffee grounds and filters
- Fresh grass clippings
- Tea bags (no staples)
- Crushed eggshells
Browns (carbon-rich):
- Dry leaves
- Shredded cardboard or paper
- Twigs and small branches
- Straw or wood chips
- Brown paper bags
The magic ratio I swear by: two to three parts browns for every one part greens by volume. Not weight. Volume. Think lasagna layers.
I keep a big bin of shredded leaves next to my compost. Every time I add kitchen scraps, I bury them under a thick brown blanket. No smell. No flies. Works every time.
Chop everything small if you can. Banana peels, corn cobs, big leaves. Smaller pieces break down faster. I just rough-chop with kitchen shears while I cook. No big deal.
Step-by-Step: Exactly How I Start a Compost Bin from Scratch
Ready? Here is my exact process.
- Clear the ground. Pull grass and weeds. Lay down a four-to-six-inch base of twigs or wood chips. This lets air and water move underneath.
- Add your first brown layer. Three to four inches of dry leaves or shredded cardboard. I water this lightly so it is damp like a wrung-out sponge.
- Toss on greens. Another three to four inches of kitchen scraps or grass. Cover them completely with more browns. Always end with browns on top.
- Repeat the layers. Keep going until the bin is full or you run out of material. Water each layer if things look dry.
- Close it up. Lid on. Walk away for a few days.
That is the lasagna method. I use it every single time I start fresh or rebuild a pile.
FYI, I collect kitchen scraps in a little countertop pail with a charcoal filter. No odor. Dump it every couple days. Easy.
.
Keeping Your Compost Alive: The Maintenance I Actually Do
A compost bin is not a set-it-and-forget-it appliance. But it is close.
Moisture check: Stick your hand in. It should feel like a damp sponge. Too dry? Add water and mix. Too wet? Add dry browns and turn.
Turning: I use a pitchfork every one to two weeks in warm weather. Pull the outside stuff to the middle. This adds air and speeds everything up. In winter I turn less. Once a month is fine.
Temperature: A good pile gets hot in the center. I stick a cheap compost thermometer in sometimes. 130 to 160 degrees Fahrenheit means the microbes are partying. Cool pile? Add more greens and turn.
What I never add:
- Meat, fish, bones
- Dairy
- Oils and grease
- Pet waste
- Diseased plants
- Weeds gone to seed
- Treated wood or glossy paper
These attract pests or slow things down. Stick to the greens and browns list and you stay happy.
Never add glossy magazines or colored paper. The inks may contain heavy metals that can contaminate your compost.
Troubleshooting the Common Headaches I Faced
Piles go wrong. Mine did.
It smells bad. Too many greens or too wet. Add browns. Turn it. Problem solved in a day or two.
Nothing is happening. Too dry or not enough greens. Moisten. Add coffee grounds or grass. Turn.
Fruit flies or ants. You left food scraps exposed. Bury them deeper under browns. Done.
Animals digging. Add a lid or wire mesh floor and sides. I use hardware cloth with quarter-inch holes. Works great.
Slow in winter. Normal. The pile still works, just slower. Keep adding and wait for spring heat.
I think the wrong way to go about it is stressing over perfection. A little off is fine. Nature forgives.
Indoor and Small-Space Options When You Lack a Yard
No backyard? No problem. I helped my sister set up a worm bin in her apartment.
Vermicomposting: Red wiggler worms in a plastic tote with holes. Bedding of shredded newspaper. Feed them veggie scraps. Harvest worm castings. Zero smell if you do it right.
Countertop electric composters: They grind and dry scraps into a soil amendment. Not true compost but useful. I tried one. Handy for tiny kitchens.
Community drop-off: Many cities have free compost programs. Drop your scraps weekly. Easy win.
IMO, worms are the most fun small-space route. Kids love them.
Harvesting and Using Your Finished Compost
After three to six months of good care, the bottom of the bin turns into dark, crumbly, earthy-smelling soil. No food scraps left. That is ready.
I shovel out the finished stuff from the bottom. Sift it through a screen if I want it fancy. Toss any big chunks back into the active pile.
Use it everywhere:
- Mix into garden beds before planting
- Top-dress around plants
- Blend into potting soil
- Make compost tea by steeping a bag in water
My roses exploded the first year I used my own. Nothing beats it.
Frequently Asked Questions
How long does it take to start a compost bin and get finished compost? I get usable compost in three to five months with regular turning. Cold piles that I ignore take up to a year. Start today and you will have some by next season.
Can I start a compost bin in winter? Yes. I have. It just works slower. Keep adding materials and the microbes wake up when it warms.
What is the easiest way for absolute beginners to start a compost bin? Buy a basic enclosed plastic bin, put it on dirt with mesh underneath, and layer two parts browns to one part greens. Cover food scraps every time. That is the system I still use.
Do compost bins attract rats and raccoons? Only if you add meat or leave food exposed. Stick to plant scraps, bury them under browns, and use a lid. Mine has never had a visitor.
How much space do I really need to start a compost bin? A three-by-three-foot area works. Even a balcony tumbler or indoor worm bin counts. Start small and expand later.
My Final Push for You to Just Begin
I almost quit three times. Honestly? The smell phase nearly got me. Then I fixed the ratio and everything clicked. Messy first piles beat empty trash cans every time.
You now know exactly how to start a compost bin. Pick a spot. Grab a bin or build one. Layer browns and greens. Keep it damp and airy. That is the whole game.
Go grab those coffee grounds sitting on your counter right now. Your future garden will high-five you. And if your first attempt looks a little rough, shrug it off. Mine did too. The black gold still showed up.


