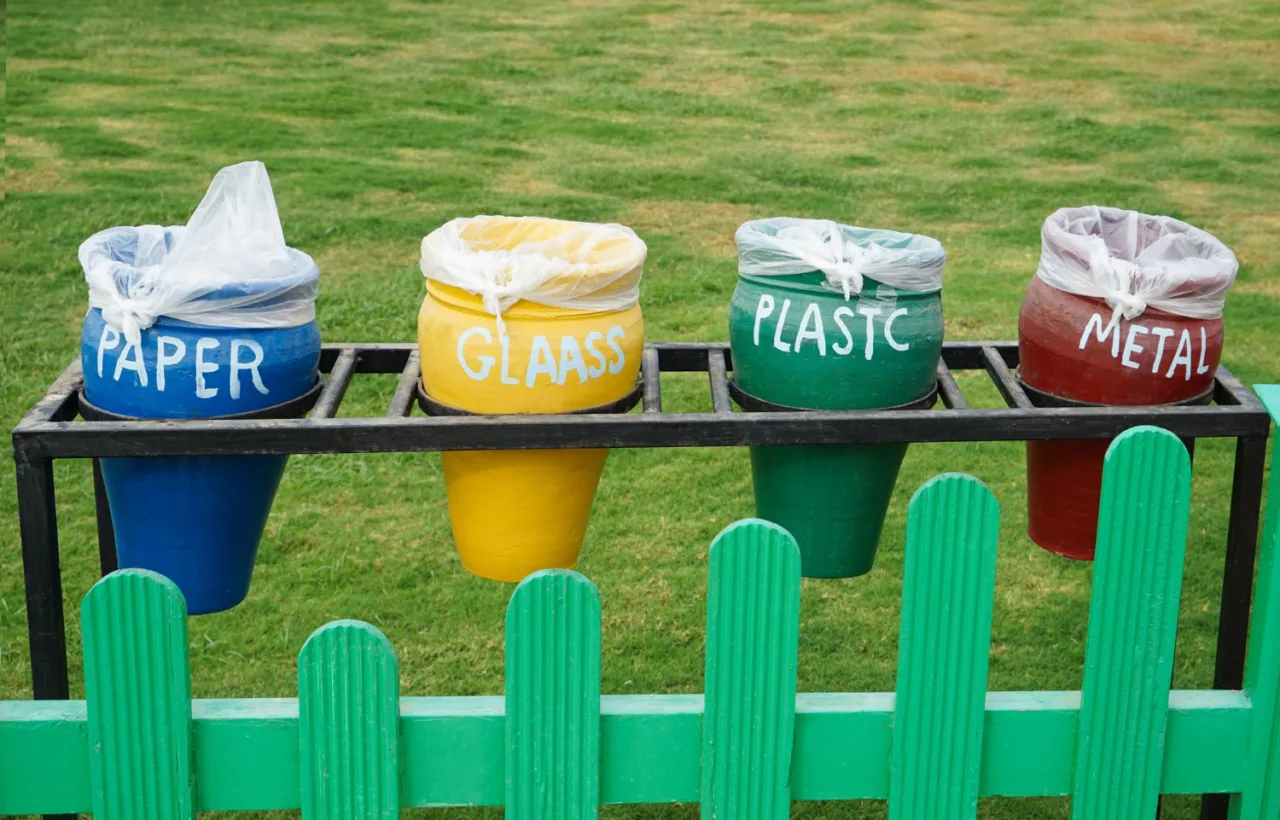

I spent last summer staring at a pile of kitchen scraps that smelled like regret. My first attempt at compost bin design failed hard. The whole thing collapsed after two weeks of rain. I learned fast that good compost bin design turns waste into gold without the mess or the stink.
You want something that works in your yard. Something simple. Something that actually breaks down leaves and peels into rich soil. I get it. I’ve been there with the soggy failures and the fruit fly parties. Let’s fix that together.
Why Compost Bin Design Makes or Breaks Your Garden
Bad design equals wasted effort. I tried a wire cage once. It looked open and airy. Then raccoons treated it like an all-you-can-eat buffet. Good compost bin design keeps pests out and heat in. Heat speeds up the breakdown. That’s the whole point.
See, composting is biology at work. Microbes need air, moisture, and the right mix of greens and browns. Your bin has to support that. Poor airflow turns everything slimy. Too much rain floods it. I watched my neighbor’s open pile turn into a swamp. Mine with solid sides and a lid stayed perfect.
Honestly? Design choices decide if you stick with composting or quit after one season. A solid setup keeps you coming back. You dump scraps. Nature does the rest. No drama.
Key wins from smart compost bin design:
- Faster decomposition. Proper heat and air cut wait times in half.
- Less odor. Sealed or well-vented bins trap smells.
- Pest control. Tight lids and small openings stop critters.
- Space efficiency. Vertical or multi-bin systems fit tiny yards.
I built three different versions over two years. Each one taught me something. The last one still runs strong. You’ll get there too.
Popular Types of Compost Bin Design
Not every bin fits every backyard. I tested a few. Here’s what stuck with me.
Measure your available space and estimate weekly waste volume before selecting a bin style.
Tumbler Designs
These spin. You turn a crank or roll the drum. Mixing happens easy. No pitchfork needed. I used a dual-chamber tumbler for six months. One side finished while the other filled. Black plastic holds heat well. Compost ready in weeks during summer.
Downside? They cost more upfront. Capacity stays smaller than static bins. IMO, great for small households. Mine handled a family of four just fine.
Stationary Wooden Bins
Classic look. Cedar or pine frames with slats for air. I built one from scrap pallets. Cost almost nothing. Holds a lot. You turn the pile yourself with a fork. Takes muscle but feels rewarding.
Wood breathes. That helps airflow. Line the bottom with hardware cloth against diggers. My pallet bin lasted three years before the wood softened. Treat it or choose parts as needed.
Wire Mesh Cylinders
Cheap and open. Chicken wire or hardware cloth rolled into a circle. Super airy. Breakdown happens fast if you keep it moist. I started here. Easy to expand by adding height.
Pests love them though. Cover the top. Move the whole thing when full. Great starter option. FYI, they dry out quick in wind. Water more often.
Plastic Stacking Bins
Modular. Add layers as the pile grows. Many have doors at the bottom for easy harvest. I keep one under the deck. Sleek. Blends in. Lids lock tight.
They trap heat better than wire. Watch for UV cracking after a few seasons. Still solid for most folks.
Compare them side by side in your head. Tumblers win for convenience. Wooden ones win for volume and looks. Wire wins for budget. Pick based on your space and how much work you want.
Essential Features in Any Compost Bin Design
Skip the fancy extras. Focus on what actually matters. I learned this the hard way after buying a “premium” bin that leaked.
Airflow is non-negotiable. Vents, slats, or holes on the sides. Without oxygen the pile goes anaerobic. Smells like rotten eggs. My first closed plastic tub taught me that lesson. Poked holes everywhere after week one.
Drainage holes at the bottom. Excess water must escape. Standing water kills the good microbes. Elevate the bin on bricks if your soil drains slow.
A secure lid. Keeps rain out and heat in. Also blocks flies. Hinged lids beat loose covers. I lost a lid to wind once. Never again.
Access for turning and harvesting. Side doors or removable panels save your back. Bottom hatches let finished compost drop out. Top-only openings force you to dig from above. Messy.
Size that matches your waste. Too small and you overflow. Too big and the pile never heats up. Aim for at least 3 feet cubed. That volume holds heat. My current bin is 4x4x4. Perfect.
Materials matter too. Plastic lasts but can get brittle. Wood looks natural but needs care. Metal conducts heat but rusts. I stick with thick plastic or cedar now.
Add a perforated PVC pipe vertically in the center for improved airflow to the core.
Building Your Own Compost Bin Design Step by Step
Store-bought works. DIY feels better. I built mine one Saturday. Total cost under $50. Here’s exactly how I did the wooden version that still works.
First, gather materials:
- Four 4-foot cedar posts for corners
- 1×6 cedar boards for sides
- Galvanized screws
- Hardware cloth for the base
- Hinges and a latch for the front door
Clear a level spot. Dig post holes 1 foot deep. Set the posts. Make sure they stand square. I used a level and string. Measure twice.
Attach the side boards with gaps of about 1 inch between them. Airflow lives in those gaps. Leave the front open for now. That’s your door area.
Cut a panel for the front. Hinge it on one side. Add a simple latch. Line the entire bottom and lower sides with hardware cloth. Staple it tight. This stops rodents from tunneling in.
Done. Fill it with layers. Browns first (leaves, cardboard). Then greens (scraps, grass). Water lightly. Turn every week or two.
My first DIY took four hours. Mistakes happened. Posts leaned a bit. I fixed them with cross braces. It still composts like a champ. You can do this. Start simple.
For a quicker wire version: Buy a 10-foot roll of hardware cloth. Form a cylinder. Tie the ends with wire. Set it on bare ground. Done in 20 minutes. Expand later by stacking another ring.
Common Mistakes in Compost Bin Design and How I Fixed Them
I made every error possible. Learn from mine.
Too little air. My sealed plastic bin turned putrid. Solution: Drill 1-inch holes every 6 inches on all sides. Instant fix.
No bottom barrier. Raccoons dug under. Solution: Hardware cloth under and up the sides 12 inches. Problem solved.
Wrong location. Full sun dried it out. Shade kept it too wet. Ideal spot gets morning sun and afternoon shade. Move if needed. Mine sits against the fence now. Perfect.
Ignoring capacity. Started with a tiny bin. Overflowed every week. Upgrade size early. Multi-bin systems let one rest while another fills.
Skipping the lid. Rain turned my pile into soup. Add one. Even a scrap wood cover works.
Honestly? Most failures come from rushing the build. Take an extra hour. Measure. Secure everything. Your future self thanks you when the compost smells earthy instead of awful.
Place a 4-inch layer of coarse twigs at the bottom to improve drainage and discourage rodents.
Real-Life Lessons from My Backyard Experiments
Year one: Wire bin. Fast breakdown. Constant watering. Pests. Switched after three months.
Year two: Pallet wood. Cheap. Sturdy. Looked rustic. Lasted until the wood rotted. Great volume.
Year three: Plastic tumbler. Effortless turning. Faster results. Smaller capacity forced me to manage scraps better. Still use it for kitchen waste.
The hybrid approach wins for me now. Wooden bin for yard waste. Tumbler for food scraps. Both feed the garden. Tomatoes exploded last season. Carrots sweeter. I credit the consistent compost supply.
You don’t need perfection day one. Start with what you have. Improve as you go. My garden soil went from clay brick to dark crumbly magic. Yours will too.
Frequently Asked Questions
What size works best for compost bin design in a small yard? Go for a 3x3x3 foot minimum. That holds heat without taking over. Stacking bins or slim tumblers fit tight spaces even better.
Does compost bin design need a bottom? No solid bottom. Bare ground or mesh lets worms in and water out. Solid floors just collect sludge.
How does good compost bin design stop smells? Balance greens and browns. Keep it moist like a wrung sponge. Airflow prevents anaerobic rot. A lid helps contain any leftover odors.
Can I change my compost bin design later? Absolutely. Most systems expand or move. I rebuilt mine twice. Start simple and upgrade features as needed.
Is DIY compost bin design cheaper than buying one? Yes. My pallet version cost under $40. Store models run $100-plus. Time is the only extra cost, and it’s fun.
Final Thoughts on Nailing Your Setup
Compost bin design is personal. Your yard. Your waste. Your patience level. I started defeated by the mess. Now I look forward to dumping the scrap bucket. The bin just works.
Focus on airflow, size, access, and pest barriers. Build or buy based on that. Turn the pile. Keep it damp. Harvest the black gold. Your plants will thank you with bigger harvests and fewer store-bought fertilizers.
Get out there this weekend. Sketch a quick plan. Grab some materials. Or order a tumbler if DIY feels like too much right now. Either way, start. The first finished batch feels like winning the lottery. Messy start. Beautiful finish. You’ve got this.


