
I started making compost because my kitchen scraps were piling up and my garden soil looked tired. Honestly? I had no clue what I was doing at first. The pile sat there like a sad science experiment for weeks. Then I figured out the simple stuff that actually works. Now I turn waste into rich, dark soil that my plants go crazy for. If you’re staring at banana peels and wondering where to begin, this is the real talk I wish someone gave me years ago.
Making compost isn’t some complicated ritual. It’s just giving nature a nudge. I’ll walk you through everything I learned the messy way so you skip my early fails.
Why I Bothered With Making Compost in the First Place
See, my trash can used to overflow every week. Fruit rinds, coffee grounds, wilted lettuce. All headed for the landfill. That felt wrong. Plus my veggie beds needed help. Store-bought fertilizer got expensive fast.
I wanted free soil food. Something that holds water better and feeds roots without chemicals. Compost does exactly that. It builds healthier dirt. Plants grow stronger. Water stays put longer after rain. And I cut my garbage volume in half. Win-win.
My first pile took forever because I dumped everything in without balance. Lesson learned the hard way. Balance changes everything.
The Basics I Wish I Knew Before Making Compost
Compost happens when tiny organisms eat your scraps. They need four things: carbon, nitrogen, air, and water. Get those right and the magic starts.
People call carbon stuff browns. Nitrogen stuff gets called greens.
Aim for a carbon to nitrogen ratio of about 30:1 by volume. Too much nitrogen smells; too much carbon slows down.
Browns: The Carbon Crew
These dry materials give the microbes energy. Think of them as the bulk.
- Dry leaves
- Shredded cardboard or paper (no glossy stuff)
- Twigs and small branches
- Straw or hay
- Sawdust from untreated wood
- Paper towel rolls
I save bags of fall leaves every autumn. They become my secret weapon.
Greens: The Nitrogen Boost
These wet, fresh bits help the microbes grow and multiply fast.
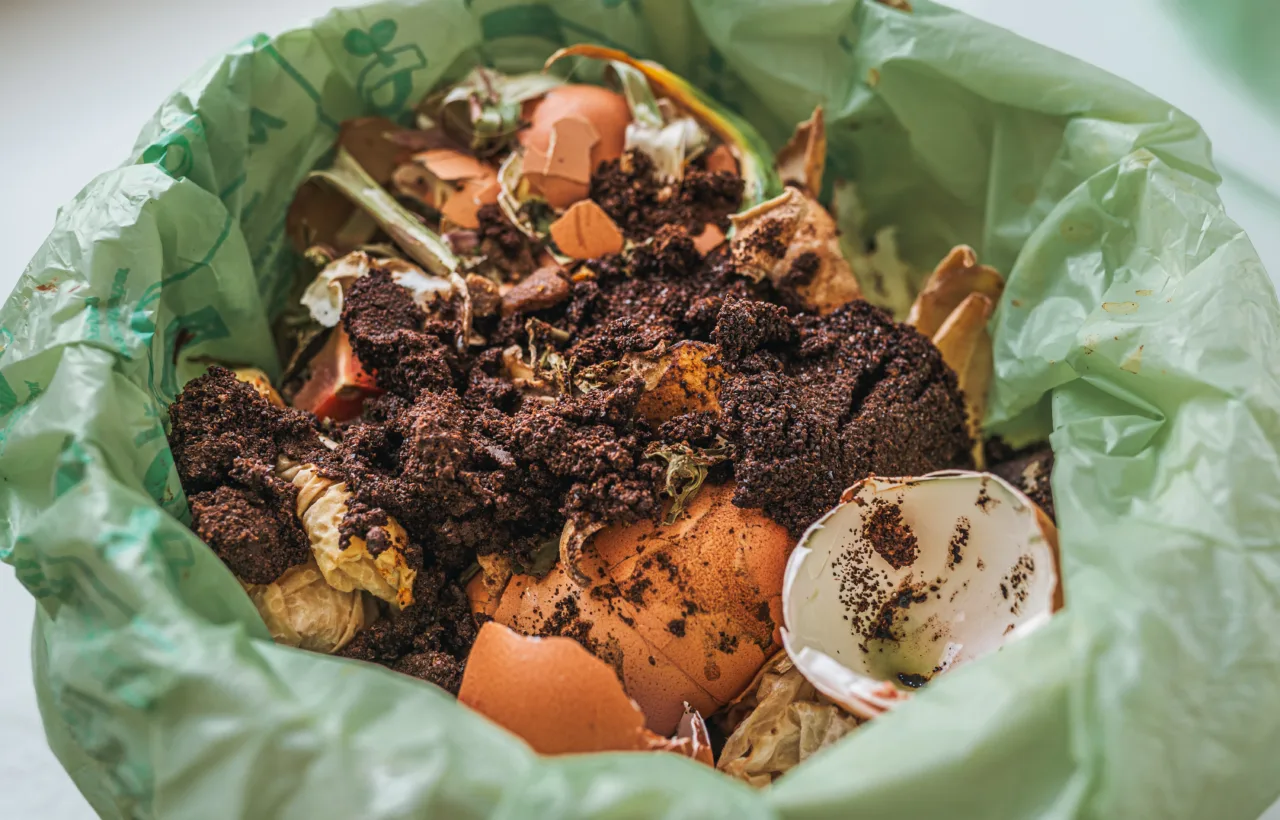
- Fruit and vegetable scraps
- Coffee grounds and filters
- Tea bags (staples out)
- Fresh grass clippings
- Plant trimmings
- Crushed eggshells
I keep a lidded bucket under the sink for greens. Empty it every couple days so it never stinks up the kitchen.
The Ratio That Saved My Pile
Aim for two to three parts browns for every one part greens. Some folks say 25-30 parts carbon to one part nitrogen by weight. I never weigh. I just eyeball volume. More browns than greens keeps smells away and speeds things up.
Too many greens? Slimy mess. Too many browns? Dry and slow. I add a handful of soil or finished compost sometimes to jump-start the microbes. Works like a charm.
Air and water matter just as much. The pile should feel like a wrung-out sponge. Not dripping. Not dusty.
How I Set Up My Compost Spot
Location decides half the battle. I picked a shady corner of the yard with decent drainage. Close enough to the kitchen that I actually use it. Far enough from the house that any temporary funk stays outside.
You can go fancy or keep it simple.
Bin Options I Tried
- Open pile: Free and easy. Just heap stuff up. Critters might visit though.
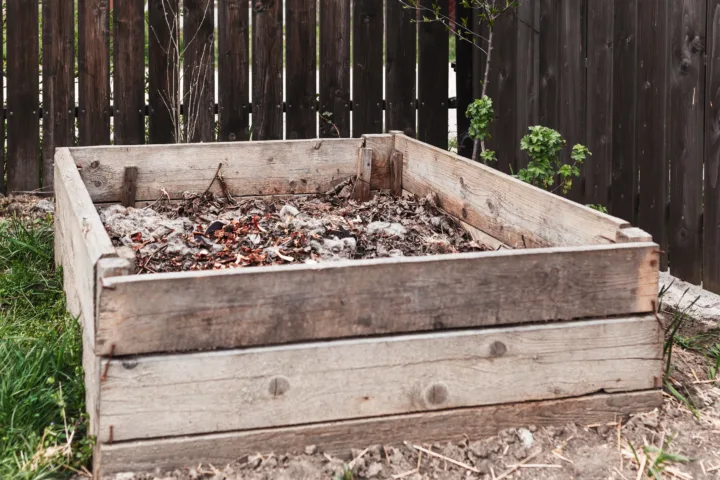
- Wire or pallet bin: Cheap DIY. I built one from free pallets. Holds heat well.
- Plastic enclosed bin: Keeps pests out. Good for small yards. I have one now for kitchen scraps.
- Tumbler: Spins for easy turning. Pricey but less work. Great if your back complains like mine does some days.
Start with what you have. A simple heap works fine. Cover food scraps with browns so raccoons stay uninterested.
Size matters a bit. Aim for at least 3 feet wide by 3 feet tall. Smaller piles struggle to heat up. Bigger ones need more turning.
My Step-by-Step Process for Making Compost
I build it like lasagna. Layers keep the mix even.
- Start with a base layer of bulky browns. Twigs or wood chips. Four to six inches. This lets air flow from the bottom.
- Add a layer of greens. Kitchen scraps or grass. About two to four inches.
- Cover with browns. Twice as thick as the greens.
- Repeat. Keep layering until the pile reaches a good size.
- Sprinkle water if it looks dry. Moist, not soaked.
- Optional: Toss in a shovel of garden soil for extra microbes.
Chop big pieces first. Corn cobs, thick stalks, whole eggshells. Smaller bits break down faster. I use kitchen shears for scraps. Saves weeks.
Once it’s built, I leave it alone for a bit. Then the real work starts.
A pile smaller than 3 feet cubed may struggle to heat up. Size matters for thermophilic activity.
Keeping the Pile Happy: Turning, Moisture, and Heat
Hot composting is my favorite. The center gets warm. Sometimes 130-160 degrees F. That heat kills weed seeds and bad stuff. Finished compost comes quicker. Three to five months if I stay on it.
Cold composting is lazier. Just pile and wait. Takes a year or more. Fine if you’re patient.
I turn my pile every one to two weeks with a pitchfork. Outer stuff goes to the middle. Middle stuff goes out. This adds air. Microbes love oxygen.
Check moisture when I turn. Squeeze a handful. A few drops should come out. Too dry? Hose it lightly while turning. Too wet? Add more dry leaves or cardboard.
Smell test is honest. Good pile smells earthy. Bad pile smells like rotten eggs or ammonia. Fix: add browns and turn. Instant improvement.
Pests? Cover scraps well. Skip meat, dairy, oils, and pet waste. Those attract trouble and smell worse. I stick to plant-based stuff only.
Optimal composting temperature is 130-150F. Above 160F can kill microbes. Use a thermometer to stay in range.
What I Put In and What I Leave Out
Here’s my go-to list. Simple.
Safe greens and browns I always add:
- Veggie peels, cores, rinds
- Coffee and tea leftovers
- Eggshells (crushed)
- Grass and green weeds (no seeds if possible)
- Dry leaves and shredded paper
- Cardboard egg cartons
- Plant prunings
Stuff I never add:
- Meat, fish, bones
- Dairy or cheese
- Greasy or oily foods
- Diseased plants
- Weeds with seeds or aggressive roots
- Pet poop or litter
- Treated wood or glossy paper
- Plastics or stickers (pick those off fruit)
Citrus and onions? Fine in small amounts. I don’t dump bags of them at once.
FYI: If something feels iffy, leave it out. Better safe.
Troubleshooting the Messes I Made
My early piles taught me fast.
Pile not heating up? Not enough greens or too dry. Add nitrogen stuff and water. Turn it.
Smelly and wet? Too many greens or poor air. Browns and a good turn fix it.
Attracting flies or critters? Bury food deeper under browns. Use a bin with a lid.
Slow breakdown? Chop materials smaller. Check moisture. Turn more often.
In winter my pile slows way down. That’s normal. I keep adding and wait for spring. It catches up.
One time I added too many grass clippings. Slimy green sludge. Had to dig in bags of leaves. Never again.
Using My Finished Compost
Ready compost looks dark and crumbly. Smells like forest floor. No big chunks of original stuff left. Pile stops heating after turning.
I let it cure a few more weeks. Then I sift it through a screen if I want fancy. Twigs and eggshell bits go back into the next pile.
How I use it:
- Mix into garden beds before planting. One to two inches worked in.
- Top-dress around plants. Scratch it lightly into the soil.
- Blend into potting mix for containers. About one-third compost.
- Mulch around trees and shrubs.
- Make compost tea: Steep a shovel full in a bucket of water for a day or two. Strain and water plants with the liquid.
My tomatoes doubled in size the first year I used homemade stuff. Soil held moisture through dry spells. Fewer pests too. Honestly? Best free upgrade ever.
Extra Tips From My Years of Trial and Error
Chop everything. Seriously. Speeds the process.
Keep a stockpile of browns. Fall leaves in bags next to the bin. Cardboard from deliveries.
In hot weather water more. In rain cover the pile so it doesn’t get soggy.
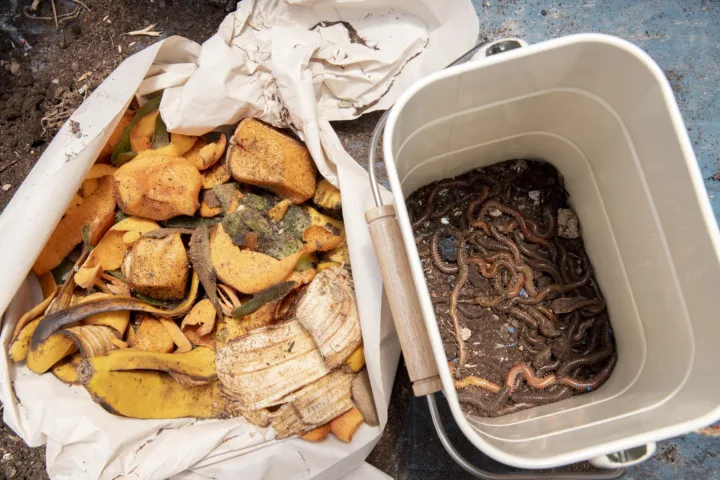
For apartments or tiny spaces try vermicomposting. Red wiggler worms in a bin under the sink. They eat scraps and poop pure gold. I did this indoors for a while. Quiet and odor-free if managed right.
IMO cold composting works if life gets busy. Just don’t expect fast results.
Don’t stress perfection. Nature handles most of it. Your job is balance and occasional attention.
Frequently Asked Questions
How long does making compost usually take? With regular turning and good balance I get usable compost in three to five months. Cold piles can take a full year. Heat and moisture speed it up.
Can I make compost in winter? Yes. Activity slows but doesn’t stop. Keep adding materials. It will finish when warmer weather returns. I just turn less often.
What if my compost pile smells bad? Add more browns like dry leaves or cardboard and turn it thoroughly. That almost always fixes the odor from too many wet greens.
Is making compost safe around kids and pets? Keep the pile fenced or in a closed bin. Skip meat and pet waste. Finished compost is totally safe once it looks and smells like soil.
Do I need special tools for making compost? A pitchfork or shovel for turning helps a lot. A bin is nice but optional. Kitchen scrap container and water source cover the rest. I started with zero special gear.
Final Thoughts From One Compost Convert
I went from clueless pile-stirrer to someone who actually looks forward to emptying the scrap bucket. Making compost turned my waste into something useful. My garden thrives. My trash bill dropped. And I feel a little more connected to the dirt under my feet.
Start small. Grab some leaves and kitchen scraps today. Build that first layer. Check it in a week. Adjust as you go. You’ll mess up a bit. I sure did. Then you’ll get it right.
The finished stuff is worth every bit of the learning curve. Go make some black gold. Your plants will thank you. And so will the planet.