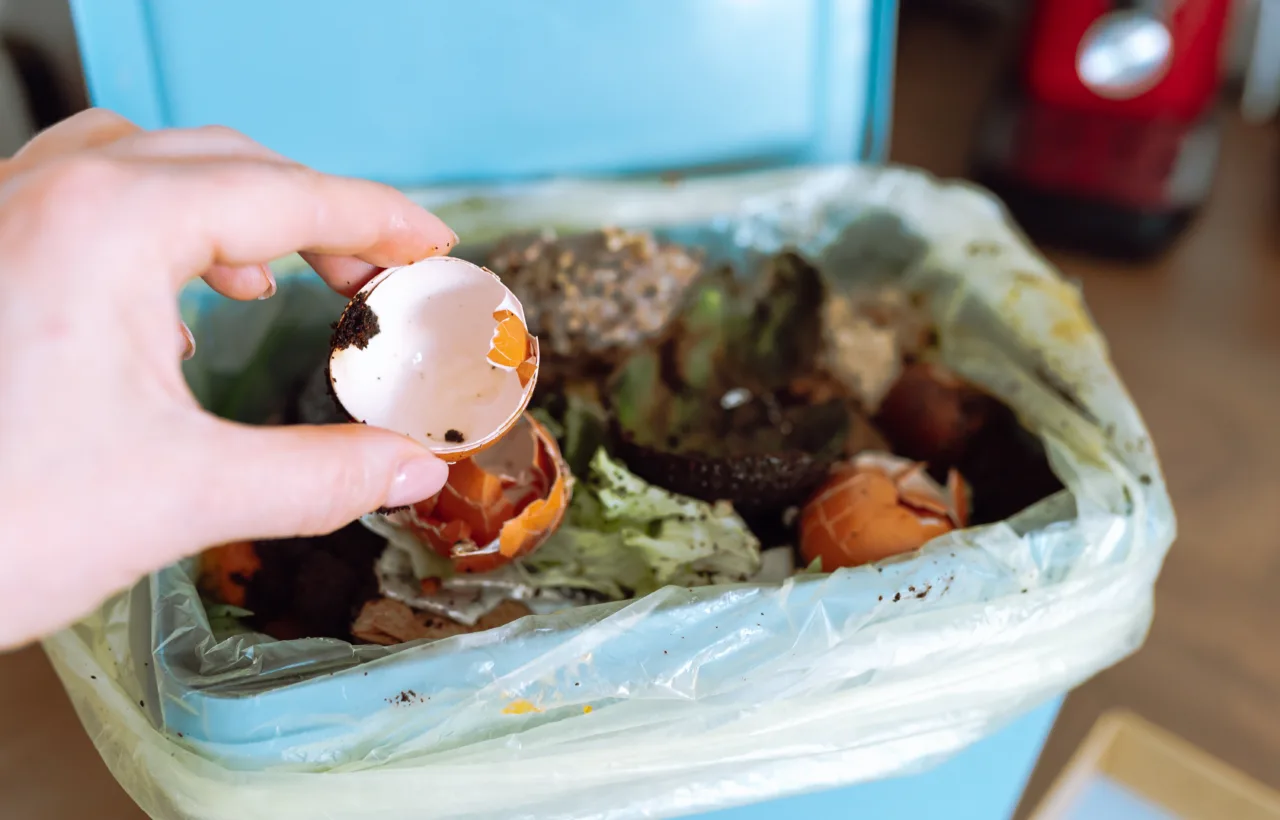

I spent years tossing food scraps in the trash and watching my garden struggle with sad, lifeless dirt. Then I started my own home compost setup, and everything changed. Honestly? I wish I had done it sooner. Now I turn banana peels, coffee grounds, and yard clippings into dark, crumbly soil that makes my plants thrive. This guide shares exactly how I did it, the mistakes I made, and the simple system that works for me every single season.
See, I live in a regular suburban house with a small backyard. No fancy farm. No unlimited space. Just me, a pile of kitchen waste, and a stubborn desire to stop feeling guilty about landfill-bound leftovers. If you want free fertilizer, less trash, and healthier plants, you can do this too. Let me walk you through it.
Why I Started My Home Compost Journey (And Why You Should Too)
I used to think composting was only for serious gardeners with acres of land. Wrong. I produce a shocking amount of food waste every week. Fruit peels. Veggie ends. Coffee grounds. Eggshells. All of it sat in my trash bag until trash day. That waste creates methane in landfills. I hated knowing that.
Then my tomatoes looked pathetic one summer. Leaves yellowed. Yields dropped. I bought bags of expensive soil amendments and still got mediocre results. One day I watched a neighbor dump finished compost around his roses. Those flowers exploded with blooms. I asked what he used. He pointed to his backyard bin. That was my wake-up call.
Home compost does three big things for me:
- It cuts my trash volume in half.
- It gives me free, nutrient-rich soil that holds water better than anything from the store.
- It feels good. Like I am closing a loop instead of creating waste.
IMO, the climate angle matters too. Food scraps in landfills release methane. Composting keeps that carbon in the soil where plants can use it. I am not saving the planet alone, but my little pile helps.
I almost quit after my first smelly disaster. The pile stank. Fruit flies showed up. I felt defeated. Then I learned the balance. Greens and browns. Air and water. That fixed everything.
The Basics I Wish Someone Had Explained Clearly
Compost is just organic stuff breaking down with help from microbes, worms, and fungi. You speed nature up. That is it.
You need four things:
- Greens (nitrogen-rich stuff)
- Browns (carbon-rich stuff)
- Water
- Air
Get the mix right and the pile heats up. Microbes feast. Waste turns into black gold. Get it wrong and you get slime or a dry brick.
I keep a simple kitchen caddy under the sink. It holds a few days of scraps. Then I dump it outside. Easy.
Aim for a carbon to nitrogen ratio of about 30 to 1. Too much nitrogen causes slime.
What Counts as Greens and Browns
I stick to this list religiously.
Greens I add:
- Fruit and vegetable scraps
- Coffee grounds and paper filters
- Fresh grass clippings
- Tea bags (paper ones only)
- Crushed eggshells
Browns I stockpile:
- Dry leaves
- Shredded cardboard and newspaper (no glossy stuff)
- Twigs and small branches
- Untreated wood chips
- Paper bags
I aim for two to three parts browns for every one part greens by volume. Too many greens and the pile goes slimy and stinky. Too many browns and nothing happens. I learned that the hard way.
Never add meat, dairy, oils, pet waste, or diseased plants. Those attract pests and create smells. I tried a tiny bit of leftover chicken once. Bad idea. Racoon party. Lesson learned.
Choosing My Home Compost Setup
I tried three methods before I landed on what works.
First I used a cheap plastic tumbler. It spun easily but held too little material. I filled it fast and waited forever for finished compost.
Then I built a simple wire bin from hardware cloth. Cheap. Airy. Worked okay until rodents found the gaps.
Now I use a two-bin wooden system I built from pallets. One side is active. The other cures. Perfect size. About three feet by three feet by three feet. That volume helps the pile heat up properly.
If you have no yard, try vermicomposting. Red wiggler worms in a bin under the sink. I keep a small one indoors for winter scraps. Worms eat about a quarter of their weight daily. Start with a pound of worms. They multiply fast.
Bokashi is another option. It ferments scraps in a sealed bucket with special bran. Great for apartments. I use it when my outdoor pile freezes solid.
Pick what matches your space. Do not overthink it. Start simple.
My Step-by-Step Process for Building the Pile
I follow these exact steps every time I start a new batch.
- Choose a spot with good drainage and easy water access. Partial shade works best. Full sun dries it out too fast.
- Lay a base of twigs or wood chips four to six inches deep. This lets air flow underneath.
- Add a thick layer of browns. Dry leaves are my go-to.
- Dump greens in the center. Cover them completely with more browns. No food showing. That keeps pests away.
- Sprinkle water until the pile feels like a wrung-out sponge. Not dripping. Not dusty.
- Repeat layers like lasagna until the bin is full.
I chop big pieces first. Broccoli stalks. Corn cobs. Apple cores. Smaller bits break down faster.
Then I leave it alone for a week. The center heats up. Sometimes I stick a compost thermometer in. Ideal range sits between 130 and 160 degrees Fahrenheit. That kills weed seeds and pathogens.
At 140 degrees Fahrenheit, most weed seeds and pathogens die within a few days.
Turning and Maintaining
I turn the pile every one to two weeks with a pitchfork. Outside material goes inside. Inside goes out. This adds oxygen. The pile cools then heats again. Perfect.
If it smells like rotten eggs, I add browns and turn. If it looks dry and inactive, I add greens and water, then turn. Moisture test is simple. Grab a handful. Squeeze. A few drops should come out. That is the sweet spot.
In summer my pile finishes in three to four months. In winter it slows way down. I just keep adding and wait for spring.
Troubleshooting the Problems I Actually Faced
My first pile turned into a slimy mess. Too many kitchen scraps. Not enough leaves. I fixed it by burying the greens deeper and dumping in a whole bag of fall leaves.
Fruit flies drove me nuts once. Solution: bury scraps under four to eight inches of browns every single time. Lid helps too.
Rodents visited early on. I switched to a bin with a solid floor and no gaps bigger than a quarter inch. Covered food completely. Problem solved.
The pile stalled completely one fall. Too dry. No heat. I watered heavily, mixed in fresh grass, and turned. Heat returned in two days.
If you see white fuzzy stuff, that is good fungi. Keep going. Black slimy goo means too wet. Add dry browns immediately.
Honestly? Most problems come from imbalance. Fix the ratio and the pile forgives you.
Never add meat, dairy, or oily foods to a home compost pile; they attract pests and create odors.
How I Use the Finished Home Compost
Finished compost looks dark and crumbly. It smells like forest floor after rain. No recognizable scraps left. I screen it through hardware cloth to remove stubborn twigs and pits. Those go back into the active pile.
I mix two to four inches into garden beds in spring. Top-dress around plants in summer. Use it as mulch. Make compost tea by steeping a shovel-full in a bucket of water for a couple days, then watering plants with the liquid.
My tomato plants doubled their yield the first year I used my own compost. Peppers got thicker skins. Flowers lasted longer. Soil holds moisture so I water less. That alone saves me time and money.
I give bags to friends. They come back for more. Best compliment ever.
Extra Tips That Made My System Foolproof
I keep a big stash of dry leaves in a separate bin. Fall is gold-collecting season. I shred cardboard from Amazon boxes. Free browns all year.
I freeze meat-free scraps if I cannot dump them right away. No smell in the kitchen.
I started small. One bin. One caddy. Expanded later. Do not buy expensive gear first. Test the process.
FYI, local extension offices often give free bins or workshops. I snagged mine that way.
Kids love helping. They dump scraps and watch worms appear. Instant science lesson.
Cold composting works if you hate turning. Just pile and wait a year. Hot composting needs more effort but finishes faster. I do hot most of the time because I want results sooner.
Avoid glossy or colored cardboard; the inks may contain heavy metals that contaminate your compost.
Frequently Asked Questions
How long does home compost take to finish? My well-managed pile is ready in three to five months. Untended cold piles take up to a year. Temperature, turning, and particle size all speed things up.
Can I compost in winter? Yes. Activity slows but does not stop. I keep adding scraps and browns. The pile thaws and heats again in spring. Some people use insulated bins or move to indoor worm systems.
What if I live in an apartment with no yard? Vermicomposting or bokashi works great indoors. Many cities also offer drop-off programs or curbside collection. I started with worms under my sink before I had outdoor space.
Does home compost attract animals? Only if you leave food exposed or add meat and dairy. Cover scraps well, use a secure bin, and stick to plant-based materials. My current setup has zero pest issues.
Is finished compost safe for vegetable gardens? Absolutely. Once it is fully broken down and cured, it is one of the best things you can add to edible beds. I use it on everything I grow and eat.
My Final Thoughts After Years of Home Compost Success
I went from trash-bag guilt to garden pride. The system is simple once you nail the greens-to-browns ratio and keep air flowing. Start with what you have. A bin. Some leaves. Your kitchen scraps. Turn when you remember. Water when it feels dry.
You will make mistakes. I did. The pile will smell once or twice. You will fix it. Then one day you will scoop out that first batch of black gold and feel like a genius.
My plants thank me every season. My trash bill dropped. My soil got better every year. That is the real win.
Grab a container today. Start collecting scraps. Build that pile. Your garden (and the planet) will notice the difference. I still smile every time I dump the kitchen caddy. Who knew waste could feel this good?


