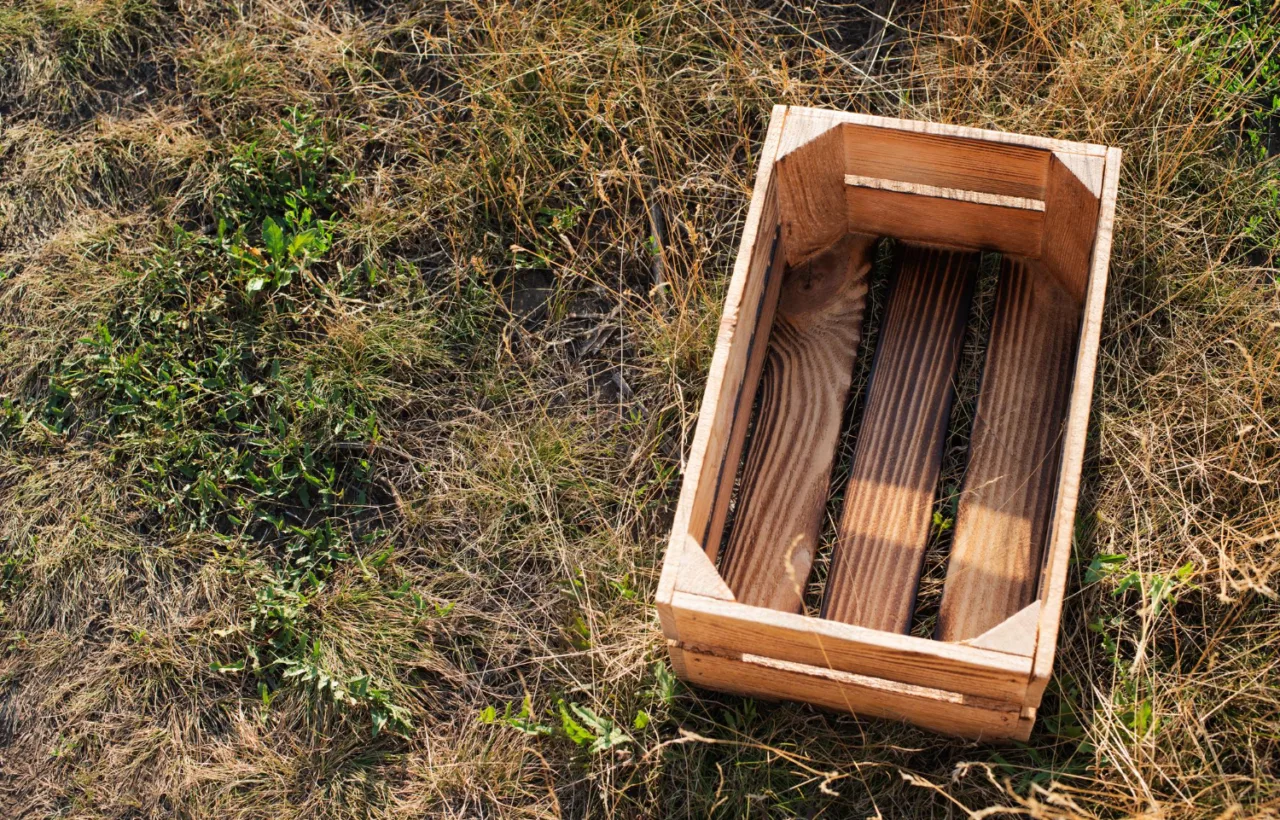

I spent years wrestling with flimsy plastic bins that cracked in the sun and turned my kitchen scraps into a soggy mess. Then I finally built a proper wooden compost bin. That single change fixed almost every frustration I had with composting. Honestly? It felt like the garden finally started working with me instead of against me.
A solid wooden compost bin keeps the pile neat, holds heat better than most plastic options, and looks like it belongs in the yard instead of screaming “temporary junk.” I learned this the hard way after three failed setups and one very determined raccoon. Now I get rich, crumbly compost every season without the drama.
In this guide I share exactly what worked for me, what flopped, and the simple steps that turned a pile of boards into my favorite garden tool. You get the real talk on wood types, designs that last, and the little tricks that keep pests out and the process moving. Let’s get into it.
Why a Wooden Compost Bin Wins for Most Gardens
I tried the tumbling plastic things. I tried the open heaps. Nothing beat the steady performance of wood. Wood breathes. It insulates just enough to keep the microbes happy without turning the pile into a swamp after every rain.
See, plastic heats up fast in summer and then cools too quick at night. My wooden compost bin holds a more even temperature. That means faster breakdown and fewer stinky surprises. Plus it looks good. My neighbor actually complimented the cedar one I built last spring. That never happened with the black plastic drum.
The Real Pros I Noticed Right Away
- Natural airflow. Gaps between boards let oxygen in without extra effort.
- Easy to expand. I started with one bay and added two more later.
- Cheap if you scavenge. Free pallets or leftover lumber cut the cost to almost nothing.
- Blends into the yard. No bright colors fighting the plants.
The Honest Cons
Wood does rot eventually. Cedar lasts longest. Pine needs more care. And if you skip the hardware cloth on the bottom, critters will throw a party. I learned that lesson once. Never again.
I think the biggest win is control. I decide the size. I decide the access. No more fighting a lid that jams every time I add coffee grounds.
Choosing the Right Wood for Your Wooden Compost Bin
Not all wood works the same. I wasted money on cheap pine the first time. It softened in one wet winter. Cedar changed everything.
Cedar is my top pick. It resists rot naturally. No chemicals needed if you plan to use the compost on food plants. Douglas fir comes close and costs less in some areas. Avoid pressure-treated lumber that still carries old arsenic formulas. Modern non-arsenic treated stuff works if you seal it well, but I stick to untreated for peace of mind.
Pallets can work free. Look for the HT stamp. That means heat-treated, not chemical. Skip anything marked MB. I once grabbed a mix of oak and pine pallets. The oak sides still look solid three years later. The pine ones already need patches.
Size matters too. I aim for at least three feet in every direction. Smaller piles never heat up right. My current three-bay setup measures roughly four by four by four feet per section. It handles all the kitchen scraps plus fall leaves without overflowing.
Use stainless steel or coated screws. Galvanized nails corrode quickly in damp compost environments and weaken joints over time.
My Step-by-Step Build for a Simple Three-Bay Wooden Compost Bin
I built mine over two weekends. No fancy tools. Just a saw, drill, level, and some screws. Here’s the exact process that worked.
Gather Your Materials
I used:
- Four 8-foot 4×4 posts for corners
- About a dozen 2×6 boards for walls (cedar or redwood)
- ½-inch hardware cloth for sides and bottom
- Outdoor deck screws
- Optional removable front slats for easy turning
Total cost stayed under $150 because I scavenged some boards.
Prep the Spot
I picked a level patch near the garden but not right against the house. Good drainage matters. I raked the dirt smooth and left the bottom open to the soil. Worms and microbes thank you for that.
Build the Frames
I cut the 4x4s to four feet tall. Then I framed three equal bays. Screw the horizontal boards to the posts. Leave small gaps for air. Attach hardware cloth to the inside with short screws. That keeps the compost in and the mice out.
For the front I added vertical tracks so I can slide boards in and out. When the pile gets high I just add another slat. When it’s time to turn I pull them all. Simple.
Add the Optional Lid
I hinged a simple plywood top covered in leftover roofing for the finished bay. Rain stays out. Heat stays in. On hot days I prop it open.
The whole thing took me about eight hours spread out. I worked slow and checked for square often. A wobbly bin collapses under a heavy pile. Ask me how I know.
How I Actually Use My Wooden Compost Bin Day to Day
Filling it right makes the difference. I layer browns and greens. Browns are dry leaves, shredded cardboard, wood chips. Greens are kitchen scraps, grass clippings, coffee grounds. Roughly equal parts by volume keeps the smell down and the heat up.
I turn the pile every week or two with a pitchfork. Moving material from bay one to bay two speeds everything. By the time it hits bay three it’s dark and earthy. That finished stuff goes straight on the tomato beds.
Moisture is key. I want it like a wrung-out sponge. Too dry and nothing happens. Too wet and it stinks. My wooden compost bin drains well so I rarely add water except in August droughts.
Pests? Hardware cloth solved 90 percent of it. I also avoid meat and dairy. Those attract the wrong crowd. A sprinkle of lime or wood ash if it gets too acidic keeps things balanced.
Store-Bought Wooden Compost Bins Versus DIY
I tried both. Store-bought cedar models like the Greenes Fence ones assemble in minutes and look polished. They cost more but save time if you hate sawing. The modular ones let you add bays later. Nice for small yards.
DIY wins on price and custom fit. My three-bay handles donkey manure from the neighbors plus all my own waste. No commercial bin that size sits in my budget. If you want simple and pretty, buy. If you want big and cheap, build.
I keep a small store-bought one by the kitchen door for daily scraps. Then I dump it into the big wooden setup once a week. Best of both worlds.
Common Mistakes I Made So You Don’t Have To
First year I used untreated pine and no mesh. The wood softens. The rats moved in. Second try I overbuilt with thick walls and almost no air gaps. The pile went anaerobic and smelled like a swamp. Third time I got the balance right: breathable sides, solid bottom mesh, easy front access.
Another trap: putting the bin too far from the house. I got lazy about walking back there in winter. Now it sits twenty steps from the back door. I actually use it.
And size. I started too small. The pile never got hot enough. Bigger really is better for steady composting.
Frequently Asked Questions
Do I need to line my wooden compost bin? No. I leave the bottom open to soil for drainage and worm access. Just add hardware cloth if critters are a problem. Lining with plastic traps water and kills the good process.
How long does a wooden compost bin last? Cedar ones last eight to fifteen years with basic care. I oil mine every other spring with linseed oil. Pine might give you three to five. Treat it and it holds up.
Can I use any wood for a wooden compost bin? Stick to rot-resistant types like cedar or oak. Avoid old pressure-treated stuff with unknown chemicals if you grow food. Heat-treated pallets work great and cost nothing.
Should my wooden compost bin have a lid? I use one on the finished bay. It keeps rain out and heat in. Open tops work fine in dry climates. In wet ones a simple cover saves the pile from turning to sludge.
How big should a wooden compost bin be? Aim for at least three feet cubed per bay. My four-foot ones heat better and handle more volume. Smaller works for apartments but slows everything down.
Final Thoughts From My Backyard
Building that wooden compost bin changed how I garden. I waste less. I buy less fertilizer. The soil in my beds got darker and richer every year. The process feels good too. Turning a warm pile on a cool morning reminds me why I started this whole messy hobby.
Start simple. Grab some free pallets or a few cedar boards. Follow the basic three-bay idea. Adjust as you go. You will make mistakes. I sure did. But the compost keeps coming. And once you taste a tomato grown in your own black gold, you will understand why I keep building these things.
Go make yours. Your garden will thank you. And so will the planet, one banana peel at a time.


