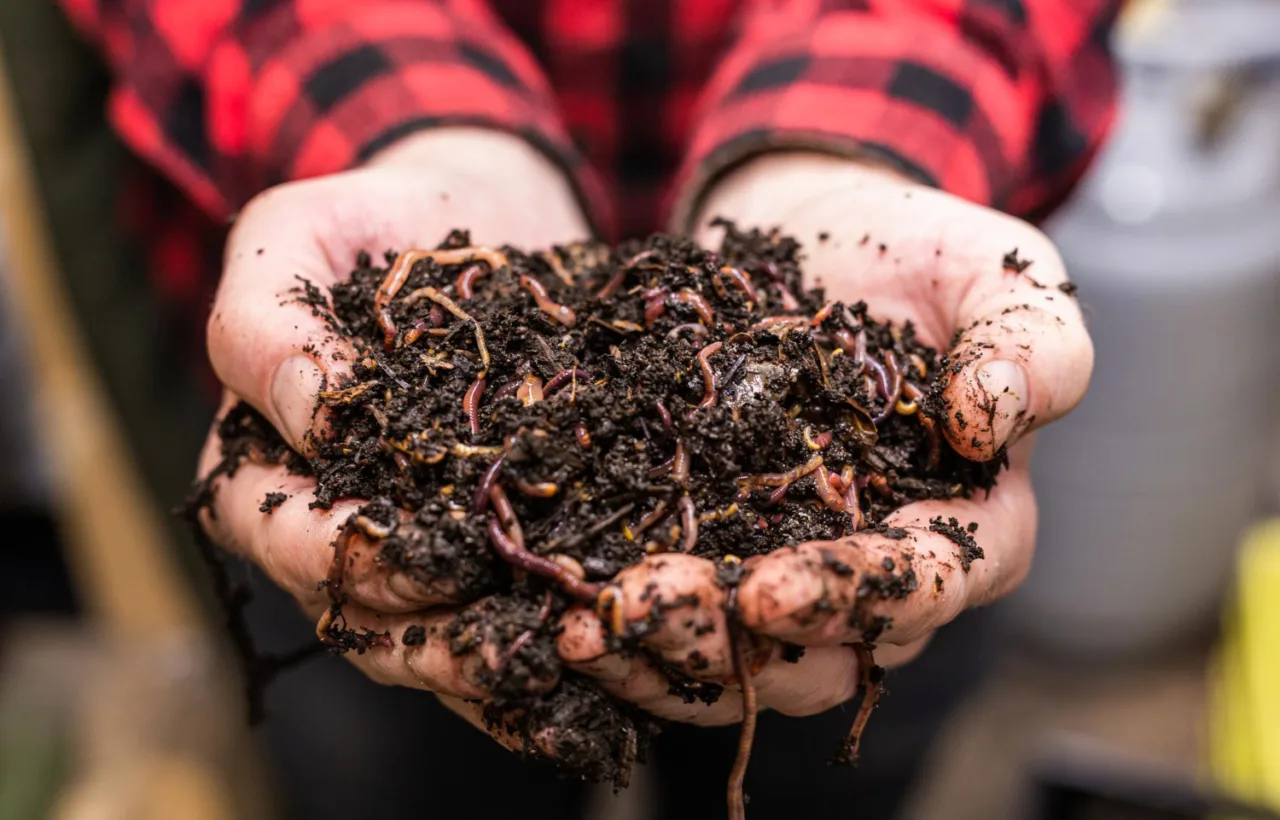

I started making vermi compost three years ago after my tomato plants looked sadder than a forgotten houseplant. Kitchen scraps piled up. The trash smelled. My soil felt dead. So I grabbed some red wigglers and built a simple bin. That first harvest of dark, crumbly castings changed everything. Plants exploded with growth. Pests backed off. I never looked back.
Honestly? I almost quit twice. The first time fruit flies invaded. The second time the bin got too wet and stinky. But I stuck with it. Now I produce enough vermi compost every few months to feed my whole backyard and a few neighbor gardens too. If you want rich soil without buying bags of fertilizer, this is the way.
See, vermi compost is just worm poop mixed with broken-down scraps. Red wigglers eat your leftovers and turn them into black gold loaded with nutrients and microbes. It works faster than regular compost. It smells earthy, not rotten. And you can do it indoors under the sink if you want.
What Vermi Compost Actually Is and Why I Swear By It
Vermi compost comes from worms processing organic waste. The worms of choice are red wigglers. They live near the surface and munch through food scraps like champions. Their castings pack nitrogen, phosphorus, potassium, and a bunch of beneficial bacteria that regular compost often lacks.
I tested it side by side. One bed got straight garden soil. Another got a 10 percent mix of my vermi compost. The vermi compost plants grew taller, greener, and produced more fruit. No contest.
Key benefits I noticed right away:
- Faster plant growth. Seedlings sprout quicker and stronger.
- Better soil structure. It holds moisture without turning into mud.
- Fewer diseases. My tomatoes stopped getting that weird blight.
- Less waste. Kitchen scraps vanish instead of heading to the landfill.
- No burning roots. Unlike synthetic stuff, you can use plenty without damage.
IMO, the microbial boost is the real magic. Those tiny helpers keep feeding your plants long after you spread the castings.
How I Set Up My First Vermi Compost Bin Without Spending a Fortune
I kept it cheap. No fancy kits at first. Just a plastic storage bin from the hardware store.
Drill 8 to 10 small holes on the lid and sides of the bin for airflow, plus a few drainage holes along the bottom edge.
Picking the Right Bin
I drilled holes in the lid and sides for air. More holes in the bottom for drainage. I set the bin on bricks so air could flow underneath. A second bin underneath caught any liquid. That liquid is worm tea. I dilute it and water plants with it. Pure gold.
Wooden bins work too. Just skip cedar. It has oils that mess with worms. Stacked tray systems look cool and make harvesting easier, but a basic tote gets the job done when you start.
Bedding That Keeps Worms Happy
Bedding is their home and part of their food. I shred newspaper and cardboard. Mix in a bit of coconut coir or old leaves. Moisten it until it feels like a wrung-out sponge. No water dripping out. That moisture level is critical.
I add a handful of garden soil or finished compost. It introduces the microbes that start the party. Then I let the bedding sit a few days before adding worms.
The Worms Themselves
I ordered one pound of red wigglers online. About a thousand worms. They arrived in a breathable bag. I dumped them on top of the bedding and left the lid off with a light nearby. Worms hate light. They dug down fast.
European nightcrawlers work for bigger outdoor setups. African nightcrawlers like heat. But red wigglers stay my go-to for home bins. They breed fast and eat almost anything plant-based.
Feeding My Worms the Right Stuff (And Avoiding Total Disaster)
Worms do not eat everything. I learned that the hard way.
Safe foods I feed regularly:
- Fruit and veggie scraps (chopped small)
- Coffee grounds and filters
- Tea bags
- Crushed eggshells
- Bread and grains in small amounts
- Shredded paper and cardboard
Foods I never add:
- Meat or bones
- Dairy
- Oily or greasy stuff
- Citrus in big piles
- Onions and garlic in excess
- Spicy peppers
- Pet waste
I bury food under the bedding. That keeps fruit flies away. I feed every few days in a different spot. If food sits uneaten after a week, I slow down. Overfeeding turns the bin into a stinky swamp. Underfeeding just means slower castings. Worms can survive on bedding alone for a while.
FYI, coffee grounds are a favorite. My worms go crazy for them. Banana peels disappear overnight.
Avoid adding too many citrus peels at once; the acidity can irritate worms and slow down their feeding.
Keeping the Bin Alive Through Every Season
Moisture and temperature rule everything. Ideal temp sits between 55 and 80 degrees Fahrenheit. Ideal moisture feels damp but not soggy.
I check weekly. Squeeze a handful of bedding. A drop or two of water is perfect. Too dry? Mist with a spray bottle. Too wet? Add dry shredded newspaper.
In summer I keep the bin in a shady garage corner. In winter it moves to the basement. Extreme heat or cold kills worms fast. I lost half a colony once when the garage hit 95. Never again.
Airflow matters. I fluff the top layer gently every couple weeks. Worms need oxygen through their skin. Packed bedding suffocates them.
Population grows fast under good conditions. A bin can double every couple months. When it feels crowded, I split the contents into a second bin or harvest and start fresh.
Harvesting Vermi Compost Without Losing My Mind
After three to six months the bin fills with dark, earthy castings. Time to harvest.
I use the dump-and-sort method. Dump everything on a tarp under bright light. Make little piles. Worms dive to the bottom away from light. I scoop the clean castings from the top. Any leftover food or worms go back into the bin with fresh bedding.
Some people use the migration method. Stop feeding one side. Add fresh food to the other. Worms move over. Then scoop the empty side.
Stacked trays make it even simpler. Worms climb up to new food. Castings stay below.
I screen the castings if I want them super fine for seedlings. Then I store extras in a breathable bag in a cool spot. They stay potent for months.
Screen castings through a 1/4 inch mesh for a fine, seed-starting ready product without disturbing worms too much.
Common Mistakes I Made (So You Do Not Have To)
I overfed like crazy at first. Bin turned swampy and smelled like vinegar. Solution: add dry bedding and stop feeding for a week.
Fruit flies showed up. I covered food better and set out a vinegar trap. Gone in days.
Worms tried to escape. Usually a sign of bad conditions. Too wet, too dry, or wrong food. Fix the environment and they settle.
pH drifted acidic from too many citrus peels. Crushed eggshells brought it back to neutral.
See, most problems reverse quickly if you catch them early. Worms are tougher than they look.
How I Use Vermi Compost in the Garden for Maximum Results
I mix it into potting soil at about 10 to 20 percent. For garden beds I spread a half-inch layer and work it in lightly. Top-dress around established plants.
Worm tea gets diluted 1:10 with water. I use it as a foliar spray or soil drench every couple weeks during growing season. Plants green up fast.
Seed starting mix loves a light sprinkle. Germination rates jump. My peppers and herbs never looked better.
One friend swears by it for lawn top-dressing. Another uses it in raised beds only. I use it everywhere. The difference shows up in bigger harvests and healthier plants that shrug off stress.
Frequently Asked Questions
How long does it take to make usable vermi compost? It usually takes three to six months for the first harvest. After that you can pull castings every month or two once the system hits its stride.
Can I do vermi compost indoors without smells? Yes. A well-managed bin smells like fresh soil. Keep food buried, moisture right, and airflow good. Mine sits under the kitchen sink and no one notices.
What if my worms die? Check temperature, moisture, and food. Start over with fresh bedding and new worms if needed. Most colonies bounce back if you catch issues early.
Is vermi compost better than regular compost? For me, yes. It finishes faster, packs more plant-available nutrients, and brings extra microbes. Regular compost still works great. I use both.
How much vermi compost do I need for a small garden? A few pounds go a long way. Start with 10 percent mix in pots and a light top-dress in beds. You can always add more later.
I still get a little thrill every time I open the bin and see those busy red wigglers turning trash into treasure. My garden soil went from tired dirt to living, breathing earth. Plants thank me with bigger yields and fewer problems. You can do this too. Grab a bin, some worms, and start small. The first handful of finished vermi compost feels like pure victory. Your plants will never know what hit them.


