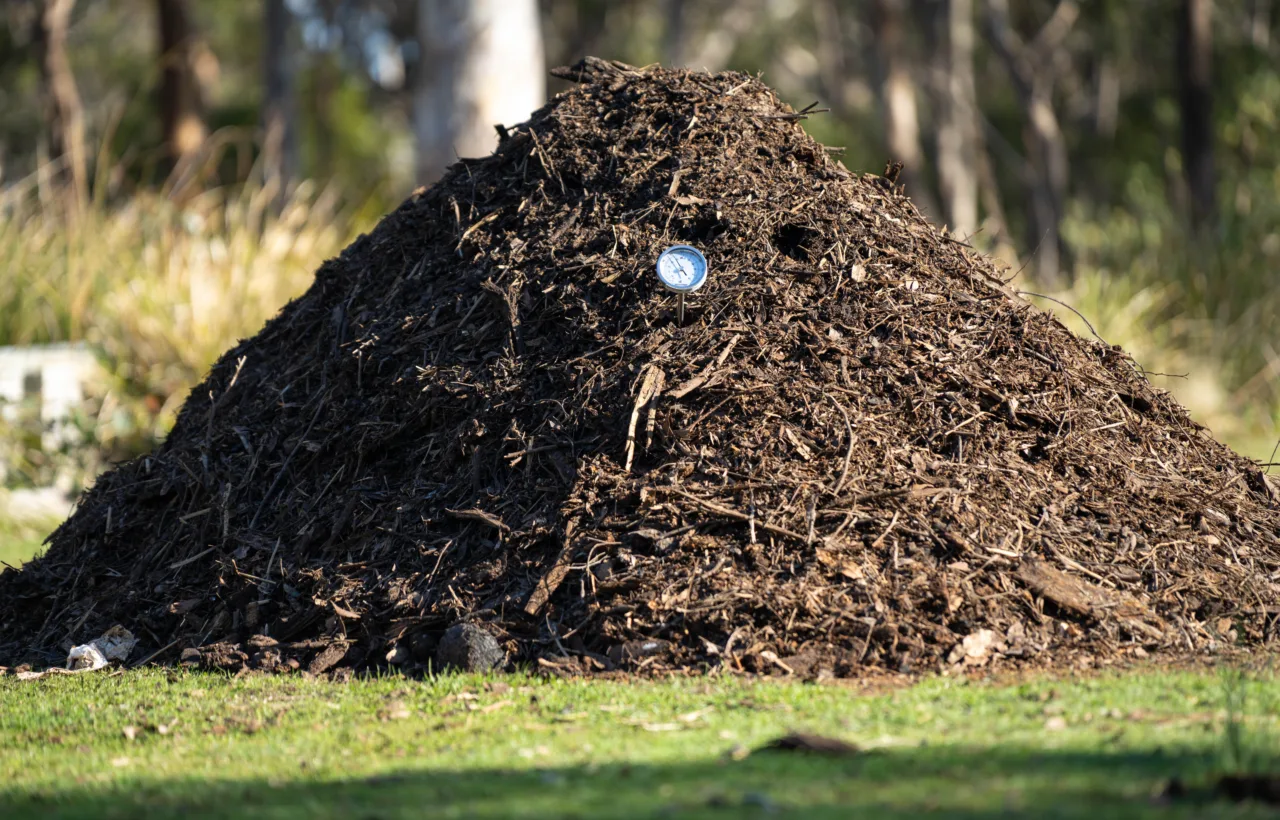

I wasted two whole summers staring at a sad heap of kitchen scraps that never turned into anything useful. Honestly? I almost gave up on starting a compost pile for good. Then I figured out the simple system that actually works, and now my garden soil thanks me every single season.
You want rich, dark compost that feeds your plants like magic. You also want zero drama with smells, pests, or that endless waiting game. I get it. I’ve been exactly where you are. This guide walks you through everything I learned the hard way so you can skip the failures and get results faster.
Why I B to start a compost pile in the first place
I used to bag up leaves and food scraps like everyone else. Then I realized I was throwing away free fertilizer. Compost builds better soil structure. It holds water longer. It cuts down on store-bought amendments. And it keeps a ton of waste out of the landfill.
My first real win came after I stuck with it for three months. My tomato plants grew twice as big. The difference was night and day. That black gold from my own backyard made me a true believer.
See, most people overthink it. They treat starting a compost pile like some science experiment that needs perfect lab conditions. I think that’s the wrong way to go about it. The right question isn’t “How do I make perfect compost?” It’s “How do I keep the microbes happy enough to do the work for me?”
The only four things your compost pile actually needs
I boiled it down after way too many failed heaps. Your pile lives or dies by these four basics.
Browns (carbon) Dry leaves, shredded cardboard, twigs, straw, newspaper. These feed the microbes energy and keep the pile fluffy so air can move.
Greens (nitrogen) Fruit and veggie scraps, coffee grounds, fresh grass clippings, tea bags. These give the microbes protein so they multiply fast and heat things up.
Water The pile should feel like a wrung-out sponge. Too dry and everything stalls. Too wet and it turns into a stinky swamp.
Air Microbes need oxygen. Without it the pile goes anaerobic and smells like a garbage truck in July.
That’s it. No fancy additives required. IMO, people who sell compost starters are mostly selling peace of mind. Nature already has everything covered.
How I pick the perfect spot for starting a compost pile
Location matters more than I first thought. I once stuck my pile right against the fence in full shade. Big mistake. It stayed soggy and cold for months.
Here’s what works for me now:
- Level ground with decent drainage
- Close enough to the kitchen that I actually walk out there
- Partial sun so it warms up but doesn’t bake dry
- Easy access to a hose
- At least three feet away from the house so bugs stay polite
I clear a spot about four feet by four feet. Bare soil is best because worms can crawl up from below. If you only have concrete, toss down a layer of twigs first so liquid can drain.
Don’t put it under a tree if you can help it. Roots will invade and steal your nutrients.
Place a brick or flagstone under your pile's corner to mark the spot and prevent grass from overtaking the area.
My no-fail way of building the pile from scratch
I build every new pile the same way. Call it the lasagna method if you want. I just call it the method that finally stopped frustrating me.
First I lay down a six-inch base of chunky stuff. Twigs, small branches, wood chips. This creates air channels at the bottom. Without it the pile smothers itself.
Next comes a thick layer of browns. Dry leaves work great. I aim for eight to twelve inches. Then I add a thinner layer of greens. Kitchen scraps, grass, whatever I have. Three to four inches max.
I repeat the layers until the pile hits at least three feet high and three feet wide. Size matters. Smaller piles never heat up properly. I water lightly as I go so everything stays damp but not dripping.
I always bury the greens in the middle. No food scraps left on top. Critters love an easy buffet.
Avoid adding diseased plants or weeds with seeds to your pile. The center may not get hot enough to kill them.
The ratio that actually works for me
I shoot for roughly three parts browns to one part greens by volume. Not weight. Volume. A big armful of leaves to a smaller armful of scraps.
If I add too many greens the pile gets slimy and smelly. Too many browns and it just sits there looking pretty but doing nothing. I adjust as I go. If it starts smelling bad I dump on more leaves. If it feels cold and dry I mix in more coffee grounds or grass.
What I throw in and what I keep out forever
This list saved me from a lot of heartache.
Safe greens I use all the time
- Fruit and vegetable peels and cores
- Coffee grounds and paper filters
- Tea bags without staples
- Fresh grass clippings
- Crushed eggshells
- Plant trimmings that look healthy
Safe browns I stockpile
- Fall leaves
- Shredded cardboard and paper (no glossy stuff)
- Straw or hay
- Wood chips and sawdust from untreated wood
- Pine needles in moderation
Stuff I never add
- Meat, fish, bones
- Dairy products
- Oils and greasy foods
- Pet waste
- Diseased plants
- Weeds that already went to seed
- Treated wood or charcoal ash
- Anything with pesticide residue
I learned the hard way about meat. One chicken carcass turned my pile into a raccoon nightclub. Never again.
Keeping the pile alive once it’s built
Starting a compost pile is only half the battle. Maintenance keeps it cooking.
I check moisture every week. Stick my hand in. If it feels dry I water while turning. If water drips out when I squeeze a handful I add dry leaves and mix hard.
I turn the pile every two to three weeks with a pitchfork. I pull the outer stuff into the middle and the middle stuff to the outside. This mixes everything and pumps in fresh air. The center can hit 140 degrees Fahrenheit if things are humming. That’s the sweet spot that kills weed seeds and pathogens.
In summer I might turn weekly. In winter I leave it alone more. Cold slows everything down but doesn’t stop it completely.
I cover the pile with a tarp if we get weeks of heavy rain. Too much water washes out nutrients and drowns the good bugs.
Turning your pile weekly can double the decomposition rate compared to turning it monthly.
How I know when the compost is ready
Finished compost looks like dark chocolate cake crumbs. It smells like a forest floor after rain. You shouldn’t be able to pick out individual banana peels or leaves anymore.
My piles usually finish in three to five months if I stay on top of turning and moisture. Cold piles or lazy piles can take a full year. Patience is part of the deal.
I screen the finished stuff through a piece of hardware cloth if I want it fancy. Bigger bits go back into the next pile.
Common mistakes I made so you don’t have to
I failed spectacularly at first. Here’s the short list of what tripped me up.
Starting too small Tiny piles never heat. Go big or go home.
Ignoring the browns I used to dump only kitchen scraps. Instant sludge city.
Never turning Air is free. Use it.
Leaving food on top Hello raccoons and flies.
Getting impatient Compost happens on nature’s schedule, not yours. FYI, rushing it just leads to half-finished junk you can’t use yet.
Wrong location Shady wet corners create anaerobic nightmares.
Fix those and you’re 90 percent of the way there.
Tools I actually use every day
I keep it simple.
- A sturdy pitchfork for turning
- A compost thermometer if I feel like geeking out (optional but fun)
- A kitchen counter caddy with a charcoal filter so scraps don’t stink up the house
- A tarp for rain protection
- Gloves because nobody likes slimy hands
That’s the whole kit. No need for expensive tumblers unless space is tight or you hate turning by hand. I prefer open piles because they’re cheaper and hold more volume.
Troubleshooting when things go sideways
Piles talk to you if you listen.
Smells like rotten eggs or ammonia Too many greens or not enough air. Add browns and turn immediately.
Looks dry and inactive Add water and some greens. Turn it.
Attracts flies or rodents Bury food deeper and cover with a thick brown layer. Stop adding meat forever.
Never heats up Pile is too small, too dry, or short on nitrogen. Build it bigger and mix in fresh grass or coffee grounds.
I once had a pile that just sat there for two months. I dumped in a bag of grass clippings, turned it twice, and watched the temperature climb the next day. Magic.
Frequently Asked Questions
How long does starting a compost pile take before I see finished compost? If you build it right and turn it regularly you can have usable compost in three to five months. Neglect it and you might wait a year. I usually aim for the shorter timeline by staying consistent.
Can I start a compost pile in winter? Yes, but it will go slow. I still add materials all winter. The pile freezes on the outside but keeps working in the middle. Spring warmth wakes it up fast.
Do I need a bin or can I just make a free pile? A free pile works great if you have space and don’t mind the look. Bins keep things neater and help with pests. I use both depending on the spot.
What if I live in an apartment with no yard? Look into vermicomposting with red wigglers or a small bokashi system. Or find a community garden that takes scraps. Starting a compost pile doesn’t always mean a backyard heap.
Is it okay to add weeds? Only if they haven’t gone to seed and your pile gets hot enough to kill them. I play it safe and leave aggressive weeds out.
The simple joy that keeps me going
I still get a little thrill every time I scoop finished compost into my garden beds. The plants notice. The soil smells alive. And I know I turned trash into treasure with almost no money spent.
Starting a compost pile taught me patience more than any other garden project. It also taught me that nature does most of the heavy lifting if I just give it the right conditions.
So grab some leaves. Save those coffee grounds. Clear a spot. Build that first layer of twigs. You’ve got this. Your future garden will thank you, and so will I for spreading the good stuff.
Go make some black gold.


