
I spent years staring at a bare concrete slab outside my apartment door and feeling defeated by it. That small rectangle never looked like much more than a place to store a bike and a couple of sad pots. Then I decided to turn it into a japanese balcony garden, and everything shifted.
Honestly? I had no grand plan at first. I just wanted a quiet spot that felt calm after long days in the city. What I got was a miniature version of the Japanese gardens I had always admired in photos and books. It works even on a space under 50 square feet. You can do the same.
This is the story of how I did it, what worked, what flopped, and the exact steps I still follow every season.
Why a Japanese Balcony Garden Fits Small Urban Life
City living leaves little room for nature. Most of us get a balcony or nothing. Japanese garden design thrives in tight spots because it values restraint over excess.
I learned this the hard way. My first attempt at “decorating” the balcony looked chaotic. Bright flowers everywhere. Too many colors. It stressed me out instead of calming me.
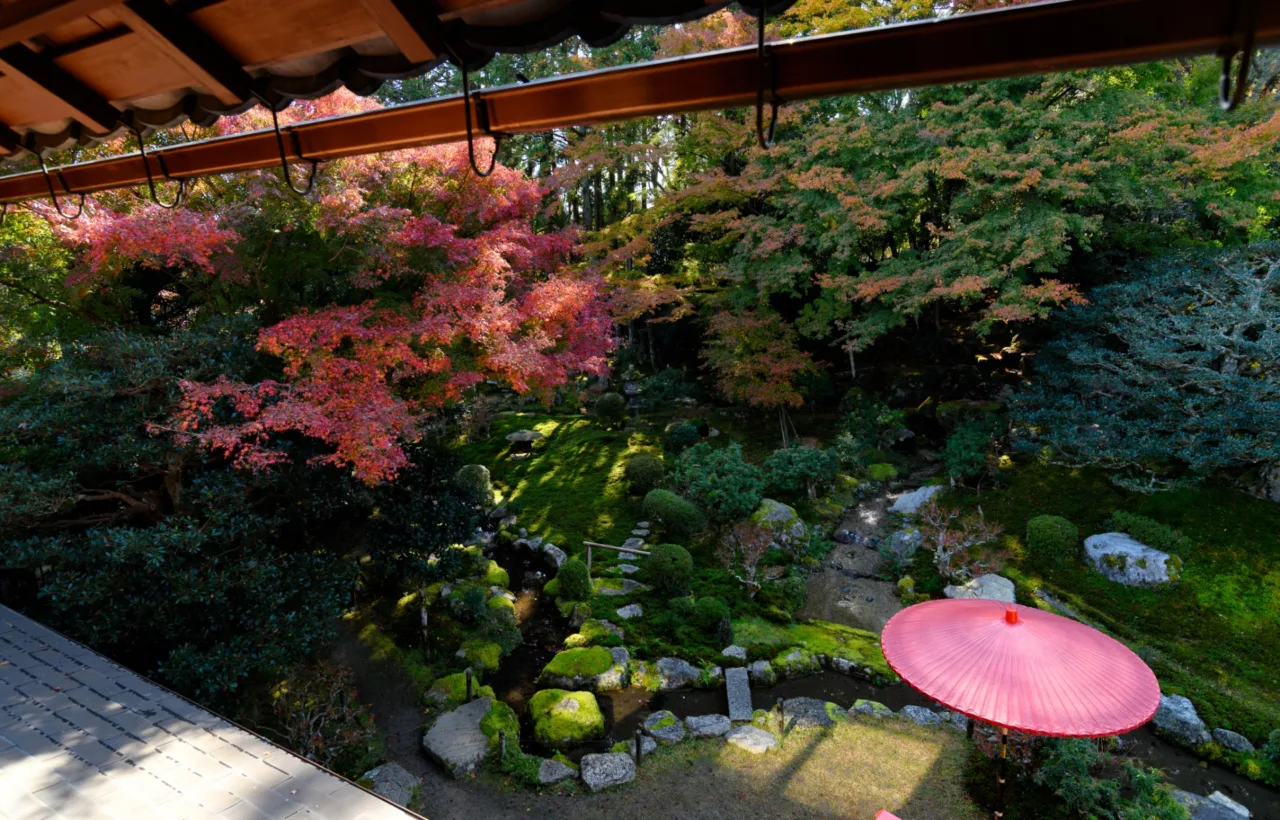
See, Japanese style flips that. It focuses on asymmetry, negative space, and a few carefully chosen elements that suggest a larger landscape. Rocks stand in for mountains. Gravel stands in for water. A single dwarf tree becomes a forest.
I started noticing how these gardens use limited materials to create depth. That insight changed my approach completely. Small space stopped feeling like a limit. It became the perfect container for intentional design.
The Core Elements I Used in My Japanese Balcony Garden
I kept the list short on purpose. Too many pieces kill the calm.
Plants That Actually Survive Balcony Life
I chose plants for form and resilience, not flashy blooms.
- Dwarf Japanese maple: The star of my setup. Compact varieties stay under four feet in a large pot. The leaf shape alone gives that classic silhouette.
- Moss: I grow it in shallow trays. It softens hard edges and needs almost no soil depth.
- Ferns and hostas: These handle partial shade well. My balcony gets morning sun and afternoon cover, so they thrive.
- Bamboo: I use clumping types in tall pots for vertical screening. Avoid running bamboo or you will regret it.
- Bonsai or pre-bonsai junipers: These give scale without taking over.
I skip most flowering plants. A single azalea or iris in season is enough. The rest stays green. That decision alone made the space feel more intentional.
Rocks, Gravel, and Hardscape
Stones matter more than I expected. I collected a few irregular pieces from a local landscape yard. Nothing polished. Just natural shapes.
I placed three larger stones in a triangular arrangement near the back corner. Then I filled the surrounding area with fine white gravel. Raking it into simple patterns takes five minutes and resets my brain every time I do it.
For flooring I used interlocking wooden deck tiles. They sit on top of the concrete and come up easily if I ever move. FYI, check your building’s weight limits before you load up on heavy materials.
Water Without the Hassle
A real stream was impossible. Instead I use a small ceramic basin with a recirculating pump. It sits low and quiet. The sound is subtle. Some days I just fill it and leave the pump off. Still water works too.
If pumps feel like too much maintenance, raked gravel in a low tray does the same visual job. I tried both. Both deliver the feeling of movement without drama.
My Step-by-Step Process for Building It
I broke the project into clear stages so I would not overwhelm myself.
Step 1: Clear and Assess
I emptied the balcony completely. Then I stood there for ten minutes just looking at light, wind, and existing structure. Morning sun hit the left side. Wind came from the right. That knowledge guided every plant choice.
Step 2: Create the Base Layer
I laid the wooden tiles first. Then I marked zones with chalk: seating corner, plant cluster, gravel area. Keeping zones separate prevented the cluttered look I hated before.
Step 3: Place the Heavy Elements
Rocks and large pots went in next. I moved them around until the arrangement felt balanced but not symmetrical. Japanese gardens avoid perfect mirrors. I followed that rule strictly.
Step 4: Add Plants and Gravel
I planted everything in containers with good drainage. Then I poured the gravel and raked simple parallel lines. The first time I finished, I sat down and just stared. It already felt different.
Step 5: Finish With Lighting and Details
I added two solar lanterns and a small bamboo screen for privacy. Nothing more. Over-decorating kills the effect.
The whole build took two weekends. Most of that time went into choosing plants and moving pots until the proportions felt right.
Practical Challenges I Faced and How I Solved Them
Weight worried me most. Concrete balconies have limits. I kept pots on the lighter side and used plastic or fiberglass containers where possible. Heavy ceramic stays on the structural edges.
Wind was the next issue. Tall plants needed staking or placement against the wall. I learned this after one gust knocked over a young maple. Lesson absorbed.
Drainage matters more than most people admit. I elevat every pot on small feet so water can escape. Standing water on concrete leads to stains and complaints from downstairs neighbors.
Maintenance stays simple. I water in the morning. I prune lightly twice a year. I rake the gravel when it looks messy. That is the entire routine. IMO, if a garden needs daily drama, it does not belong on a balcony.
Confirm your balcony’s permitted load with building management, then spread containers across the floor instead of clustering them in one spot.
Seasonal Changes That Keep It Interesting
Spring brings fresh maple leaves and the occasional iris bloom. Summer is all about deep green and the soft sound of water. Fall delivers the maple color show. Winter strips everything back to structure. Rocks and gravel carry the space when plants go dormant.
I rotate one or two pots seasonally. A hosta comes out. A small pine goes in. The overall composition stays consistent. That consistency is the point.
What I Wish I Knew Before Starting
Start smaller than you think. I overbought plants the first time and had to return half of them. Negative space is not empty. It is breathing room.
Buy one excellent specimen instead of ten average ones. My dwarf maple cost more than the rest of the plants combined. It still anchors the entire garden.
Accept that it will never look finished in the Western sense. Japanese gardens evolve. I tweak mine every few months. That process is part of the enjoyment.
Frequently Asked Questions
Can I create a japanese balcony garden if I rent? Yes. Everything I used is removable. Wooden tiles, containers, and gravel trays leave no permanent marks. Just check your lease for weight and drainage rules.
How much does a basic japanese balcony garden cost? Mine came in under $400 including the maple and lanterns. You can spend less by using found stones and starting with smaller plants.
What if my balcony gets full sun all day? Choose sun-tolerant evergreens and add a simple bamboo screen for filtered light. Some maples handle more sun than others. Research the specific cultivar.
Do I need special soil? I use a standard potting mix with extra perlite for drainage. Japanese maples prefer slightly acidic soil, so I add a little pine bark when I pot them up.
How long does it take to look established? Three to six months. Plants settle. Moss fills in. The gravel gets a lived-in look. Patience is the real material here.
I still walk out there most mornings with coffee. The space is small. The effect is not. A japanese balcony garden does not need acres. It needs intention and a few honest materials.
If your balcony feels like dead space right now, start with one stone and one plant. Sit with them for a week. Then add the next piece. That is how I built mine. That is how you can build yours.
The quiet arrives faster than you expect.