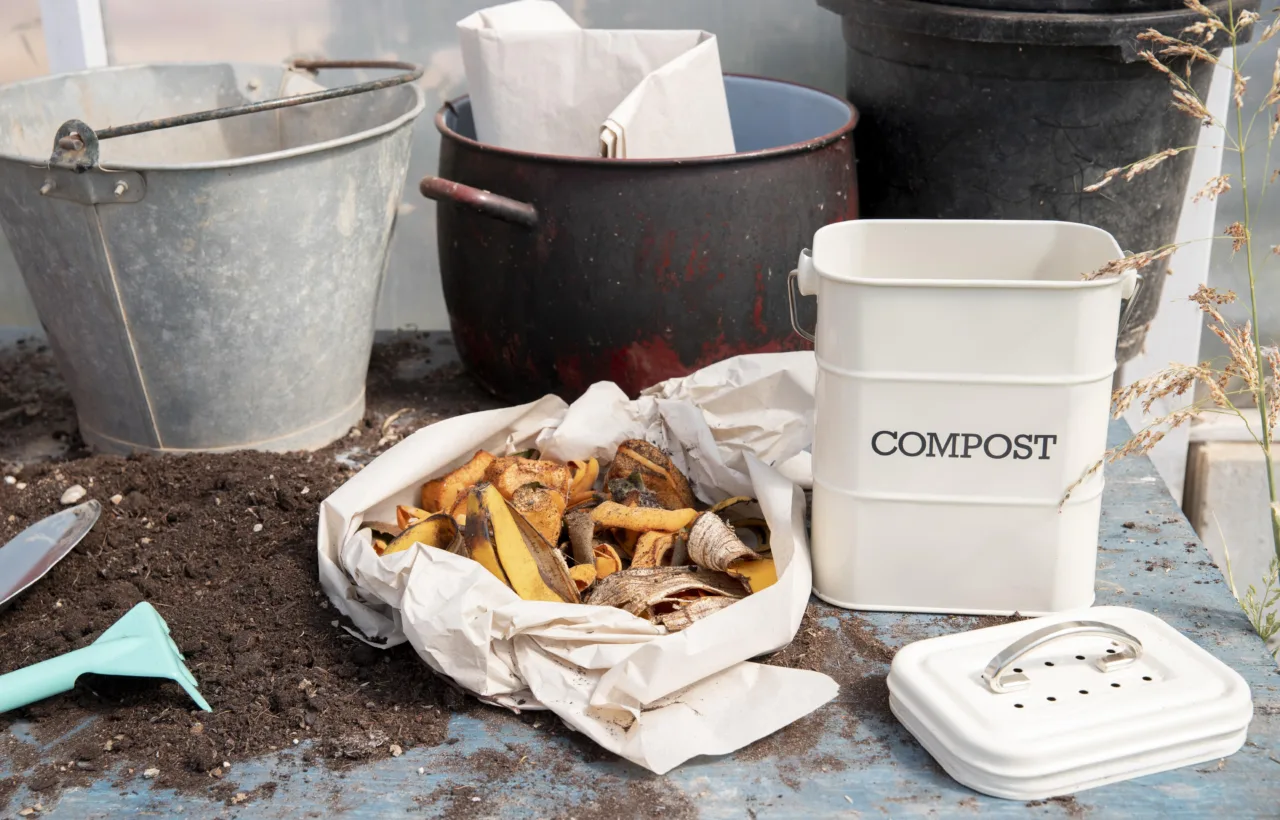

I needed a simple way to turn kitchen scraps into garden gold without spending a fortune or dealing with fancy store-bought tumblers. So I built my own homemade compost bin last spring. Honestly? It took me one Saturday afternoon and less than twenty bucks in materials I mostly already had. Now my tomato plants thrive on the black gold it produces, and I send way less trash to the curb every week.
See, I had tried the open pile method before. It attracted every raccoon in the neighborhood and looked like a mess. A proper homemade compost bin fixed all that. In this article I share exactly how I did it, the designs that work best, the mistakes I made, and the tips that actually speed things up. You get real results from someone who started clueless and ended up with rich soil.
Why I Chose a Homemade Compost Bin Over Buying One
Store-bought bins cost fifty to two hundred dollars. Some look sleek. Most feel flimsy after one winter. I wanted something sturdy, cheap, and sized for my small backyard. Building my own homemade compost bin gave me control. I picked the exact spot. I chose materials that match my fence. And I built it big enough for a family of four plus yard waste.
The benefits hit fast. I cut my garbage volume in half. My soil holds water better now. My peppers grew twice as big last summer. Plus the whole process feels good. Watching banana peels and coffee grounds turn into dirt never gets old. IMO this is one of the easiest garden upgrades you can make.
I almost quit after my first failed attempt with a wire cage that collapsed. That taught me the real lesson. Location and airflow matter more than fancy looks.
Picking the Perfect Spot for Your Homemade Compost Bin
Location decides success more than anything else. I put mine ten feet from the back door on a slight slope. Easy to reach with kitchen scraps. Far enough that no smell reaches the patio. Partial shade keeps it from drying out in July heat.
Sunny spots heat the pile faster. Shady ones stay moist longer. I went half and half. Direct ground contact lets worms crawl in and liquid drain out. Never put plastic or fabric underneath. That blocks the good microbes.
Keep it away from wooden fences if you use pallets. Moisture can rot the wood. Mine sits against a chain-link section. Perfect.
Use a compost thermometer to monitor internal temperature. Ideal range is 130-150°F for active breakdown.
Best Materials I Used for My Homemade Compost Bin
I tested three approaches. Plastic tote. Pallet wood. Wire fencing. Each has strengths.
Plastic storage bin or trash can Cheap and critter-proof. Drill lots of holes. Done in under an hour. Great for beginners or tiny yards. Mine held six months of scraps before I outgrew it.
Pallets Free if you ask at hardware stores or warehouses. Stack four into a square. Wire them together. Instant three-sided bin with an open front for turning. Cedar or untreated pine lasts longest. Avoid pressure-treated wood. Chemicals leach.
Wire fencing or hardware cloth Super airy. Fast compost. Roll into a circle and zip-tie the ends. Or build a frame and staple the mesh. Keeps rodents out better than chicken wire.
Wood lumber Sturdiest long-term option. I used 2x4s and 2x6s for a three-bay system later. Removable front slats make turning easy. Costs more but looks tidy.
Straw bales or cinder blocks Temporary and free-ish. Stack them into walls. They break down eventually and join the compost. Fun experiment.
I started with a thirty-gallon plastic tote. Upgraded to pallets once I got serious. Both worked.
Step-by-Step: How I Built My First Homemade Compost Bin
Here is the exact process I followed for the plastic version. Super beginner-friendly.
- Grab a plastic storage bin with a tight lid. Thirty gallons or larger.
- Drill twenty to thirty quarter-inch holes in the bottom and sides. Airflow is everything.
- Drill ten more in the lid.
- Place the bin on bare dirt in your chosen spot.
- Layer six inches of dry brown material: leaves, shredded cardboard, or newspaper.
- Add two inches of kitchen greens: veggie peels, coffee grounds, eggshells.
- Cover with more browns.
- Sprinkle a handful of garden soil to introduce microbes.
- Moisten until it feels like a wrung-out sponge.
- Snap the lid on. Wait.
That is it. I filled mine the first day with stuff from the fridge and yard. Stirred once a week with a stick. Finished compost appeared in three months.
For the pallet version I did later:
- Source four same-size pallets.
- Stand three in a U shape.
- Screw or wire the corners together.
- Leave the front open or add a fourth pallet as a door.
- Optional: line the inside with hardware cloth for smaller bits.
Took me two hours and zero dollars. Free pallets rule.
The Greens and Browns Balance That Actually Works
Compost fails without the right mix. I learned this the smelly way.
Greens (nitrogen-rich):
- Fruit and vegetable scraps
- Coffee grounds and filters
- Fresh grass clippings
- Tea bags
- Plant trimmings
Browns (carbon-rich):
- Dry leaves
- Shredded cardboard or paper
- Straw or hay
- Wood chips
- Newspaper (black ink only)
Aim for roughly two to three parts browns to one part greens by volume. Too many greens equals stink and slime. Too many browns means nothing happens. I keep a bag of dry leaves next to the bin year-round. Cover every scrap layer with browns. Instant pest control and odor blocker.
Never add meat, dairy, oily foods, pet waste, or diseased plants. Those attract trouble and slow everything down.
How I Maintain My Homemade Compost Bin Without Losing My Mind
Turning is the secret weapon. I fork the pile every seven to ten days. Moves air inside. Speeds breakdown. Finished compost drops to the bottom.
Moisture check: Squeeze a handful. One or two drops is perfect. Too dry? Water it. Too wet? Add browns and turn.
Size matters. Piles under three feet square stay cool and slow. Mine grew to four by four by four. Hot in the center. Thermometer hit 140 degrees once. Magic.
I keep a kitchen caddy under the sink. Empty it every two or three days. No fruit flies when I freeze scraps first during summer.
Common Mistakes I Made (So You Skip Them)
My first bin smelled like a dumpster. Reason: All greens, no browns. Fixed it with a bag of leaves.
Rodents visited. I forgot the lid and bottom holes were too big. Switched to hardware cloth under the tote and tighter lid.
It took forever. I never turned it. Now I set a phone reminder. Ten minutes a week.
Location flooded after rain. Moved it uphill. Problem gone.
Chop big items. Whole watermelon rinds take months. Dice them. Faster.
Advanced Upgrades: From Simple Bin to Three-Bay System
Once I filled the single bin, I wanted continuous production. Built a three-bay pallet setup.
Bay one: Fresh scraps go here. Bay two: I turn the full bay one material into this for curing. Bay three: Finished black gold waits for the garden.
Removable front boards let me shovel easily. Hardware cloth walls keep airflow high. Total cost: twenty dollars for screws and wire. Free pallets again.
Worm bin version works for apartments. Stack two five-gallon buckets. Drill holes. Add red wigglers. Keep indoors or on a balcony. Castings are pure gold.
What Finished Compost Looks and Feels Like
Ready compost is dark, crumbly, and smells like forest floor. No recognizable food scraps left. Cool to the touch. I screen mine through a half-inch mesh for fine soil. Coarse bits go back into the new pile.
Use it as mulch around plants. Mix into potting soil. Top-dress lawns. My roses doubled their blooms the first year I switched.
Frequently Asked Questions
How long does a homemade compost bin take to make finished compost? With regular turning and the right mix I get usable compost in two to four months. Cold piles without turning can take a year. Hot piles finish faster.
Can I put my homemade compost bin on a patio or balcony? Yes. Use a plastic tote with a tray underneath to catch liquid. I did this in my old apartment. Worked fine as long as I managed moisture.
What if my homemade compost bin smells bad? Add more browns and turn it. Smell means too wet or too much nitrogen. Cover food scraps completely every time.
Do I need worms in my homemade compost bin? No. They show up on their own if the bin touches soil. For faster indoor results I buy red wigglers. Optional but fun.
Is a homemade compost bin safe from pests? Tight lid, small holes or hardware cloth, and covering scraps with browns keeps most animals out. I never had issues after the first fix.
Final Thoughts From My Backyard
Building a homemade compost bin taught me more about soil than any book. I started with kitchen waste and ended with thriving plants and less landfill guilt. The process is messy at first. Then it clicks. You will scoop that first batch of dark earth and grin like I did.
Grab a bin or some pallets this weekend. Follow the steps I used. Adjust for your space. Your garden will thank you. And honestly? Turning trash into treasure never stops feeling like a small everyday win. Go make some dirt.


