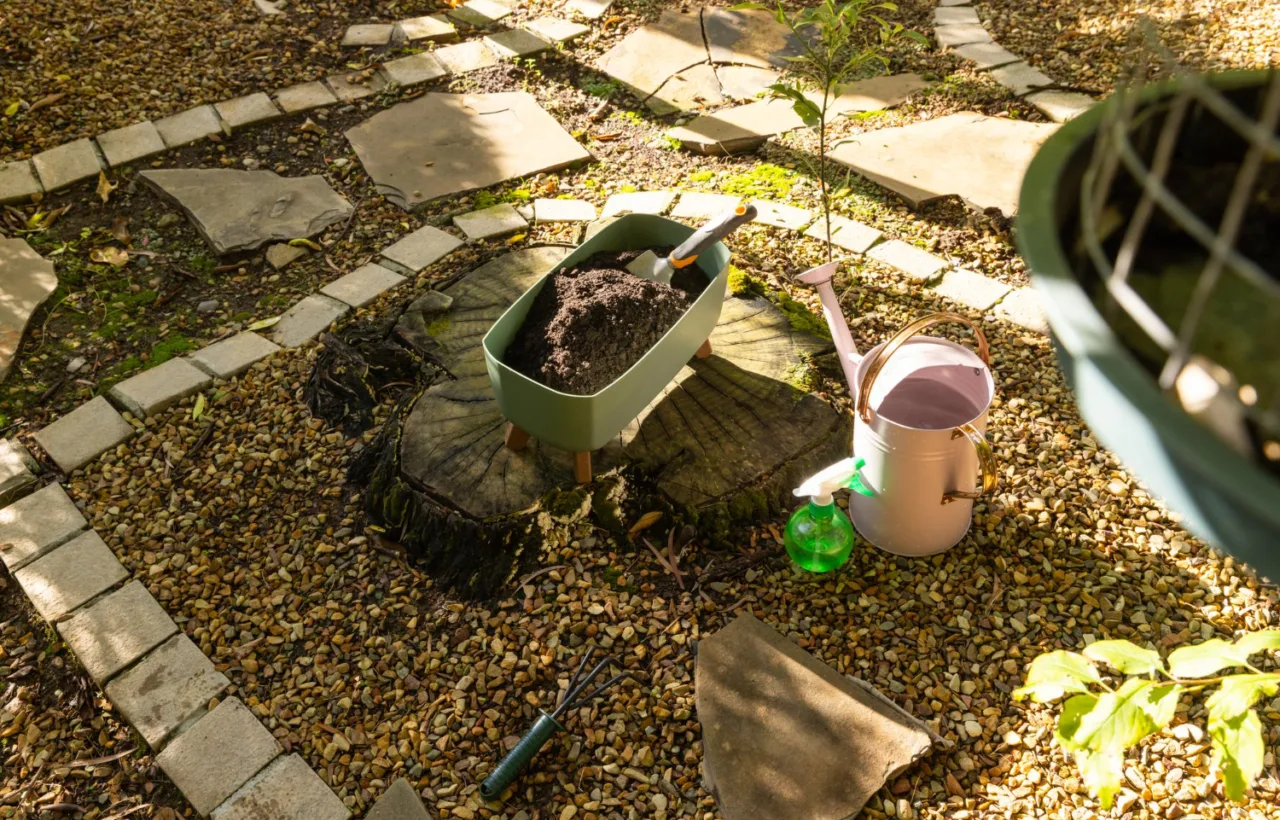

I spent three full seasons watching my kitchen scraps turn into a stinking, fly-ridden mess before I finally cracked backyard compost. Honestly? Those early piles nearly made me quit gardening altogether. I hauled bag after bag of vegetable peels and coffee grounds out back, dumped them in a corner, and hoped nature would handle the rest. Nature laughed. The pile sat there, soggy and sour, attracting every raccoon in the neighborhood while my tomato plants starved for real nutrients.
That frustration drove me to figure this out properly. Now my backyard compost produces dark, crumbly black gold every few months. My garden beds thank me. My trash bags feel lighter. And I actually look forward to dumping the scrap bucket. If you have a yard and a steady stream of food waste or leaves, this guide walks you through exactly what worked for me. No fancy equipment required. Just the methods that turned my failures into something I rely on every season.
Why I Bothered With Backyard Compost in the First Place
See, I used to think compost was only for serious homesteaders with acres of land. I live on a regular suburban lot. My yard is nothing special. Yet every spring I watched perfectly good leaves and grass clippings get bagged and hauled away while I spent money on bagged soil amendments. That felt backwards.
Backyard compost changed the math for me. I cut my household trash volume by roughly a third. I stopped buying bags of expensive mulch. And the stuff that comes out of my bins makes my vegetables grow like they mean it. Tomatoes got thicker stems. Peppers held more fruit. Even the lawn looked happier when I top-dressed with the finished product.
The bigger picture sealed it. Organic waste rotting in landfills produces methane. My pile keeps that material out of the ground and turns it into something useful instead. I feel better about the scraps I generate. That quiet satisfaction keeps me going on the days I really do not feel like turning the pile.
Choosing the Right Spot and Setup for My Backyard Compost
Location matters more than I expected. I tried a shady back corner first. The pile stayed too wet and cold. Then I moved it to a spot that gets morning sun and afternoon shade. Perfect. The pile warms up nicely without baking dry.
I keep a water source close. A hose or watering can within reach saves trips. Good drainage underneath prevents soggy bottoms. I started with a simple open pile on bare dirt. That worked okay until the neighborhood cats discovered it. Now I use a pair of wooden pallet bins I built myself for under $40. Each one measures about three feet by three feet by three feet. That size holds heat well and gives the microbes room to work.
You can buy a plastic tumbler if you want something prettier or easier to turn. I tried one. It spun nicely but never held enough material to heat up properly for me. The stationary bins suit my volume better. I fill one while the other finishes. Simple rotation. No fancy gear.
Key things I look for in a setup:
注意:回收木托盘需确认带有HT(热处理)印记,以免化学处理过的木材污染堆肥。
- Easy access year-round. Snow or mud should not stop me from adding scraps.
- Airflow on all sides. Solid walls slow things down.
- Space for browns nearby. I keep a leaf pile or bag of shredded cardboard right next to the bins.
- Distance from the house. Close enough for convenience, far enough that any temporary smell stays outside.
The Browns and Greens Formula That Finally Clicked
This part used to confuse me. Everyone talks about the carbon-to-nitrogen ratio. I ignored the numbers and focused on feel. Two to three parts browns for every one part greens. That ratio keeps the pile happy.
Greens bring the nitrogen. They heat things up. My main greens:
- Fruit and vegetable scraps
- Coffee grounds and filters
- Fresh grass clippings
- Tea bags without staples
- Crushed eggshells
Browns supply the carbon. They soak up moisture and give structure. My go-to browns:
- Dry fall leaves (I stockpile them)
- Shredded cardboard and newspaper
- Twigs and small wood chips
- Straw or hay
- Paper towels and napkins (unsoiled by grease)
I layer like lasagna. Start with a base of coarse browns for drainage. Add greens in the center. Cover completely with more browns so nothing food-like shows. That cover stops flies and animals cold. Every time I add a bucket of scraps, I bury it under at least four inches of leaves or cardboard.
Chop bigger pieces first. I smash broccoli stems with a shovel. Tear cardboard into strips. Smaller pieces break down faster. I learned that the hard way after finding whole avocado pits still intact six months later.
避免使用黑核桃树叶和树皮,它们含抑制植物生长的化感物质。
My Daily and Weekly Routine for Healthy Backyard Compost
I keep a small countertop pail with a lid in the kitchen. Nothing fancy. When it fills, I walk it out back and dump it. That habit takes thirty seconds. No big production.
Moisture is the next check. I grab a handful from the middle. It should feel like a wrung-out sponge. Too dry? I sprinkle water while turning. Too wet? I mix in extra browns and leave the lid off for a day.
Turning comes next. I aim for once every week or two when the pile is active. A pitchfork works fine. I just fold the outer material into the center. Fresh air wakes the microbes up. The pile heats again. Steam rises on cold mornings. That sight still thrills me.
In winter I turn less. The pile slows but never fully stops if I keep adding. I cover it with a tarp during heavy rain or snow. Come spring it wakes right back up.
Patience helps. A well-managed pile finishes in three to five months. A neglected one takes a year. I prefer the faster route because I want that black gold sooner.
寒冷地区在堆肥箱外包裹泡沫板或旧毯子,可保持内部温度,加速冬季分解。
Common Problems I Faced and Exactly How I Fixed Them
My first piles taught me everything the hard way. Smell hit first. Rotten egg odor means the pile went anaerobic. Too wet or too packed. I added dry leaves, turned thoroughly, and the smell vanished in two days.
Flies and gnats showed up when I left food scraps exposed. Solution: bury every addition under browns. No exceptions. The pests disappeared.
Slow decomposition frustrated me next. The pile sat cold and lifeless. I mixed in more greens, chopped everything smaller, and turned more often. Heat returned within a week.
Animals dug in during year one. Raccoons and a determined opossum. I switched to a bin with a secure lid and hardware cloth on the bottom. No more visitors. I also stopped adding any meat, dairy, or oily leftovers. Those attract trouble and rarely break down fully in backyard conditions anyway.
Weed seeds and tomato seedlings popped up once. My pile never got hot enough to kill them. Now I keep aggressive weeds and seed-heavy plants out entirely. Better safe.
Here is my quick troubleshooting list:
- Smelly pile: Add browns and turn. Check moisture.
- Dry and slow: Add greens or water. Turn.
- Slimy texture: Too many greens or water. Bulk up with browns.
- Pests: Bury food deep. Use a closed bin. Skip meat and dairy.
- Not heating: Make the pile bigger. Add nitrogen. Turn for air.
Every problem has a simple fix once you understand the four ingredients: carbon, nitrogen, air, and water. Balance those and the pile behaves.
不要将猫狗粪便加入普通堆肥,可能含蛔虫等病原体,需用专用堆肥器处理。
Harvesting and Using My Finished Backyard Compost
I know it is ready when the material looks dark and crumbly. No recognizable peels or leaves left. It smells like clean forest soil. The volume shrinks to about a third of the original pile. Temperature drops to match the air.
I sift the finished batch through a simple screen I made from hardware cloth. Big chunks go back into the active bin. The fine stuff goes into buckets.
Application is easy. I mix two inches into new garden beds before planting. Existing beds get one inch worked into the top few inches each spring. I use it as mulch around perennials. Potted plants get a handful mixed into the soil. Lawns love a light top-dressing.
The difference shows fast. Soil holds water better. Plants resist stress. I use less fertilizer overall. That free soil amendment pays for itself every season.
将成熟堆肥与园土按1:2混合,既提供养分又避免烧根,特别适合盆栽植物。
Tools and Habits That Make Backyard Compost Effortless
I keep a short list of gear:
- Pitchfork or compost fork
- Kitchen scrap pail
- Watering can or hose
- Optional thermometer if you like numbers
- Shovel for moving finished material
That is it. No need for activators or special inoculants. A scoop of garden soil introduces plenty of microbes when you start a new pile.
Habit beats gear every time. I empty the kitchen pail every two or three days. I turn on weekends when I am already outside. I stockpile leaves every fall. Those small consistent actions keep the system running without drama.
Frequently Asked Questions
How long does backyard compost take to finish? In my experience a well-tended pile finishes in three to five months. Cold or neglected piles can take up to a year. Turning and proper moisture speed things up dramatically.
Can I compost in winter? Yes. My backyard compost slows but keeps working under a tarp. I keep adding scraps and browns. Activity ramps back up as soon as temperatures rise.
What if I live in a small yard or have neighbors close by? Use a closed bin with a tight lid. Keep the browns-to-greens ratio high. Bury every scrap. Smell and pests stay minimal. I started on a tiny lot and never had complaints.
Is backyard compost safe around kids and pets? Finished compost is completely safe. Keep active piles secured so curious hands or paws cannot dig in unfinished material. Never add pet waste.
Do I need to buy special compost starters? No. I never have. A shovel of existing soil or a bit of finished compost jump-starts the microbes just fine.
Final Thoughts From My Own Messy Path
I almost gave up on backyard compost more than once. The early failures felt personal. Smelly piles. Frustrated plants. Bags of scraps I ended up tossing in the trash anyway. Then I stopped chasing perfection and started treating the pile like a living thing that needs the right balance.
Now the system runs itself most days. I feed it. I turn it. I harvest black gold that makes my garden thrives. The whole process feels less like a chore and more like a quiet partnership with the dirt.
Start small if you need to. One bin. One bucket of scraps. One bag of leaves. Watch what happens. Adjust. Laugh at the mistakes. The pile forgives faster than you think.
Your kitchen scraps already exist. Your yard already has space. Give them a proper home and watch what grows. I still grin every time I sink a shovel into that finished stuff. You will too.


