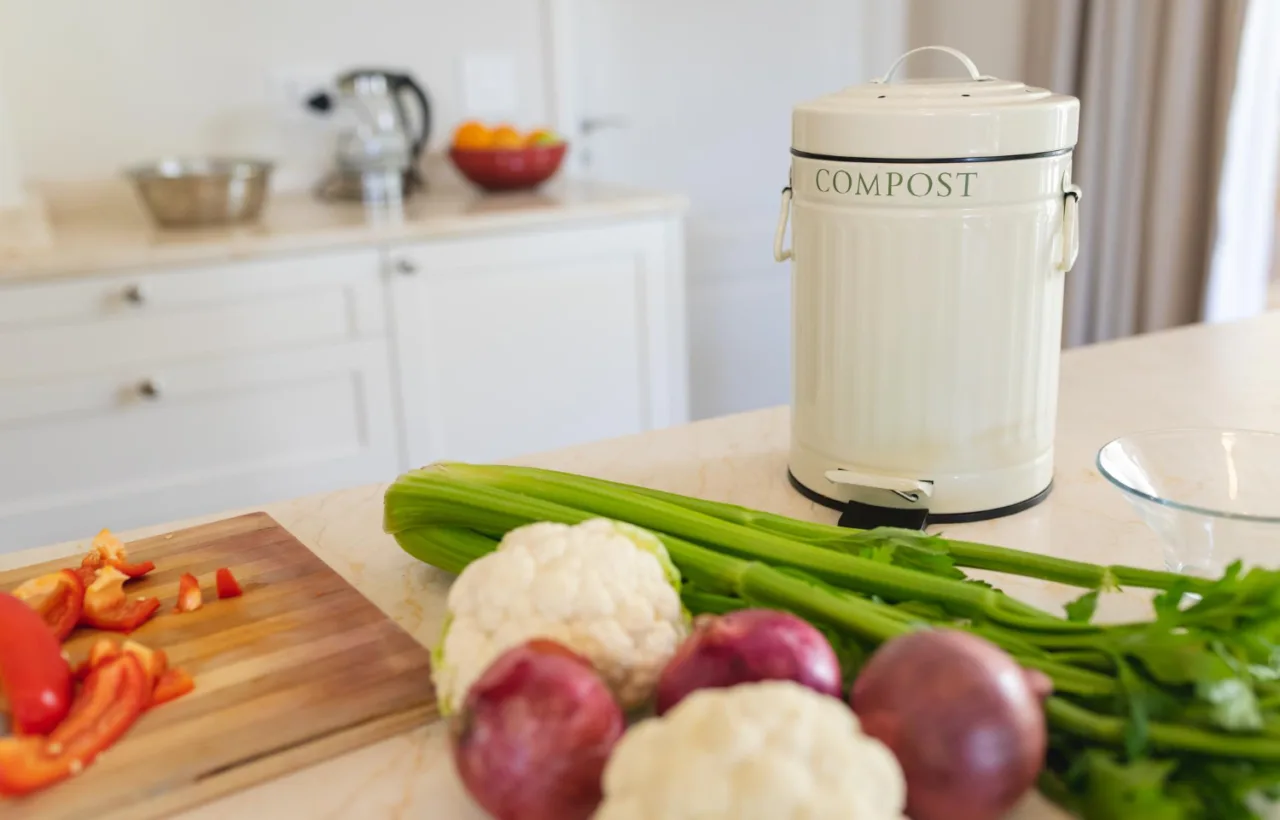

I spent years tossing banana peels and coffee grounds straight into the trash. The smell got to me. Fruit flies showed up uninvited. Then I grabbed my first countertop compost bin and everything shifted. Suddenly food scraps had a home that actually worked without turning my kitchen into a science experiment gone wrong.
Honestly? I almost gave up on composting twice before this. The right bin changed that. If you cook at home and hate wasting food (or just hate the trash can stink), stick with me. I’ll walk you through what I learned the hard way so you can skip the mess and get straight to the good stuff.
Why a Countertop Compost Bin Became My Kitchen Essential
See, I live in a small apartment with zero yard. Outdoor composting felt impossible. But I still wanted to cut down on what went into the landfill. A countertop compost bin sits right next to my cutting board. I scrape peels, cores, and eggshells into it while I cook. No extra trips. No second-guessing.
It holds the scraps temporarily. Then I empty it into a municipal drop-off or a friend’s outdoor pile every few days. Simple. Effective. The key is picking one that controls odor and cleans up easy. I tried cheap plastic bowls first. They leaked. They smelled. They attracted bugs. Disaster.
I switched to proper bins. Night and day difference. My trash stays cleaner. My plants get better soil later. And I feel a little less guilty about that avocado toast habit.
What Makes a Great Countertop Compost Bin (My Non-Negotiables)
I tested more bins than I care to admit. Some looked pretty but failed the smell test. Others felt flimsy. Here’s what actually matters after living with them day in and day out.
Capacity that fits your cooking A 1 to 1.5 gallon size works for most of us. Too small and you’re emptying it constantly. Too big and scraps sit too long. I settled on around 1.3 gallons. It holds a week of my solo cooking without overflowing.
Odor control that actually works Charcoal filters help. Tight lids help more. Stainless steel beats plastic for keeping smells locked in. I learned this after one plastic bin turned my kitchen into onion city overnight. Not fun.
Easy cleaning Removable inner buckets or smooth interiors win. Dishwasher-safe parts are a bonus. I hate scrubbing gunk out of corners. Life’s too short.
Lid design that doesn’t fight you Hinged lids you can flip open with one hand during meal prep? Gold. Lift-off lids? Annoying when your hands are full of carrot peels.
Looks that don’t scream “compost” If it’s sitting on my counter, I want it to blend in. Stainless steel or bamboo options look intentional, not like a thrift store find.
Here’s a quick list of features I prioritize now:
- Tight-sealing lid to block fruit flies and smells
- Charcoal or carbon filter for extra odor defense
- Handle for easy carrying when it’s time to empty
- Smooth, non-porous material so nothing sticks
- Reasonable weight even when full
Skip anything that feels cheap or has a filter you can’t replace. You’ll regret it.
My Top Countertop Compost Bin Picks After Real Kitchen Testing
I won’t pretend every bin is equal. I’ve used stainless steel, plastic, bamboo, and even peeked at electric ones. Here’s my honest ranking based on daily life, not lab conditions.
The Everyday Winner: Stainless Steel with Filter
I landed on a solid stainless steel countertop compost bin as my daily driver. Brands like Epica or Utopia Kitchen deliver here. The metal feels sturdy. It doesn’t absorb smells the way plastic can. The charcoal filter lasts months if I empty regularly.
I keep mine right by the sink. Banana peels, coffee grounds, veggie ends all go in. After three days I empty it. Zero drama. Zero fruit flies. The handle makes the walk to the drop-off painless. Cleaning takes two minutes under the tap.
What sold me: It looks good enough to leave out. Guests don’t even notice it. That’s a win in a tiny kitchen.
The Budget Workhorse: Plastic with Stay-Open Lid
OXO’s Easy-Clean model saved me when I first started. Plastic. Affordable. The lid stays open while I prep food. Huge for one-handed scraping. The inner bucket pops out for dumping.
Downside? No filter means I empty it more often, especially in summer. Odors creep in faster. Still, for under $30 it got me hooked on the habit. I keep one as a backup now.
The Stylish Bamboo Option
Bamboozle caught my eye for the looks. Eco-friendly material. Cute colors. Charcoal filter included. It sits pretty on the counter and holds about a gallon.
I used one for months. Cleaning is easy. It’s dishwasher safe if I’m careful with the handle. Capacity feels smaller than metal ones though. Great starter if aesthetics matter most to you.
Electric Options: Worth the Splurge?
I tried a couple electric food recyclers out of curiosity. They grind and dry scraps into something you can sprinkle on plants. Cool in theory. Expensive in reality. They take counter space and electricity. Some make actual compost. Most just dehydrate.
Honestly? Overkill for me. A basic countertop compost bin plus a municipal program covers my needs without the $400+ price tag. If you have zero outdoor access and want finished material fast, look at Reencle or Lomi. Just know they’re bigger commitments.
How I Keep My Countertop Compost Bin From Smelling (Real Tips That Work)
Smell is the number one fear. I get it. I’ve been there. Here’s my system that keeps things fresh.
Empty every 2–4 days. Don’t wait until it’s full. Fresh scraps smell like food. Old scraps smell like regret.
Line it if you want. I use compostable bags sometimes. Or just a bit of newspaper at the bottom to absorb moisture.
Add dry stuff. A handful of shredded paper or cardboard soaks up liquid. Keeps things from getting swampy.
Freeze if needed. Got a big cooking day? Toss scraps in a freezer bag first, then transfer. Cold slows the stink.
Clean right after emptying. Hot water and a drop of dish soap. Air dry completely before the next load. Moisture breeds odor.
Replace filters on schedule. Most last 2–6 months. Mark your calendar. A dead filter is worse than no filter.
I follow this and my bin stays neutral. My kitchen smells like coffee, not compost. That’s the goal.
Studies show charcoal filters reduce odor molecules by up to 90% when replaced every 3 months.
Common Mistakes I Made (So You Don’t Have To)
I put meat and dairy in early on. Bad idea for home setups. They attract pests and create nasty smells. Stick to fruit, veggies, coffee, eggshells, and tea bags for countertop bins.
I ignored the lid. Leaving it cracked open invites flies. Close it every time.
I bought too big. A giant bin sits longer. Scraps start breaking down inside. Stick to smaller and empty often.
I skipped the filter change. One time I waited six months. The smell hit me the second I opened the lid. Lesson learned.
Don’t be in a rush to buy the fanciest model. Start simple. Upgrade later if you need to.
Countertop Compost Bin vs. Other Options: My Honest Comparison
A mixing bowl works in a pinch. Wirecutter folks love them. Easy to scrape into. But no seal means more odor risk and flies. I tried it. Went back to a proper bin.
Freezer bags are flexible. Great for apartments with zero counter space. But they get messy and take freezer real estate I need for actual food.
Outdoor tumblers are awesome if you have a yard. The countertop bin just feeds them.
Municipal programs make the whole thing effortless. My countertop compost bin is the bridge between kitchen and drop-off.
For most people reading this, a good countertop compost bin hits the sweet spot of convenience and impact.
Frequently Asked Questions
Do countertop compost bins really control odors? Yes, if you choose one with a tight lid and charcoal filter and empty it regularly. Mine stays smell-free for days.
How often should I empty my countertop compost bin? Every 2 to 4 days works best for me. More often in hot weather. Less if you freeze scraps first.
Can I put meat and dairy in a countertop compost bin? I don’t recommend it for most home setups. They create strong smells and attract pests. Stick to plant-based scraps unless you have a hot outdoor system.
What’s the best material for a countertop compost bin? Stainless steel wins for me. Durable, non-porous, easy to clean, and looks sharp. Plastic is cheaper. Bamboo is prettier and eco-friendly.
Are electric countertop compost bins worth it? Only if you want finished material indoors and have the budget and space. A regular countertop compost bin plus outdoor or municipal options costs less and works great for most people.
Wrapping This Up: Just Start
I went from trash-can avoider to proud scrap saver because of one good countertop compost bin. The right one turns a chore into a habit. You scrape. You empty. You feel better about the food you buy and cook.
Pick something with a solid lid, decent capacity, and easy cleanup. Put it by your prep area. Use it for a week. You’ll wonder why you waited.
My kitchen feels cleaner. My waste feels lighter. And that little bin sits there looking innocent while it does real work. Give it a shot. Your future self (and your nose) will thank you.


