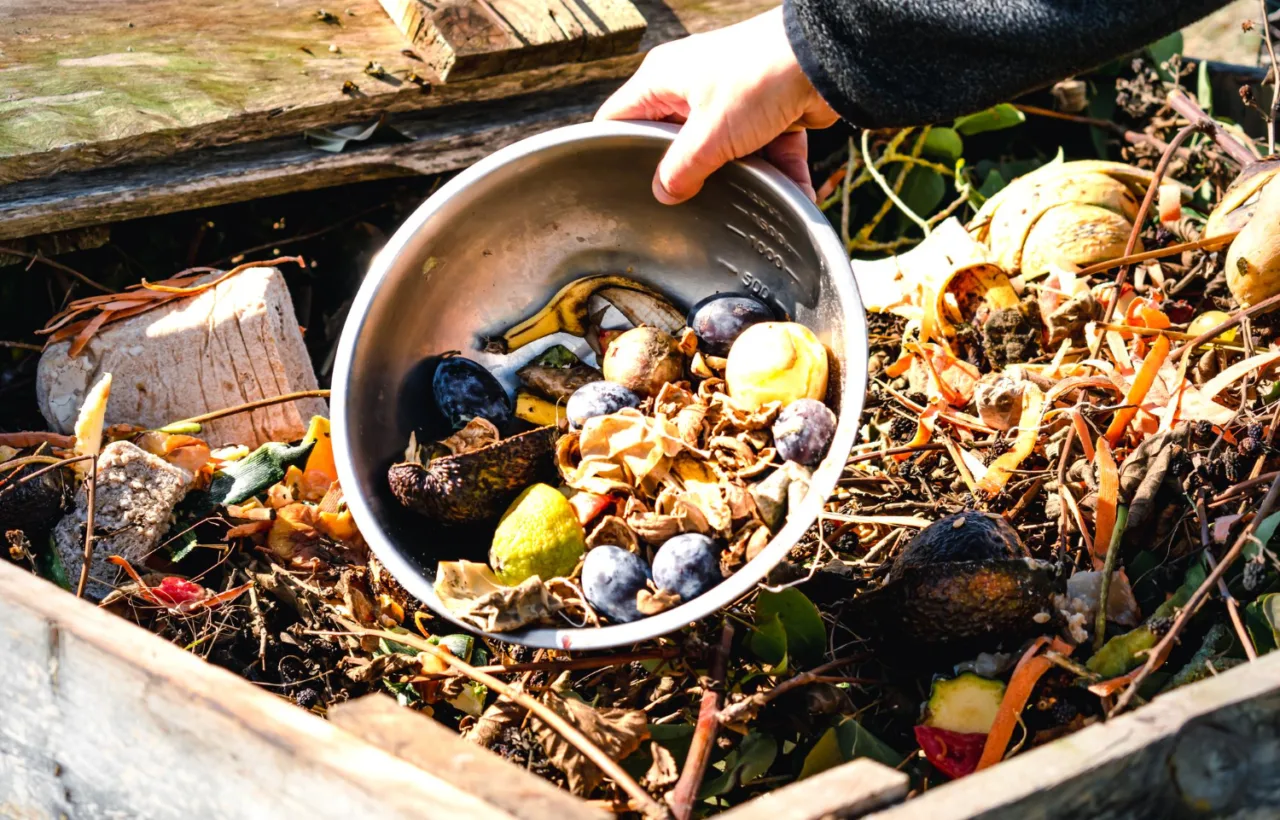

I wasted three full seasons throwing kitchen scraps in the trash before I finally started my compost garden. The soil in my beds stayed hard and lifeless. Plants struggled. I felt defeated every time I pulled another sad tomato.
Honestly? I thought composting looked complicated and smelly. Then I tried it the simple way. Everything changed. My compost garden now feeds every plant I grow. The soil feels alive under my hands. Yields jumped. Watering dropped. And I stopped buying bags of amendment at the garden center.
If your soil feels tired or your plants look hungry, this is for you. I’m walking you through exactly how I set up and run my compost garden. No fancy gear required. Just real results from my own backyard.
Why a Compost Garden Beats Buying Bags Every Year
I used to haul home bags of bagged compost every spring. Expensive. Plastic waste. And the quality varied wildly. One bag would be dark and rich. The next smelled like chemicals.
My compost garden fixed that forever. I turn my own food scraps and yard waste into free soil food. The stuff I make holds moisture better than anything store-bought. It feeds the microbes that feed my plants. Roots dig deeper. Pests bother me less.
See, the big win isn’t just free fertilizer. It’s closing the loop. Kitchen peels go in. Healthy plants come out. Nothing leaves my property except empty coffee cups I already used.
I notice the difference most in midsummer. My neighbors’ beds crack and dry. Mine stay dark and crumbly. That’s the compost garden working.
Getting Started: The Simple Setup That Actually Stuck
I almost quit my first week. The pile sat there doing nothing. Honestly? I overthought everything.
Here’s what finally worked.
Start with a 3x3x3 foot pile. Smaller piles don't heat up enough to break down quickly.
Pick a Spot You Will Actually Use
I put mine twenty steps from the kitchen door. Close enough that dumping scraps feels easy. Far enough that any temporary smell stays away from the patio. Partial shade keeps it from drying out too fast. Good drainage underneath so it never turns into a swamp.
Don’t hide it behind the shed. You will forget it exists.
Choose Your Container (Or Skip It)
I started with a free pallet bin. Three sides of old wood pallets wired together. Open front for easy turning. Later I added a second bin so one can finish while the other collects new stuff.
You can use:
- A simple wire cage
- A store-bought tumbler if you hate turning
- Just a bare pile if space allows
Size matters. Aim for at least 3 feet by 3 feet by 3 feet. Smaller piles stay cold and slow. Mine hits that sweet spot and heats up nicely.
The Greens and Browns Balance I Live By
This is the only “rule” that matters. Too many greens and it smells. Too many browns and nothing happens.
I shoot for roughly two to three parts browns for every one part greens.
Greens (nitrogen):
- Fruit and veggie scraps
- Coffee grounds and filters
- Fresh grass clippings
- Green plant trimmings
- Crushed eggshells
Browns (carbon):
- Dry fall leaves
- Shredded cardboard and newspaper
- Twigs and small branches (chopped)
- Straw or hay
- Paper towels (plain ones)
I keep a big bag of dry leaves next to the bin year-round. Every time I dump kitchen scraps, I bury them under a thick layer of leaves. Instant cover. No fruit flies. No smell.
FYI: I never add meat, dairy, oily foods, or pet waste. Those attract animals and slow everything down. Diseased plants stay out too.
How I Build and Maintain My Compost Garden Day to Day
I treat it like lasagna.
First layer: chunky browns on the bottom for air flow. Then greens. Then browns. Repeat. I wet each layer lightly so the whole pile feels like a wrung-out sponge. Not dripping. Not dusty.
I turn it every week or two with a pitchfork. Outside material goes to the middle. That’s where the heat lives. In summer my pile hits 140 degrees in the center. Weed seeds and pathogens die. Magic.
If it smells like ammonia, I add more browns and turn. If it looks dry and quiet, I add greens and a little water. Simple diagnostics.
In winter I keep adding but stop turning much. The pile freezes on top but keeps working underneath. Come spring it’s half the size and ready to harvest.
I harvest when the stuff at the bottom looks dark, crumbly, and smells like forest floor. No recognizable scraps left. I screen out big bits and throw them back in. The fine black gold goes straight to the beds.
Shredding browns like leaves and cardboard speeds up decomposition by increasing surface area.
How I Use Finished Compost in the Garden
This is where the real fun starts.
For new beds I spread 3 to 4 inches of finished compost and mix it into the top 6 to 8 inches of soil. For existing beds I top-dress with 1 to 2 inches every spring and lightly work it in. Around established plants I just mulch with a thin layer, keeping it off the stems.
I also mix a handful into potting soil for containers. And I make compost tea sometimes by steeping a shovelful in a bucket of water for a day or two. Instant liquid feed.
My tomatoes went from meh to massive after two seasons of this. Peppers set fruit earlier. Kale stayed sweet longer. The soil holds water so much better that I cut watering by almost half.
Honestly? Watching worms wriggle through the beds after I add compost never gets old.
Use finished compost as a side dressing for heavy feeders like tomatoes. Apply 1 cup per plant every 3 weeks during the growing season.
Direct Composting: The Lazy Method I Use Between Beds
Some weeks I skip the bin entirely. I dig a hole right in a garden bed, drop in kitchen scraps, and cover with soil. Done. Worms and microbes finish the job underground. By planting time the scraps are gone and the soil is richer.
I call this my compost garden shortcut. Perfect for small spaces or when the main pile is full. Just bury deep and cover well. No surface mess. No pests.
I rotate spots so no single bed gets overloaded. Works like a charm.
Common Mistakes I Made (So You Don’t Have To)
I ruined my first three piles. Here’s what I learned the hard way.
Too many greens. Smelled like a dumpster. Fixed by dumping a bag of leaves on top and turning.
Pile too small. Never heated up. Grew it to proper size and boom, steam appeared.
Forgot to water. Everything stalled. Now I check moisture every time I turn.
Left it open to critters. Raccoons partied. Now my bin has a lid and no big gaps.
Added the wrong stuff. One batch of moldy bread brought fruit flies for weeks. Lesson learned.
The biggest mistake? Waiting for “perfect” conditions. Start messy. Adjust as you go. Messy beats stuck every time.
My Favorite Tools for a Low-Effort Compost Garden
I keep it minimal.
- Pitchfork for turning
- Kitchen counter caddy with a lid for scraps
- Extra bag of dry leaves always ready
- Cheap compost thermometer (optional but fun)
- Gloves because worms are slimy
That’s it. No electric shredder. No fancy aerator. Just hands and a fork.
Frequently Asked Questions
How long does it take to get usable compost from a compost garden? With good turning and balance I get finished compost in 3 to 5 months in warm weather. Cold piles can take a year. I just start a second pile so I always have some ready.
Can I put weeds in my compost garden? Only if they haven’t gone to seed and your pile gets hot enough. I skip aggressive ones like bindweed and anything with seeds. Better safe.
What if my compost garden smells bad? It means too many greens or not enough air. Add browns, turn well, and make sure it’s not soggy. Smell disappears fast once the balance is right.
Do I need worms for a compost garden? No. They show up on their own if conditions are good. I never buy them. Red wigglers are great for indoor bins though if you want to try vermicomposting.
Is store-bought compost as good as homemade for my garden? Sometimes. But I trust what I make more. I know exactly what went in. And the cost is zero after the first setup.
Final Thoughts From My Dirt-Stained Hands
I started my compost garden because I was tired of sad soil and expensive bags. Now I can’t imagine gardening without it. The process feels almost meditative. Dump scraps. Cover with leaves. Turn when I remember. Harvest black gold.
Your plants will thank you. Your trash bill will shrink. And you’ll get that quiet pride every time you scoop a handful of dark, earthy compost you made yourself.
Start small this week. One bin. One bag of leaves. One kitchen caddy. The rest follows.
I still smile every spring when I spread the first load. Who knew kitchen garbage could feel this good?


