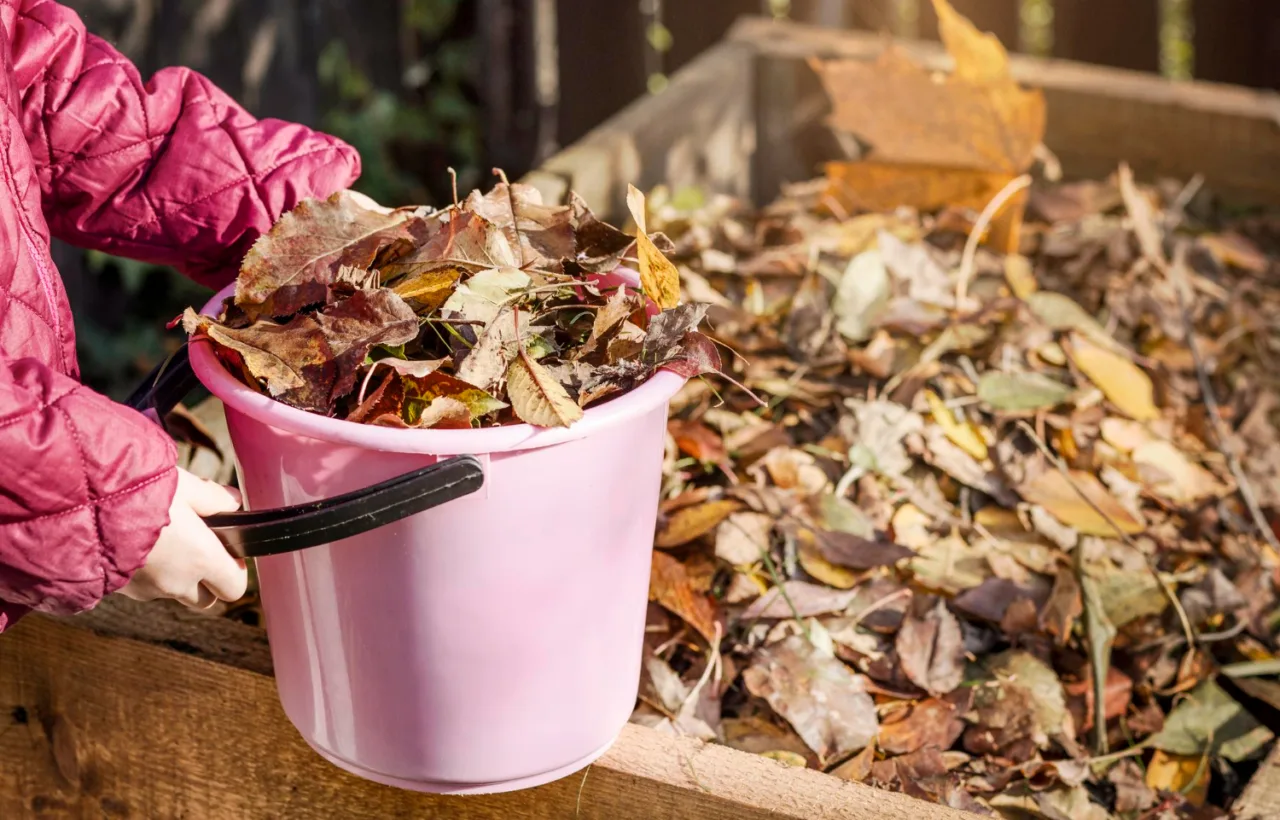

I used to bag up every last leaf in my yard and haul them to the curb like they were pure trash. Big mistake. Now I turn those same piles into rich leaf compost that feeds my entire garden for free. It took me a couple seasons of trial and error, but I finally cracked the code on making leaf compost that actually breaks down fast and works wonders on my soil.
Honestly? I almost gave up after my first soggy, smelly mess. But once I got the hang of it, the stuff became pure gold for my beds. You want better soil without spending a dime at the garden center. I get it. That’s exactly why I started this.
Why Leaf Compost Became My Go-To Soil Fix
Leaves hold a ton of nutrients the trees pulled up all year. When I compost them right, I get a dark, crumbly amendment that holds water, loosens clay, and feeds the microbes my plants love. Regular compost brings more nitrogen punch. Leaf compost shines at structure and moisture.
I tested both side by side one spring. The beds with leaf compost stayed damp longer during dry spells. Plants looked happier. My tomatoes? Bigger and less stressed. See, I used to buy bags of fancy soil conditioner. Not anymore.
Key benefits I notice every season:
- Better water retention so I water less
- Improved soil texture that roots can push through easily
- Slow nutrient release without burning plants
- Free organic matter that cuts landfill waste
IMO, skipping this free resource is just leaving money on the table. Or leaves, I guess.
Leaf Compost Versus Leaf Mold: The Real Difference
People mix these up all the time. I did too at first.
Leaf compost mixes leaves (the brown carbon stuff) with greens like grass clippings or kitchen scraps for or manure. It heats up more and finishes faster, usually in months. Leaf mold is pure leaves, broken down mostly by fungi. It takes longer, often a full year or two, but makes the ultimate moisture sponge.
I make both. For quick garden boosts I go leaf compost. For mulching thirsty beds I wait for the mold version. The pure leaf stuff feels lighter and holds way more water. My clay soil thanks me for it.
You pick based on time and needs. Faster results call for adding nitrogen. Patience rewards you with fungal magic.
Leaf mold holds up to 7 times its weight in water, making it ideal for sandy soils that drain too fast.
How I Collect and Prep Leaves for Composting
Fall hits and the trees dump everywhere. I start raking right away. Wet leaves stick and mat. Dry ones shred better.
I run the mower over them first. Confetti size speeds everything up. Whole leaves take forever. I collect the shreds in a tarp or the mower bag. Avoid leaves from black walnut or anything sprayed heavy with chemicals. Stick to clean yard drop.
If my trees skimp, I snag bags neighbors leave out. Free is free. Just skip the ones near dog spots.
My quick prep list:
- Shred dry leaves with the mower
- Aim for a big pile, at least 3 feet wide and tall if possible
- Keep some whole for slower leaf mold if I want variety
Don’t overthink the gathering. Just get them piled before snow flies.
My Step-by-Step Method for Making Leaf Compost
This is the part that changed everything for me. I keep it simple. No fancy bins required, though I use one now.
First I build a base layer of shredded leaves about 6 to 8 inches deep. Then I add a thin layer of greens. Grass clippings work great. Kitchen scraps or a bit of manure if I have it. Aim for roughly 30 parts brown to 1 part green by volume. Or just think two to three parts leaves to one part green stuff.
I water as I go until it feels like a damp sponge. Not dripping. Too wet and it stinks. Too dry and nothing happens.
I stack more layers until the pile reaches a good size. Then I cover it loosely with a tarp or just leave it if rain is light. Every couple weeks I turn the whole thing with a pitchfork. Mix the outside to the inside. Add water if it dried out. Add more dry leaves if it got soggy.
That’s it. Heat builds in the center if I got the mix right. After a few turns it starts looking dark and earthy.
For pure leaf mold I skip the greens and just bag or cage the leaves. Poke holes in trash bags, wet them, and forget them for a year. Or build a wire cage and stomp them in. Water occasionally. Fungi do the rest.
Timeline I usually see:
- Hot leaf compost: ready in 3 to 9 months
- Cold leaf mold: 12 to 24 months
- Faster if shredded and turned
I made a batch last fall that was perfect by spring planting. Dark, crumbly, smelled like forest floor. Perfect.
Common Mistakes I Made and How You Can Skip Them
My first pile sat wet and compacted for months. Nothing broke down. I learned fast.
Don’t pack leaves too tight. Air needs to move. Don’t skip nitrogen if you want speed. Pure leaves go slow. Don’t add diseased leaves or black walnut. Trouble waits there. Don’t let it dry out completely. Moisture keeps the microbes happy.
I once forgot to turn for two months. Outer layer stayed leaf-like forever. Now I set phone reminders. Simple fix.
Also, size matters. Tiny piles cool off too quick. Bigger holds heat better. Go for volume when you can.
How I Use Finished Leaf Compost in the Garden
When it looks like rich soil and the original leaves are gone, I dig in. I spread a half-inch to inch layer over beds and work it into the top few inches. For lawns I top-dress lightly before rain.
As mulch I pile it 2 to 3 inches deep around plants. It suppresses weeds and keeps roots cool. In potting mix I keep it under 30 percent so it doesn’t shrink too much as it finishes.
My veggie beds get a big dose every spring and fall. Flowers love it too. Even the lawn greens up nicer after a light rake-in.
One year I compared a bed with leaf compost to one without. The treated side held moisture through a dry July. Plants thrived while the other wilted. Proof enough for me.
Top-dress your lawn with 1/4 inch of screened leaf compost in fall for a slow-release nutrient boost over winter.
Tips That Speed Up My Leaf Compost Every Time
Shredding is non-negotiable now. Surface area is everything. I add a scoop of finished compost or garden purée as starter. Microbes jump-start the party.
I keep the pile in partial shade so it doesn’t bake dry. And I mix in a bit of soil or old compost for extra organisms.
For bags I use black plastic in sunny spots. Heat builds. For bins I flip them often. Patience still rules, but these tricks shave months off.
FYI, oak leaves take longer because of tannins. Maple and fruit tree leaves break faster. Mix them if you can.
Frequently Asked Questions
How long does leaf compost take to make? It depends on shredding, moisture, and greens. My hot piles finish in 3 to 9 months. Pure leaf mold needs a year or more. Turn and water regularly for the faster end.
Can I make leaf compost without a bin? Absolutely. I started with open piles and trash bags. Just keep it moist and turn when you can. Wire cages work great too if you want containment.
Is leaf compost the same as regular compost? No. Leaf compost focuses on leaves as the main carbon source, often with some greens. Regular compost mixes more kitchen scraps and yard waste. Both improve soil, but leaf stuff excels at structure and water holding.
What if my leaf compost smells bad? Too wet or not enough air. I add dry leaves or browns and turn it thoroughly. The smell fades once oxygen returns. Aim for damp, not soaked.
Can I use leaf compost right away on plants? If it’s fully broken down and crumbly, yes. Half-finished stuff can tie up nitrogen temporarily. I wait until it looks and smells like soil before digging it in heavily.
Final Thoughts on My Leaf Compost Journey
I went from cursing fall cleanup to looking forward to the free soil gold. Leaf compost fixed my compacted beds, cut my water bill, and made plants stronger without store-bought amendments. The process is simple once you start. Shred, layer, wet, turn, wait.
Start small this year if you’re new. One pile teaches you everything. Next fall you’ll grab every leaf you can find. Your garden will thank you. And so will your wallet. Go make some.


