
I spent three summers staring at a bare concrete rectangle outside my apartment door before I finally got a proper balcony garden layout right. The first two attempts were disasters. Pots everywhere. No walking path. Plants dying in the corners that never saw sun. I felt defeated more than once. Honestly? I almost gave up and stuck to houseplants.
Then I stopped treating the space like a random collection of pots and started treating it like a tiny outdoor room with zones. That shift changed everything. If you have a balcony and want plants without turning the whole thing into an obstacle course, this is the approach that worked for me.
Why Most Balcony Garden Layouts Fail Before They Start
I used to think more plants equaled better garden. Wrong. Cramped pots blocked light. Watering turned into a game of contortion. Guests had nowhere to sit.
See, the real issue is not plant choice. It is circulation and sun mapping. You need space to move. You need plants placed where they actually get the light they need. Ignore either one and the whole setup falls apart within weeks.
My first successful balcony garden layout started with a simple sketch on scrap paper. I measured the floor. I noted where the sun hit at 9 a.m., noon, and 4 p.m. That alone saved me from wasting money on plants that would never thrive.
Mapping Your Space Before You Buy a Single Pot
I do this every time I move or rearrange. Grab a tape measure and a notebook. Walk the balcony at different times of day.
Sun exposure matters more than almost anything else. South-facing gets the strongest light. North-facing stays cooler and dimmer. East and west sit somewhere in between. I mark the hot zones and the shady pockets right on my sketch.
Weight limits come next. Most apartment balconies have restrictions. I learned this the hard way after filling half a dozen giant ceramic pots and watching the floor feel suspiciously soft underfoot. Stick to lighter materials when possible: fabric grow bags, plastic, or fiberglass. Keep the heaviest containers near the building wall if you can.
Access and flow seal the deal. Leave at least a narrow path so you can reach every plant without climbing over others. I aim for 18 to 24 inches of clear walking space. Anything less and you will hate watering day.
Once I have those three pieces of information, the layout almost designs itself.
Fact: A south-facing wall can create reflected heat, raising leaf temperatures beyond direct-sun readings near glass or masonry.
Creating Zones in a Tiny Footprint
This is the part I wish someone had told me earlier. Zones keep the space usable and prevent chaos.
The Growing Zone
I put the bulk of my plants here. Railings get the over-the-rail planters first. They take zero floor space and catch good light. Then I add a couple of taller containers against the wall or in the corners. Herbs and salad greens go in the easiest-to-reach spots. Tomatoes and climbers get the back corners where they can stretch up a trellis.
The Sitting Zone
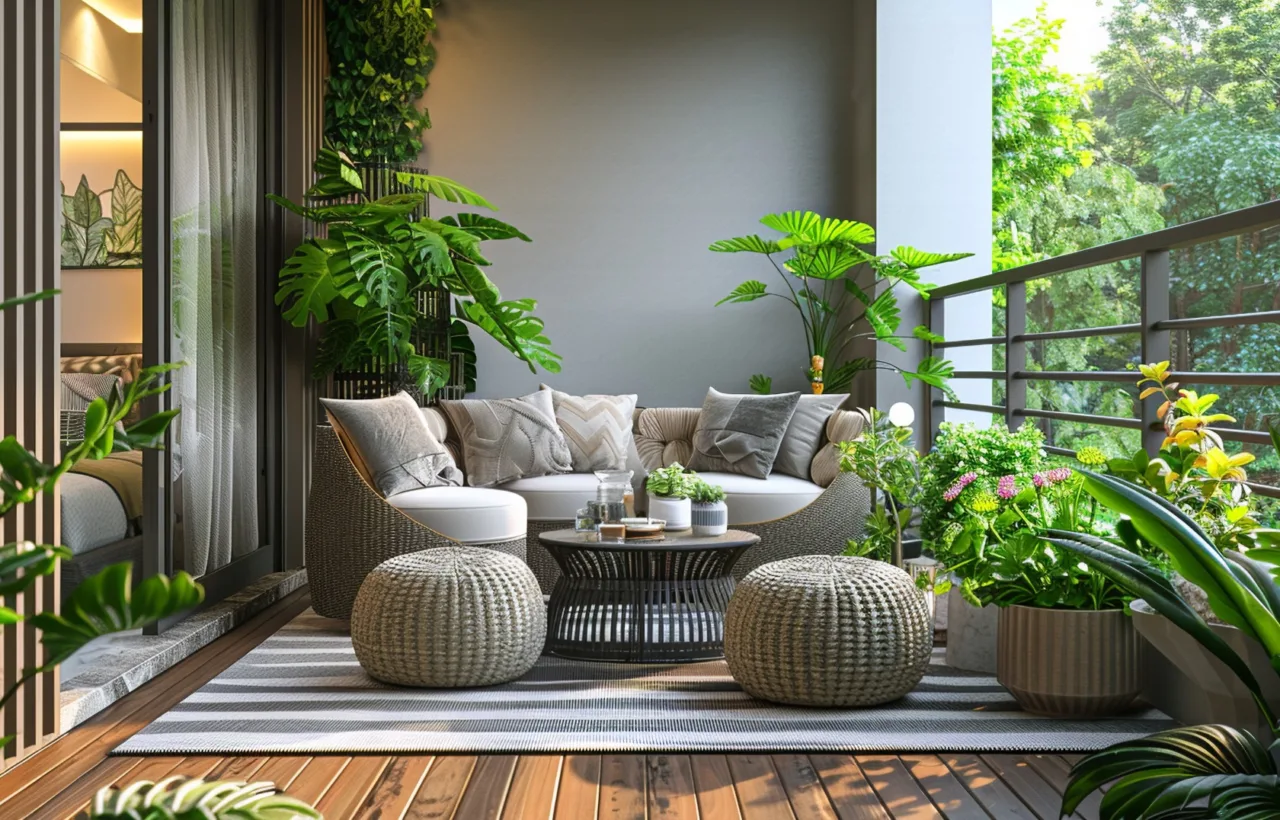
Even a tiny balcony needs somewhere to sit. I use a slim folding bistro set that tucks against the wall when not in use. One chair and a small side table work just as well. The goal is simple: a place to drink coffee while looking at the plants instead of the concrete.
The Utility Corner
Gloves, watering can, spare soil, snips. I keep all of that in one small storage bin or on a narrow shelf. Leaving tools scattered kills the vibe fast. IMO, a clean utility spot makes the whole balcony feel intentional.
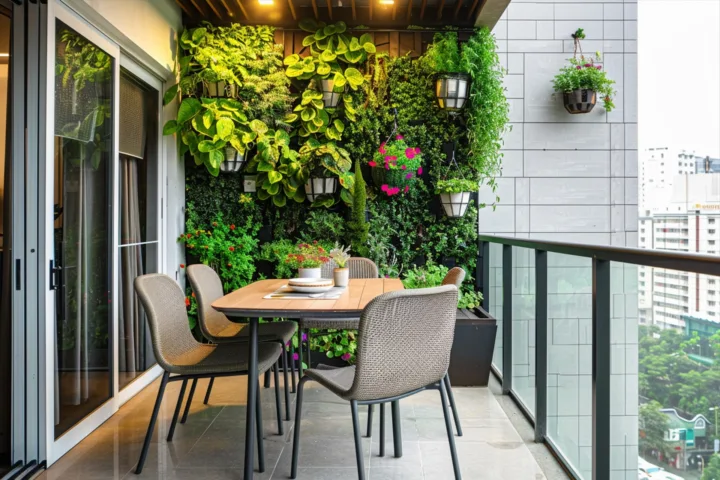
These three zones do not need walls between them. Just clear intention. When I stick to them, the space stays functional instead of becoming a jungle I avoid.
Vertical Strategies That Actually Deliver
Floor space is limited. Height is free. I lean hard into vertical growing now.
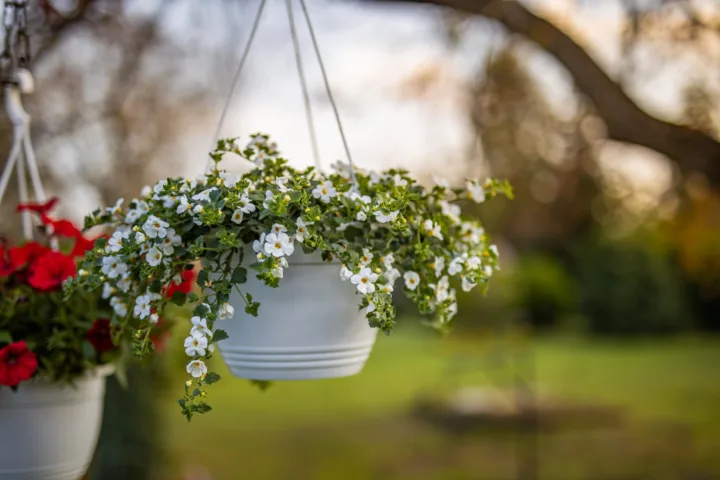
Hanging baskets from the ceiling or a freestanding frame give me trailing plants without stealing floor real estate. Wall-mounted pockets or a simple pallet turned upright hold herbs and strawberries. Trellises against the railing or wall support peas, beans, or even a compact cucumber.
One of my favorite moves is a tiered plant stand. It creates three levels of growing space in the footprint of one pot. I place it in a bright corner and load the top with sun lovers and the bottom with shade-tolerant greens.
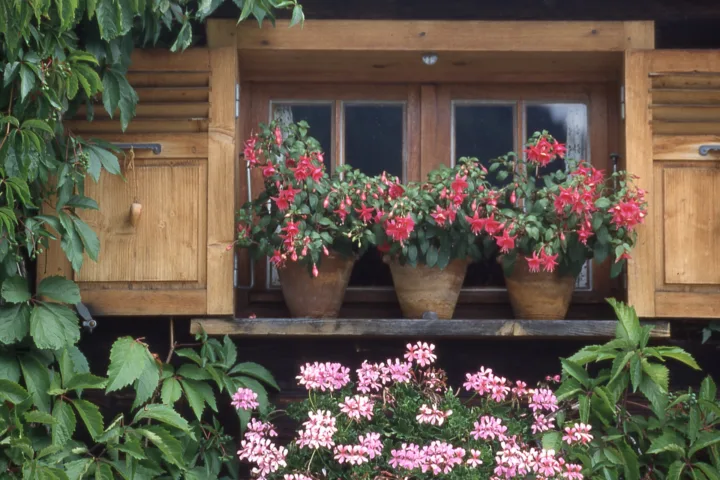
Over-the-rail planters remain the workhorse. I line the entire front railing with them. Trailing flowers spill over the outside for privacy. Herbs and greens fill the inside where I can harvest easily.
Vertical does not mean cluttered. I leave breathing room between levels so air circulates and pests stay lower.
Warning: Wind can turn trellises and hanging baskets into leverage against railings, so anchor tall supports independently whenever possible.
Choosing Containers That Fit the Layout
Not every pot works on a balcony. I learned to match container to purpose.
- Railing planters: Best for the front edge. Look for ones with sturdy brackets that will not shift in wind.
- Grow bags: Lightweight, cheap, and easy to move. Perfect for tomatoes or potatoes.
- Tall narrow pots: Great against walls. They hold climbing plants without spreading sideways.
- Hanging baskets: Ideal for trailing varieties. Check the weight when fully watered.
- Tiered stands: Maximize height in one spot.
I avoid giant heavy ceramics unless the balcony can handle them. Drainage is non-negotiable. Every container needs holes. I add a layer of gravel or broken pottery at the bottom for extra insurance.
Color and texture matter too. I stick to a limited palette so the space feels cohesive instead of busy. Neutral pots let the plants do the talking.
Fact: A gravel layer does not improve container drainage, and it reduces root volume; use drainage holes and quality potting mix instead.
Plant Selection That Matches the Layout
The best layout fails if the plants fight the conditions. I match plants to the zones I already mapped.
Sunny spots get tomatoes, peppers, basil, and most flowering annuals. Partial shade holds lettuce, spinach, parsley, and many herbs. Full shade is trickier but still works for ferns, hostas in containers, or certain begonias if I want flowers.
I mix edibles and ornamentals deliberately. A tomato plant next to a trailing petunia looks better than a row of matching pots. Height variation creates interest. Tall in back or corners. Medium in the middle. Trailing over the edges.
Companions help too. Basil near tomatoes. Marigolds near most veggies to deter pests. I keep aggressive spreaders like mint in their own pots so they cannot take over.
Pro tip: Choose determinate tomatoes and compact peppers for balcony zones, reserving trellis space for beans or cucumbers that truly need vertical support.
Practical Layout Examples That Worked for Me
My current 6-by-8-foot balcony uses this exact setup.
Railings hold four long planters with herbs and trailing flowers. Back wall has two tall pots with tomato cages and a narrow trellis. One corner holds the tiered stand for salad greens and strawberries. Opposite corner has the folding chairs and a small table. Utility bin tucks under the table when not needed. Clear path runs down the middle.
A friend with a narrower balcony went fully vertical. Wall pockets, hanging baskets, and one slim plant stand. No floor pots at all. It looks lush and still leaves room to stand.
Another neighbor put everything on wheeled plant caddies. She rolls the whole garden to one side when she wants to clean or host a small gathering. Smart move I copied for a few of my heavier containers.
These are not rigid templates. They are starting points. Measure your space. Sketch the zones. Adjust until the path feels natural.
Common Mistakes I Made So You Can Skip Them
I overcrowded the first year. Plants competed for light and water. Now I leave gaps.
I ignored wind. Tall plants without support snapped. Now I stake or cage anything that gets above two feet.
I forgot about watering access. Some pots sat so far back I dreaded the hose. Now every plant is reachable without acrobatics.
I bought plants first and figured out placement later. That produced constant rearranging. Layout first. Plants second. Always.
Weight distribution was another quiet problem. Clustering heavy pots in the center stressed the structure. I keep the heaviest items closer to the building now.
Maintenance Habits That Keep the Layout Working
A good layout only lasts if you maintain it. I water early in the morning so leaves dry before evening. I check drainage after every rainstorm. I rotate pots a quarter turn every week or two so growth stays even.
Seasonal edits keep things fresh. Spring is for leafy greens and cool-weather flowers. Summer shifts to heat lovers. Fall brings a few late herbs or ornamental kale. Winter is mostly dormant pots and planning for next year.
I also edit hard. If a plant looks tired or stops producing, it leaves. Empty space is better than a sad specimen taking up room.
Frequently Asked Questions
How do I start a balcony garden layout if my space is tiny? Start with the railing. Add over-the-rail planters and one or two hanging baskets. That alone creates a functional mini garden without eating floor space.
What is the best way to handle sun and shade in a balcony garden layout? Map the light at different times of day first. Then place sun-loving plants in the brightest spots and shade-tolerant ones in the corners that stay dimmer.
Can I grow vegetables in a balcony garden layout? Yes. Choose compact varieties and use vertical supports. Cherry tomatoes, bush beans, lettuce, and herbs thrive in containers if they get enough light and consistent water.
How often should I rearrange my balcony garden layout? I tweak it every season and after any major plant loss. Small adjustments keep the flow working as plants grow and change size.
Do I need permission for a balcony garden layout in an apartment? Check your lease and building rules first. Some places restrict weight, watering runoff, or attachments to railings. Better to know upfront than to tear everything out later.
Final Thoughts From Someone Who Finally Got It Right
A solid balcony garden layout is less about stuffing the space with plants and more about making the space work for daily life. Zones, vertical growing, honest sun mapping, and a clear path turn a concrete slab into something you actually want to spend time in.
I still mess up occasionally. A pot ends up in the wrong light. A path gets blocked by an enthusiastic squash vine. But the framework holds. I can fix the small problems without starting over.
Grab a notebook. Measure your balcony. Sketch the zones. Then start with the railing and work inward. Your future self will thank you every time you step outside with a cup of coffee and see green instead of bare concrete.