
I spent two years staring at a bare concrete slab outside my third-floor window and feeling slightly defeated every time I walked past it. That empty balcony felt like wasted space. Then I decided to turn it into something that actually made me smile. The result became my favorite spot in the whole apartment: a real balcony garden aesthetic that feels lush, personal, and completely mine.
I am not a professional landscaper. I am just someone who got tired of looking at gray flooring and decided to fix it one pot at a time. What follows is everything I learned while building it, including the mistakes that taught me the most.
Why a Balcony Garden Aesthetic Matters More Than You Think
Living in a city apartment means limited outdoor space. My balcony measures about six feet by four feet. Not exactly a backyard. Still, that small rectangle became the place I drink coffee in the morning and wind down at night.
A strong balcony garden aesthetic does more than look pretty. It changes how the space feels. Plants soften the hard edges of the railing and floor. Color and texture make the whole area feel intentional instead of leftover. I notice I spend more time outside now. I also water the plants more consistently because I actually want to sit out there.
Honestly? The visual payoff hit me harder than I expected. Friends who visit always end up on the balcony first. They comment on the greenery before they even look at the inside of the apartment.
Create one focal view from inside the apartment, so the six by four balcony feels inviting before you step outdoors.
Choosing the Right Style for Your Space
I tried three different directions before landing on what works for me. First came the full tropical jungle attempt. Too many big-leaf plants. They blocked the view and needed constant misting. Next I went minimalist with a few sculptural pots. It looked clean but felt cold. The third try stuck.
I settled on a mix of soft greens, trailing vines, and a few pops of color from flowering plants. The overall vibe sits somewhere between cozy and slightly wild. Think lived-in rather than magazine-perfect.
Here is what helped me decide:
- Start with your lighting. My balcony gets morning sun and afternoon shade. That limited me to plants that tolerate partial sun.
- Pick a color story. I stuck to greens, soft terracotta, and one recurring white flower. Repeating a few colors keeps the small space from looking chaotic.
- Think about how you will use it. I wanted a place to sit with a book. That meant leaving room for a small chair and table instead of filling every inch with pots.
See, the style only works if it matches both the conditions and the way you actually live. I learned that the hard way after killing three ferns that needed more humidity than my open balcony could give.
Plants That Actually Survive and Look Good
Plant selection makes or breaks the whole look. I started with whatever was on sale at the grocery store. Most of those died within a month. Now I choose more carefully.
These are the ones that have thrived for me:
- Trailing pothos and string of pearls. They cascade over the railing and soften the metal bars. Pothos is almost impossible to kill.
- Herbs in a row. Basil, mint, and thyme sit in matching pots near the door. I snip them for cooking and they smell amazing when the breeze hits.
- Succulents for the sunny edge. A few echeverias and a jade plant handle the brightest spots without complaint.
- One statement plant. I keep a single larger fern in a tall pot in the corner. It gives height without blocking the entire view.
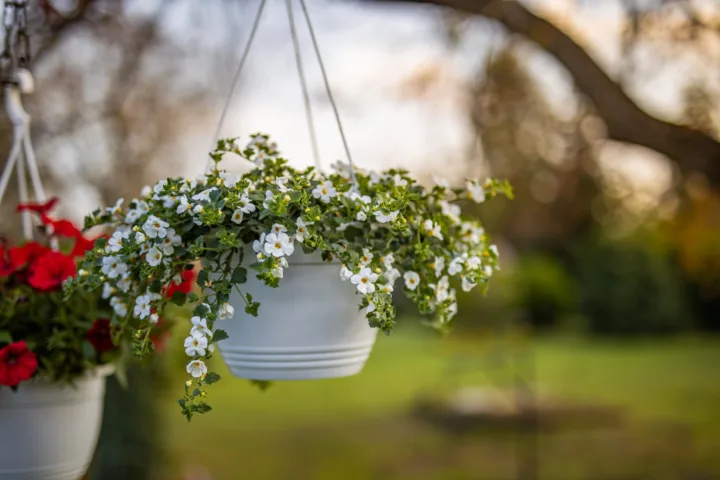
- Seasonal color. In summer I add petunias or geraniums in hanging baskets. They last a few months and then I swap them out.
I rotate a couple of plants indoors during the coldest weeks. The rest stay outside year-round in my climate. If your winters get harsh, plan for that early. Moving everything inside every November gets old fast.
Keep mint in its own pot beside the basil and thyme, because its roots spread aggressively through shared containers.
Containers and Vertical Tricks That Save Space
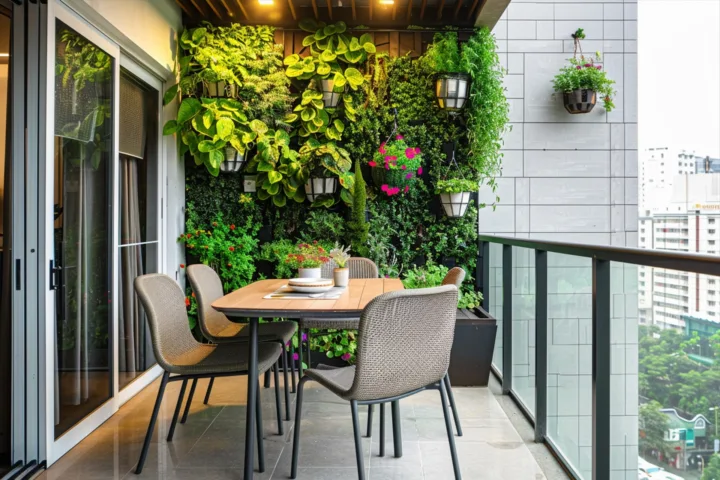
Floor space disappears quickly on a balcony. I learned to go vertical almost immediately.
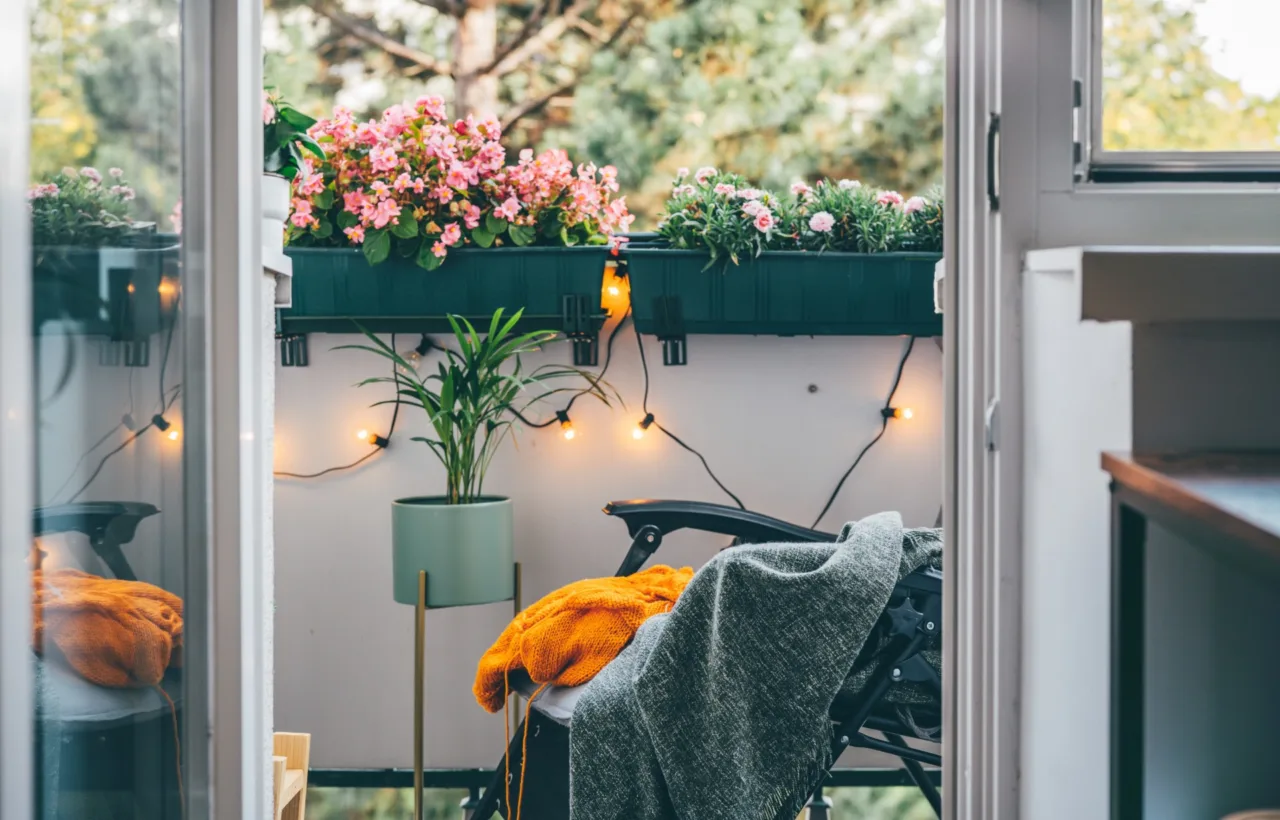
Railing planters changed everything. I attached three long troughs along the top rail. They hold herbs and trailing plants without taking up any floor area. Wall-mounted shelves hold smaller pots at different heights. A simple freestanding plant stand in the corner adds more levels.
I prefer terracotta and concrete pots over plastic. They look better and keep roots cooler. Matching the pots in a few repeated shapes creates a calmer look than a random mix of everything.
One tip I wish I knew earlier: put saucers under every pot. Water drips through and can stain the balcony floor or annoy the neighbor below. I found that out after the first heavy watering session.
Furniture and Soft Touches That Complete the Look
Plants alone are not enough if you want a space you actually use. I added a small folding bistro set that tucks against the wall when not needed. A weather-resistant outdoor rug covers most of the floor and hides the concrete. Two outdoor cushions make the chair comfortable enough for an hour of reading.
String lights run along the railing. I turn them on at dusk and the whole space feels warmer. A small outdoor lantern sits on the table for evenings when I want softer light.
I keep a small basket of tools and extra potting mix tucked under the plant stand. Clutter kills the aesthetic faster than anything else. Out of sight keeps the visual calm.
My Step-by-Step Process for Building It
I did not create the whole thing in one weekend. That approach overwhelmed me. Instead I worked in stages.
- Cleared everything off the balcony and scrubbed the floor and railing.
- Measured the space and sketched a rough layout on paper.
- Bought the largest pieces first: the plant stand, the table and chair, and the railing planters.
- Added the plants in groups rather than all at once. I lived with each new addition for a few days before deciding where it belonged.
- Finished with the rug, lights, and cushions.
The gradual approach let me adjust as I went. A few plants ended up in different spots than I first planned. That flexibility kept me from locking in decisions I later regretted.
Mark the chair, table, and plant stand footprints with newspaper before purchasing, then verify a comfortable walking path remains.
Common Mistakes I Made and How to Avoid Them
I overwatered at the beginning. City balconies often have less airflow than people expect, so soil stays wet longer. Now I stick a finger in the soil before watering. If it feels damp an inch down, I wait.
I also crowded the plants. Too many pots made the space feel smaller and harder to move around. Leaving a little open floor area helps the whole setup breathe.
Wind turned out stronger than I expected. Lightweight plastic pots tipped over during storms. Heavier materials and a few plant ties solved that.
Budget-wise, I started cheap and upgraded the pieces I used most. The first outdoor rug faded in one season. The second one cost more but still looks good three years later. IMO, spend a bit more on the items that take the most weather abuse.
Before storms, remove cushions and lightweight décor, even if the plant pots are already secured with ties.
Keeping the Aesthetic Alive Through the Seasons
Summer is easy. Everything grows fast and looks full. Fall requires some editing. I cut back the trailing plants and remove the seasonal flowers. Winter means protecting the hardiest ones and bringing the tender ones inside for a few months. Spring becomes the big reset: new soil in some pots, fresh herbs, and a good clean of the furniture.
I take photos every few months. Looking back at earlier versions shows how much the space has changed. It also helps me remember what worked and what did not.
Frequently Asked Questions
How much does a basic balcony garden aesthetic cost to start? I spent around $250 on my first solid version, including pots, plants, a small table set, and lights. You can start smaller with just railing planters and a few plants for under $100.
What plants work best for a shady balcony? Ferns, pothos, and peace lilies handle lower light well. Avoid full-sun lovers like most succulents and herbs if your balcony stays in shadow most of the day.
How do I stop water from dripping onto the neighbor below? Use pots with saucers or self-watering containers. Water early in the day so excess moisture evaporates before it becomes a problem.
Can I grow vegetables in a small balcony garden aesthetic? Yes. Cherry tomatoes, peppers, and leafy greens do fine in deep pots. Just make sure they get enough sun and you feed them regularly.
How often should I fertilize balcony plants? I use a diluted liquid fertilizer every two to three weeks during the growing season. Less is more. Overfeeding can burn roots in containers.
Final Thoughts From My Own Balcony
Building this space taught me that small outdoor areas respond well to care and patience. I no longer walk past a sad concrete slab. Instead I step outside and feel like the balcony belongs to the rest of my home.
Start with one or two changes this weekend. Add a railing planter. Hang a couple of lights. Put a plant where you can see it from inside. Those small moves add up. Before long you will have a spot that feels like your own outdoor room, even if the whole thing fits inside a few square feet.
I still tweak things every season. That is part of the fun. Your balcony garden aesthetic will keep evolving with you. Mine certainly has.