
I started my diy balcony garden after months of staring at a bare concrete slab that felt more like a storage shelf than outdoor space. The first season taught me hard lessons about wind, water, and what actually survives when you only have a few square feet and zero yard. This is the setup that worked for me, the mistakes I fixed, and the exact plants that kept producing without turning into a full-time job.
I live in a small apartment with a narrow balcony that gets decent morning sun and some afternoon shade. No fancy tools. No big budget. Just containers, soil, and a willingness to kill a few plants along the way. Honestly? The early failures stung. Dead basil. Scorched lettuce. One sad tomato that never set fruit. But the wins felt better because they were hard-earned.
See, the goal was never a magazine spread. I wanted fresh herbs for dinner and a handful of cherry tomatoes I could pick while standing outside with coffee. That modest aim changed how I approached everything.
Assessing Your Balcony Before You Buy a Single Pot
I measured the space first. Length, width, and how much weight the railing could hold. Most buildings have rules about load limits and what you can hang over the edge. I checked those before spending money. Some places ban soil-heavy planters or anything that drips onto neighbors below.
Sunlight matters more than anything else. I spent a weekend noting where the light hit at different times. My balcony gets about five hours of direct sun in the morning. That ruled out full-sun tomatoes at first and pushed me toward herbs and leafy greens that handle partial shade.
Wind is the silent killer on higher floors. Gusts dry out soil fast and snap tall stems. I learned to keep plants low or stake them early. Railings act like funnels. Anything tall and top-heavy tips over unless you weigh the base down.
Drainage is non-negotiable. Water has to escape or roots rot. I drilled extra holes in a few cheap plastic pots after the first waterlogged disaster. Saucers help catch runoff so you do not annoy the people underneath, but I empty them after every watering.
Assess containers at their wettest: saturated potting mix weighs substantially more than dry mix, especially in railing planters.
Choosing Containers That Actually Fit a DIY Balcony Garden
I started with whatever was cheap and available. Plastic pots from the dollar store. An old wooden crate I lined with plastic. A couple of fabric grow bags. Over time I learned which ones perform better.
Large containers hold moisture longer. Small ones dry out in a single hot afternoon. I now prefer pots at least 12 inches wide for most vegetables. Herbs can live in smaller ones if I check them daily.
Fabric pots breathe well and prevent root circling. They also look less formal, which matches the casual vibe I wanted. Heavy ceramic looks nice but becomes a pain to move once filled. Plastic stays lightweight and cheap to replace when it cracks.
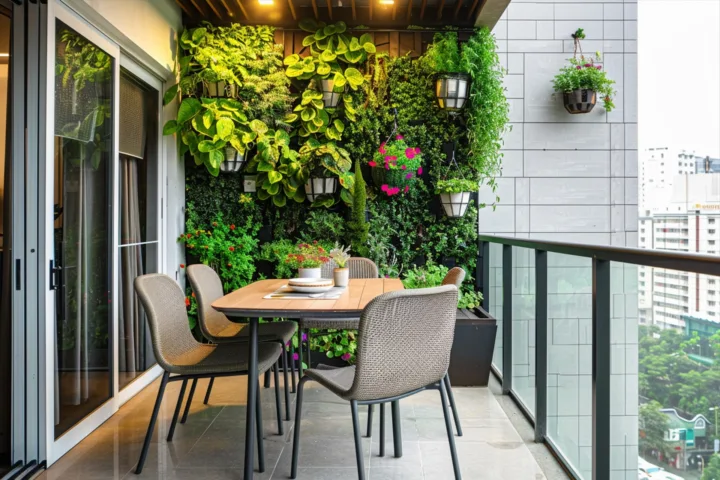
Vertical options saved my limited floor space. I hung railing planters along the edge for herbs. A simple trellis leaned against the wall for climbers. One shelf unit held three tiers of smaller pots. That single change doubled my growing area without blocking the door.
Weight distribution matters. I keep heavier pots closer to the wall or against the building rather than hanging everything off the railing. One overloaded railing planter taught me that lesson the hard way when it sagged overnight.
Secure the leaning trellis and shelf independently, since one gust could turn stacked lightweight pots into falling hazards.
Soil and Fertilizer Choices That Made a Difference
Regular garden soil is too heavy and compacts in containers. I mix my own now. Two parts potting mix, one part perlite or coarse sand for drainage, and a bit of compost for nutrients. The mix stays light and drains fast while still holding some moisture.
I fertilize lightly but consistently. A diluted liquid feed every two weeks during the growing season keeps plants productive. Overfeeding burns roots. Underfeeding leads to pale leaves and tiny harvests. I stick to organic options because I eat what I grow.
Mulch on top of the soil cuts down evaporation. A thin layer of shredded bark or even dried leaves works. It also keeps soil from splashing onto leaves during watering.
Plants That Thrived in My Small Space Setup
I stuck to compact varieties. Full-size plants demand more root room and water than most balconies can provide.
Rotate container tomatoes and peppers weekly so balcony light does not produce one-sided growth or uneven fruiting.
Herbs became my reliable backbone. Basil loves the heat and grows fast from seed or starts. I keep two pots going so I always have some for pesto or salads. Mint stays in its own container because it spreads aggressively. Thyme and rosemary handle drier conditions and need less attention. Chives and parsley fill gaps and keep producing when I snip them regularly.
Leafy greens give quick wins. Lettuce and spinach grow well in cooler months or partial shade. I succession plant every few weeks so something is always ready to harvest. Swiss chard holds up better in heat than I expected.
Cherry tomatoes were the first real success story. I chose determinate varieties that stay bushier. A cage or simple stake keeps them upright. One plant in a 14-inch pot produced enough for daily snacks through summer. Full-size slicing tomatoes needed more space and water than I could spare.
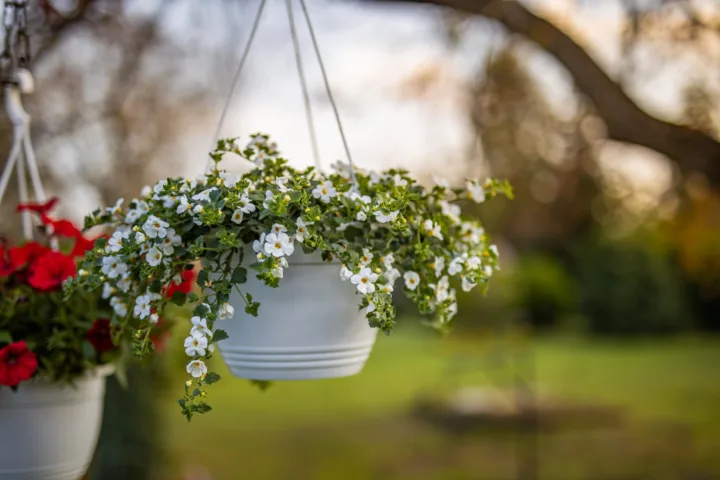
Peppers do well in pots if they get enough heat. I grew a couple of compact sweet peppers that stayed under two feet tall. Beans and peas climb a trellis and produce without taking floor space. Strawberries in hanging baskets looked pretty and gave small but sweet fruit.
Flowers are not required, but a few add color and attract pollinators. Marigolds help with pests. Nasturtiums trail nicely over edges and the leaves are edible.
I avoid heavy feeders that demand constant attention. Corn, large squash, and most melons need more room and water than a typical balcony supplies.
Watering Habits That Stopped the Constant Dying
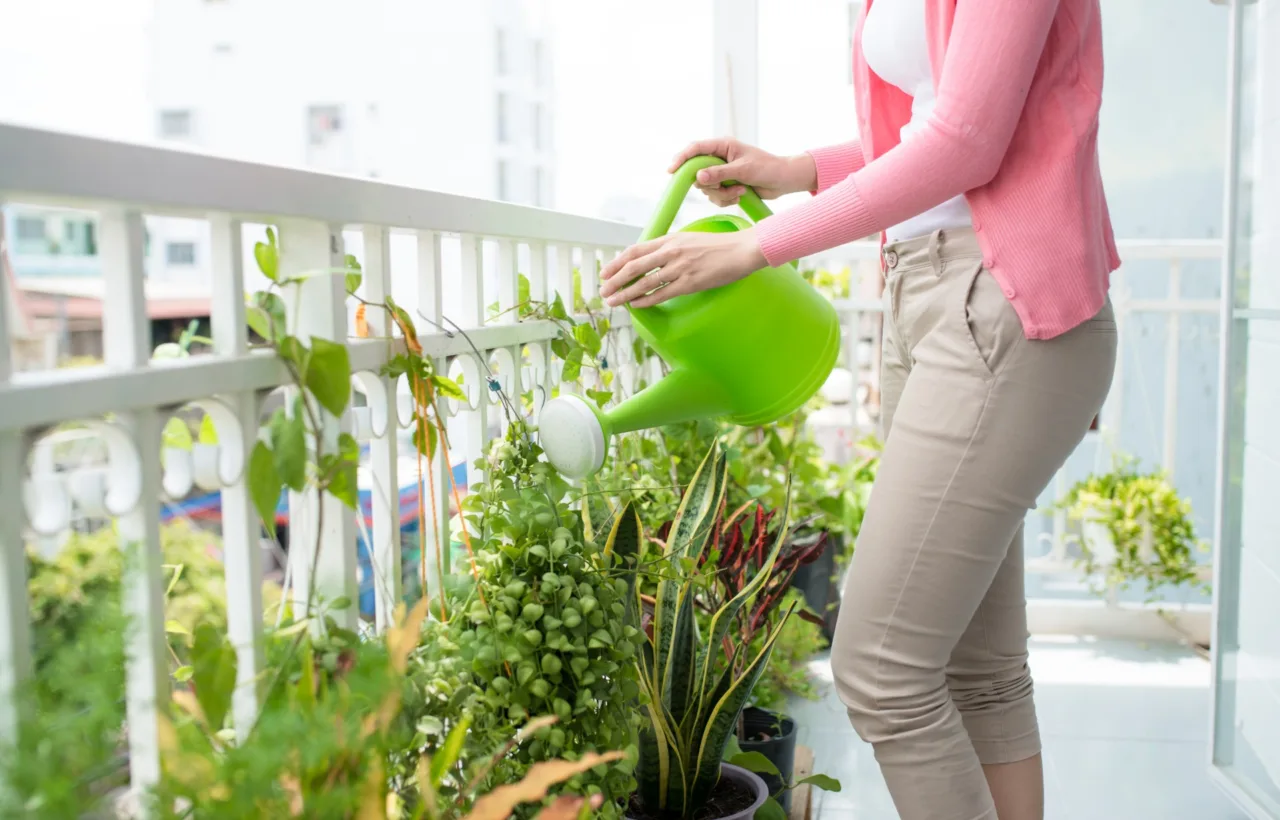
Container plants dry out faster than in-ground ones. I check soil daily by sticking a finger in an inch deep. If it feels dry, I water. If it still feels moist, I wait.
Morning watering works best. Leaves dry during the day and reduce disease risk. I water thoroughly until it runs out the bottom, then empty the saucers. Light daily sprinkles encourage shallow roots.
Self-watering pots or a simple reservoir system helped during busy weeks. A few bottles inverted into the soil as slow-release feeders also bought me time when I traveled for a couple of days.
Hot windy days demand extra checks. I once lost an entire tray of seedlings because I assumed the previous night’s rain was enough. It was not.
Test each inverted bottle for steady flow over 24 hours before relying on it during travel.
Dealing With Pests and Common Problems
Aphids showed up first. I blasted them off with a strong stream of water and followed up with a mild soap spray. Ladybugs arrived on their own once the plants got established.
Powdery mildew appeared on some squash leaves during humid stretches. Better air circulation and removing affected leaves kept it from spreading. Overcrowding invites trouble, so I leave space between pots.
Yellow leaves usually signal overwatering or nutrient shortage. I adjust one thing at a time and watch the response. Brown crispy edges often mean underwatering or salt buildup from fertilizer. Flushing the soil with plain water helps.
Birds occasionally peck at ripe tomatoes. A light netting draped over the cage solved that without looking ugly.
Budget-Friendly DIY Upgrades I Actually Used
I built a simple vertical rack from scrap wood and brackets. It holds four mid-size pots against the wall. Cost almost nothing beyond screws and a free afternoon.
Old plastic storage bins with drainage holes drilled in the bottom became large planters for deeper-rooted plants. I painted them a neutral color so they blend in.
A pair of shoe organizers hung on the railing held small herb pots for a season. They dried out fast, so I switched to sturdier options later, but the idea worked short-term.
Repurposed kitchen containers work for seed starting. Egg cartons and yogurt cups get seedlings going before I transplant them into bigger pots.
Seasonal Adjustments That Kept Things Going
Spring is for leafy greens and cool-season herbs. I start seeds indoors under a cheap grow light if the weather stays cold.
Summer shifts to heat lovers: tomatoes, peppers, basil. I move pots around to chase the best light as the sun angle changes.
Fall brings another round of greens and a few cold-tolerant flowers. I protect tender plants with a simple row cover on chilly nights.
Winter is mostly dormant for me. I bring a few hardy herbs inside near a sunny window and clean the empty pots for next year. Some people keep going with grow lights, but I prefer the break.
Frequently Asked Questions
How much does a basic diy balcony garden cost to start? I spent under $100 the first season by using recycled containers and starting most plants from seed. The biggest expenses were decent potting mix and a few quality pots that lasted more than one year.
Can I grow vegetables if my balcony only gets partial sun? Yes. Leafy greens, herbs, and some compact peppers still produce with four to five hours of light. Full sun plants struggle, so I skip those and stick to what matches the conditions.
What is the biggest mistake new balcony gardeners make? Overcrowding pots and ignoring drainage. I did both early on. Plants need room for roots and water has to escape or everything turns into a soggy mess.
Do I need special tools for a diy balcony garden? No. A watering can, a small hand trowel, and pruners cover most jobs. I added a cheap moisture meter later, but my finger worked fine for a long time.
How do I keep plants alive when I travel? Self-watering containers and a trusted neighbor who can check once or twice a week solved it for me. Grouping pots together also slows drying.
Final Thoughts From Someone Who Almost Quit
I nearly gave up after the second failed tomato plant. The balcony looked messy. The harvests were tiny. Then one successful basil harvest turned into pesto that tasted better than anything from the store. That small win kept me going.
A diy balcony garden does not need to be perfect or Instagram-ready. It just needs to produce something you can eat or enjoy looking at while you drink coffee outside. Start small. Kill a few plants. Adjust. The process teaches you more than any list of tips ever will.
Now I step outside most mornings and snip whatever is ready. The space still feels limited. The pots still need daily checks. But the concrete slab finally feels like mine. And that is enough.