I started my apartment balcony garden with zero experience and a space so small I could barely fit a chair. Honestly? I expected half the plants to die within a month. Most of them did not.
That first season taught me more than any glossy guide ever could. I learned which pots hold water without drowning roots, which herbs laugh at wind, and why one tomato plant can take over an entire railing if you let it. This is the real rundown of what worked for me, what flopped, and how I keep the whole thing alive without turning into a full-time gardener.
Checking the Rules Before I Bought a Single Pot
Apartment buildings have rules. Mine limited weight and banned anything that dripped on the neighbors below. I found that out the hard way after buying two massive ceramic planters that nearly got me a warning notice.
See, weight is the silent killer of balcony dreams. Wet soil is heavy. A big container filled with it can push the limits of older structures. I switched to lightweight plastic and fabric grow bags. They look less fancy, but they keep the load manageable and drain better.
I also measured the actual usable space. My balcony is about 6 feet by 4 feet. That left room for railing planters, two floor pots, and a small vertical shelf. No big raised beds. No sprawling setups. Just tight, intentional choices.
Confirm balcony load limits with building management before filling containers, because saturated potting mix can weigh substantially more than dry soil.
Figuring Out Sun and Wind on a High Floor
My balcony faces east. Morning sun, afternoon shade. That changed everything about plant selection. Full-sun tomatoes struggled. Leafy greens and most herbs thrived.
Wind hits harder up here. It dries soil faster and can snap thin stems. I started grouping pots together so they shield each other. A small trellis against the wall now supports climbers and blocks some of the gusts.
Water evaporates quicker on a balcony than in a ground garden. I check soil every morning during summer. Stick a finger in two inches deep. If it feels dry, water. If it still feels damp, wait. Overwatering killed more of my early plants than underwatering ever did.
Use compact, wind-tolerant varieties on the east-facing balcony, and place taller plants against the wall so morning light reaches shorter herbs.
Choosing Containers That Actually Fit an Apartment Balcony Garden
I tried everything. Heavy terracotta looked pretty until I had to move it. Cheap plastic cracked after one season. Here’s what stuck:
- Fabric grow bags: Lightweight, breathable, easy to store in winter. I use 5-gallon ones for tomatoes and peppers.
- Railing planters: These hang over the edge and free up floor space. I went with ones that have secure brackets so they don’t tip.
- Vertical wall planters: A simple pocket system holds herbs and strawberries without eating floor room.
- Self-watering pots: These cut my watering routine in half during hot weeks. Worth every dollar for busy days.
Drainage holes are non-negotiable. Every pot needs them. I add a layer of broken pottery or packing peanuts at the bottom of deeper containers so water does not sit around the roots.
Skip gravel, broken pottery, and packing peanuts as drainage layers; they reduce root space without improving drainage. Use drainage holes and a quality potting mix instead.
Plants That Survived My First Two Seasons
I started with too many varieties. Then I narrowed it down to what actually produced without constant drama.
Herbs That Kept Coming Back
Basil, parsley, chives, and mint became my core group. Basil needs more sun and consistent water. Mint spreads like crazy, so it lives alone in its own pot. Chives bounce back even after I forget them for a week.
Rosemary and thyme handled the wind better than I expected. They prefer drier soil, which matches the fast-drying conditions up here.
Vegetables Worth the Effort
Cherry tomatoes in a 5-gallon bag gave me the best return. Determinate varieties stay more compact. I stake them early. Indeterminate ones turned into monsters that needed daily attention.
Leaf lettuce and spinach grew fast in the cooler months. I cut outer leaves and let the center keep producing. Peppers did okay once I moved them to the sunniest corner. Cucumbers needed more space and support than I could give, so I skipped them the second year.
Flowers That Made It Feel Alive
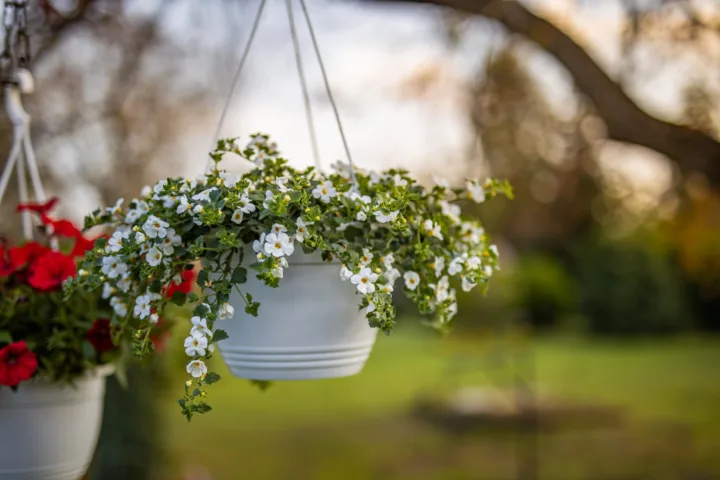
Marigolds kept pests away and added color. Nasturtiums trailed over the railing and the leaves are edible. Petunias filled the hanging baskets and handled the wind better than most flowering plants.
Succulents filled the shady spots near the wall. They need almost no care, which makes them perfect filler when I get busy.
Soil and Feeding Without Overcomplicating It
Regular garden soil is too dense and heavy for containers. I use a quality potting mix with perlite mixed in for drainage. Some bags already include it. I add a slow-release fertilizer at planting time, then switch to a liquid feed every two weeks once plants start growing strong.
Compost tea worked well when I had time to brew it. A simple balanced liquid fertilizer from the garden center does the job on normal weeks. I go lighter in fall when growth slows.
Watering and Maintenance Routines That Stick
Morning watering works best for me. The plants take it up before the heat hits. I water until it drains out the bottom, then stop. Saucers catch the excess so it does not drip downstairs.
In peak summer I water most containers daily. In spring and fall it drops to every other day or less. Fabric bags dry out faster than plastic, so I keep an eye on those.
Deadheading flowers and pinching herbs keeps them producing. I spend ten minutes most evenings just checking leaves for pests or yellowing. Aphids showed up once. A strong spray of water and a bit of insecticidal soap handled them without chemicals.
Vertical Tricks That Doubled My Growing Space
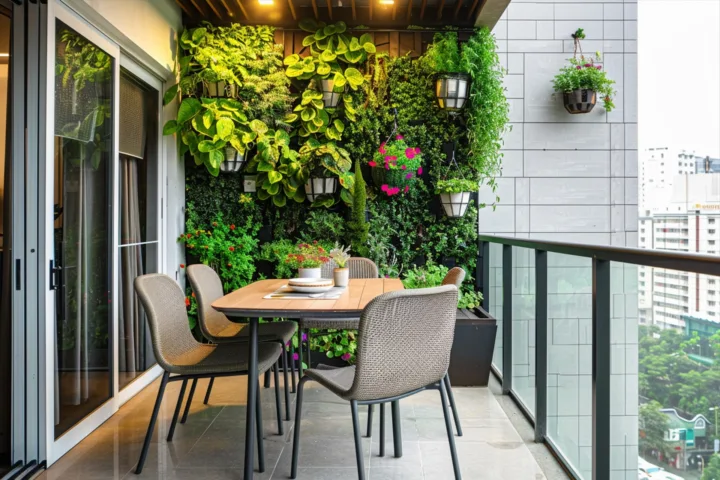
Floor space disappears fast. I hung a simple trellis against the wall for peas and climbing beans. Railing planters hold trailing plants. A small shelf unit holds four smaller pots stacked.
Hooks from the ceiling (where allowed) hold hanging baskets. That frees the railing for other things. Vertical is the only way a tiny balcony feels productive instead of cramped.
Common Mistakes I Made So You Do Not Have To
I overcrowded the first year. Plants competed for light and water. Now I leave more space between pots than feels necessary at first.
I ignored the weight limit until management mentioned it. Stick to lighter materials from day one.
I bought plants that needed full sun when my balcony only gets partial. Matching the plant to the actual light is more important than the pretty picture on the tag.
I left pots sitting in saucers of water too long. Roots rot. Empty the saucers after watering.
Seasonal Adjustments That Keep Things Going
Spring is for planting cool-season crops and starting seeds indoors under a cheap grow light. Summer is maintenance and harvesting. Fall means switching to kale, more lettuce, and hardy herbs. Winter is quiet. I bring a few pots inside or cover them if a hard freeze hits.
Some years I start over completely in spring. Other years the rosemary and thyme make it through mild winters in their pots.
Budget Reality Check
I spent under $150 the first season on pots, soil, and plants. Most of that went to containers I still use. Seeds are cheap. Starts from the nursery cost more but give faster results. I reuse soil by refreshing it with compost each year instead of buying new every time.
Fancy self-watering systems and custom vertical walls look nice in photos. Basic pots and good soil grow the same food.
Frequently Asked Questions
What is the best plant for a complete beginner’s apartment balcony garden? Start with mint or chives. They forgive missed waterings and still give you something to harvest. Basil is next if you have decent sun.
How often do I really need to water? Check the soil daily in summer. Water when the top two inches feel dry. In cooler weather it can stretch to every few days. Containers dry out faster than in-ground gardens.
Can I grow tomatoes on a small balcony? Yes, but stick to cherry or determinate varieties in at least a 5-gallon container. Stake them early and give them the sunniest spot you have.
Do I need special permission from my landlord? Usually yes. Ask about weight limits, drainage rules, and anything that attaches to the building. Better to know before you buy heavy pots.
What if my balcony gets almost no direct sun? Focus on leafy greens, mint, parsley, and shade-tolerant flowers. Skip tomatoes and peppers. They will just sit there looking sad.
I still walk out to the balcony most mornings with coffee and check on the plants. Some days everything looks perfect. Other days a pot has tipped or aphids have arrived. That is part of it. The harvests of fresh basil and cherry tomatoes make the small failures worth it.
Start small. Pick three or four plants that match your light and space. Get the containers right. Water with attention instead of a fixed schedule. Your apartment balcony garden will grow into something that feels like yours. Mine did. Yours can too.