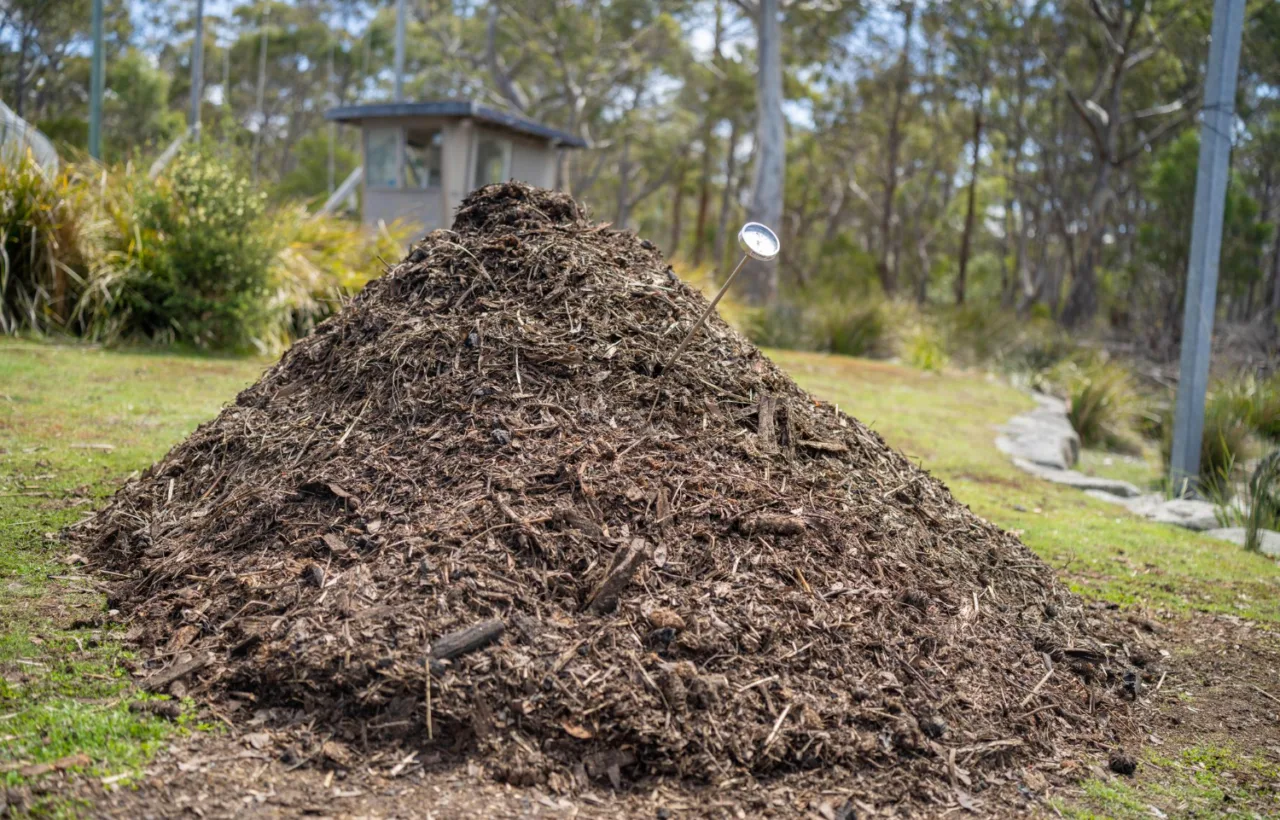

Starting a compost pile changed my backyard forever. I used to toss kitchen scraps in the trash and feel guilty about the waste. Now I turn that stuff into rich soil for my garden. Learning how to start a compost pile took me a few tries but paid off big time. You can do the same without fancy gear or a huge yard.
I messed it up early on. Honestly? My first attempt smelled like a dumpster and attracted every raccoon in the neighborhood. That taught me more than any book. You skip the headaches if you follow a simple path. Let’s walk through it together like we’re chatting over coffee.
Why Bother with Composting at All
You save money on soil and fertilizer. Your plants get happier. The trash bin fills slower. I noticed my tomato plants doubled in size the first season I used homemade compost. That felt like a win.
See, landfills already of food waste and create methane. Composting cuts that. Your contribution stays small but real. I started because my grocery bill kept climbing and my garden looked sad. Compost fixed both.
It works for apartments too if you use a small bin. No excuses. Just results.
Picking the Perfect Spot for Your Pile
Location makes or breaks it. You want a shady corner with decent drainage. Full sun dries everything out too fast. Deep shade keeps it soggy.
I put mine against the back fence near the kitchen door. Short walk for scrap dumping. That convenience kept me consistent. You need easy access or the whole thing gathers dust.
Keep it away from your house foundation. Moisture and bugs like to wander. Also check local rules. Some HOAs fuss about visible piles. A simple enclosure hides it fine.
Good airflow matters. Leave space around the sides. I learned that after my first pile went anaerobic and stank for weeks. Fresh air solves so many problems.
Tree roots can invade your pile and steal nutrients. Place a root barrier or avoid spots near large trees.
Gathering What You Actually Need
You don’t need expensive kits. Start basic.
- A bin or open pile setup: Wire fencing works great for open piles. Or grab a cheap plastic tumbler if you want to keep it tidy. I used free pallets from a local store. Stacked them into a square. Cost me zero dollars.
- Browns and greens: Browns are dry stuff like leaves, cardboard, newspaper. Greens are wet kitchen scraps, grass clippings, coffee grounds. Balance them roughly half and half.
- Water source: A hose or watering can. The pile needs moisture like a wrung-out sponge.
- Optional tools: Pitchfork for turning. Gloves. That’s it.
I skipped the fancy aerators at first. Hands and a shovel did the job. FYI, you can upgrade later once you’re hooked.
Collect materials over a week or two. Don’t force it empty-handed. My garage still has a cardboard box labeled “browns only.” It fills fast with junk mail and egg cartons.
Building Your First Compost Pile Step by Step
Clear the ground. Remove grass or weeds so the pile touches soil. Microbes from the earth jump in faster that way.
Layer like a lasagna. Start with chunky browns on the bottom for airflow. Think twigs or torn cardboard. Then greens. Then more browns. Keep going until you hit about three feet high and wide. Smaller piles heat up slower.
I always wet each layer lightly as I build. Dry materials sit there forever otherwise. Mix a bit with your pitchfork after every few layers. That jumpstarts the process.
Cover the top with browns. This keeps smells down and flies away. My early uncovered piles looked like a fruit fly convention. Never again.
Size it right. Too small and it never cooks. Too big and the center starves for air. Three by three by three feet hits the sweet spot for beginners. I stuck to that and got usable compost in two months the second try.
Sprinkle a thin layer of garden soil or finished compost between layers to introduce beneficial microbes.
Balancing Browns and Greens Like a Pro
This balance decides success. Too many greens and it turns slimy and smelly. Too many browns and nothing happens. Aim for equal volume. Browns provide carbon. Greens bring nitrogen.
Kitchen scraps count as greens: fruit peels, veggie ends, coffee grounds, tea bags. Avoid meat, dairy, oils. Those attract pests and go rancid. Yard waste splits both ways. Fresh grass is green. Dry leaves are brown.
I keep a running bin under the sink for greens. Empty it every couple days. For browns I store bags of shredded leaves from fall. That stash lasts me through spring. You can shred newspaper or cardboard if leaves run low. Tear it small so it breaks down quicker.
Test the mix by smell and feel. It should smell earthy, not rotten. Squeeze a handful. A few drops of water should come out. Adjust by adding the opposite material. I do this weekly. Takes five minutes and prevents disasters.
Avoid adding diseased plant material to greens; it can survive if pile doesn't reach high heat.
Keeping Your Pile Alive and Cooking
Moisture first. Check it every few days. Dry if dry. Add dry browns if soggy. Rain helps but cover during heavy storms so it doesn’t flood.
Turn the pile. This adds oxygen. Do it every one to two weeks with a pitchfork. Move outer material to the center. I set a phone reminder. Skipping turns slows everything way down. My neglected first pile took six months. Turned ones finish in eight to twelve weeks.
Heat is your friend. A good pile hits 130-160 degrees Fahrenheit inside. That kills weed seeds and pathogens. I stuck a cheap compost thermometer in once out of curiosity. Watching the temp climb felt satisfying. No thermometer? Just dig in with your hand carefully. Warm means progress.
Watch for pests. Bury food scraps deep. Use a lid or hardware cloth if raccoons visit. I had one clever guy once. A simple latch fixed it. Birds and bugs usually ignore a well-managed pile.
Troubleshooting the Stuff That Goes Wrong
Piles fail for simple reasons. Smelly? Too wet or too many greens. Add browns and turn. Dry and inactive? Water it and mix in greens. Attracting animals? Bury scraps better and skip the forbidden foods.
I once added a whole bag of grass clippings. Instant slime city. Took three weeks of browns and turning to rescue it. Lesson learned: small batches only.
Slow breakdown? Chop materials smaller next time. Big chunks take forever. My avocado pits still sit there months later. Now I smash them first.
Cold weather slows it. Insulate with extra leaves or straw. Or just wait. Compost happens year-round, just slower in winter. My pile kept working under a light snow cover last year. Surprised me.
Using Your Finished Compost
Finished compost looks dark and crumbly. Smells like forest floor. No original scraps visible. Screen it if you want fine stuff for pots. I dump the coarse bits back into a new pile.
Spread it around plants as mulch. Mix into garden beds before planting. Make compost tea by steeping a shovelful in water for a day. Water plants with that liquid gold. My roses went wild after their first tea treatment.
Store extras in a covered bin. It keeps for months. I give bags to neighbors now. Builds goodwill and empties my pile for the next round.
Real Talk from My Own Backyard Experiments
I tried three methods side by side one summer. Open pile. Closed plastic bin. Tumbler. The open pile won for volume and speed. The bin stayed neater but needed more turning. The tumbler spun easy but held less. IMO the open pile suits most people starting out. Cheapest too.
My biggest surprise: worms showed up on their own. Red wigglers love a good pile. They speed things up and leave castings behind. I never bought worms. They just arrived. Free them. They’re free labor.
City living? I helped a friend with a balcony setup. She used a small worm bin. Same principles. Kitchen scraps in, castings out. Worked in a studio apartment. No yard required.
Frequently Asked Questions
How long does it take to start a compost pile and get usable material? You can build the pile in under an hour. Usable compost usually appears in two to three months if you turn and water regularly. Cold weather stretches that timeline.
Can I start a compost pile in winter? Yes. The process slows but doesn’t stop. Layer extra browns for insulation and keep turning when you can. Spring will finish the job fast.
What should I never put in my compost pile? Skip meat, bones, dairy, oily foods, pet waste, and diseased plants. Those cause smells, pests, or spread problems. Stick to plant-based kitchen and yard scraps.
Do I need special equipment for how to start a compost pile? No. A corner of your yard, some scraps, and a pitchfork cover the basics. Fancy bins help with neatness but aren’t required. I started with zero gear.
How do I know when my compost is ready? It turns dark brown, crumbly, and earthy-smelling. Original materials disappear. Temperature drops to outdoor levels. That’s your green light to use it.
Wrapping Up Your Compost Journey
You now know exactly how to start a compost pile without the usual pitfalls. Pick a spot. Layer browns and greens. Keep it moist and turned. Fix problems as they pop up. Harvest the black gold and feed your garden.
I still smile every time I scoop a handful into a planting hole. That dirt started as banana peels and coffee grounds. Pretty cool transformation. Your turn. Grab those kitchen scraps today and build the first layer. The raccoons can find dinner elsewhere. Your plants will thank you all season long.


