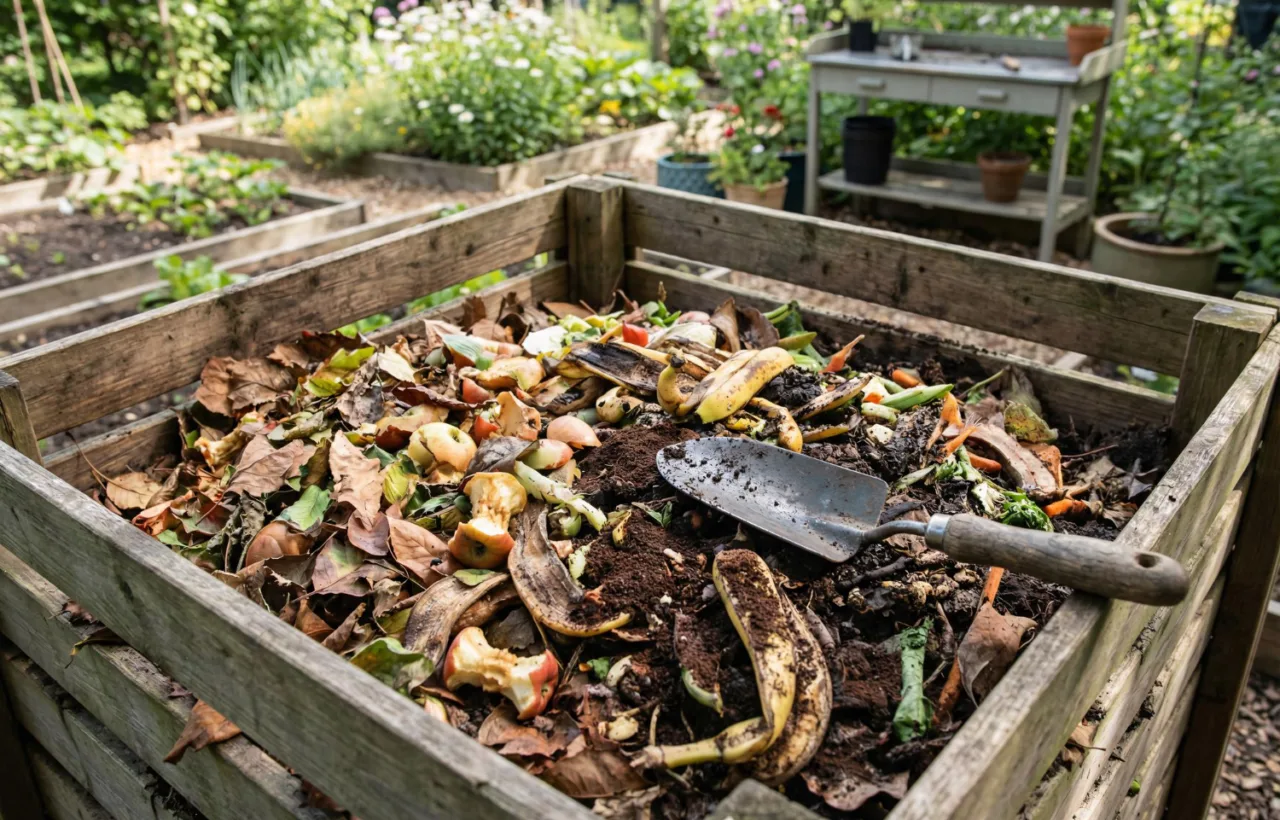

I spent years tossing kitchen scraps in the trash and feeling guilty about it. Then I finally built my own compost bin diy setup last spring. That single afternoon project cut my garbage in half and gave my garden the richest soil it has ever seen.
Honestly? I dragged my feet for months. I thought composting needed some fancy tumbling machine or a huge backyard operation. Turns out I was wrong. A basic compost bin diy project costs almost nothing and works better than most store-bought options I tried later.
See, my old garden soil looked tired. Plants grew okay but never thrived. I wanted free fertilizer from stuff I already threw away. So I grabbed what I had and got to work. You can do the exact same thing this weekend.
Why I Bothered with a Compost Bin DIY Project at All
I used to buy bags of compost every spring. That got expensive fast. Plus the bags never matched what my soil actually needed. Homemade stuff from a compost bin diy setup beats store bags every time. It holds moisture better. It feeds plants longer. And it costs me zero once I set it up.
I also hated watching food waste go to the landfill. My kitchen produces a surprising pile of peels, coffee grounds, and wilted greens every week. That waste belongs in the dirt, not a truck.
The best part hit me after the first batch finished. I scooped dark, crumbly gold into my tomato beds. The plants exploded with growth. Neighbors asked what fertilizer I used. I just smiled and pointed at the bin behind the shed.
The Simple Materials I Used for My First Compost Bin DIY
I kept it cheap on purpose. Fancy lumber and hardware cloth can wait. My first version used junk I already owned or found for free.
Here is exactly what went into mine:
- One plastic storage bin (30-gallon size with a tight lid). I grabbed mine from the garage. Any sturdy tote works.
- A drill and a small bit. I used a 1/4-inch bit for the holes.
- Some dry leaves and a scoop of garden soil. Free from the yard.
- A shovel or stick for mixing later.
That is it. Total cost: under $15 if you buy the bin new. I spent zero.
Some folks go full pallet route. I tried that later and loved it. But for beginners the plastic bin wins. It keeps critters out better. It holds moisture. And you can move it if needed.
Step-by-Step: How I Built My Compost Bin DIY in Under an Hour
I cleared a shady spot behind the shed. Partial shade works best. Full sun dries everything out too fast. Full shade slows the process.
Step 1: Prep the Bin
I rinsed the bin clean. Then I drilled holes. Lots of holes.
I put 10 to 12 holes in the bottom for drainage. Then another 8 to 10 around the sides for air. And a few in the lid. Oxygen keeps the pile happy. Without it things turn stinky and slimy.
Pro tip from my first fail: space the holes evenly. Crowded holes weaken the plastic. Spread them out.
Step 2: Build the Base Layer
I dumped a thick layer of dry leaves and shredded cardboard in the bottom. This is the brown stuff. Carbon-rich material. It soaks up extra moisture and feeds the good microbes.
I added a couple scoops of regular garden dirt on top. The dirt brings in the tiny helpers that start the breakdown.
Step 3: Start Adding Scraps
I brought out my first kitchen pail. Fruit peels. Coffee grounds. Eggshells. Veggie ends. I mixed them right in and covered everything with more leaves.
Then I sprayed the whole pile with the hose until it felt like a wrung-out sponge. Not dripping. Just damp.
Lid went on. Done.
I felt ridiculously proud standing there looking at my new compost bin diy creation. It looked humble. But I knew what it would become.
What I Put In (and What I Learned to Leave Out)
Greens and browns. That is the whole game.
Greens (nitrogen):
- Fruit and veggie scraps
- Coffee grounds and filters
- Fresh grass clippings
- Tea bags (paper ones)
Browns (carbon):
- Dry leaves
- Shredded newspaper or cardboard
- Twigs and small sticks
- Sawdust from untreated wood
I aim for roughly three parts brown to one part green by volume. Too many greens and the pile smells like a swamp. Too many browns and nothing happens.
I never add:
- Meat, dairy, or oily foods (pests love them)
- Pet waste
- Diseased plants
- Weeds that already went to seed
My first month I slipped up with a bit of leftover cheese. Racoon party the next night. Lesson learned. Stick to the list and your compost bin diy stays peaceful.
Bury fresh greens under a 4-inch layer of browns to prevent odors and deter flies.
How I Keep My Compost Bin DIY Happy Year-Round
I check the pile once a week. Quick poke with a stick. If it feels dry I add water. If it looks compacted I fluff it.
Turning helps speed things up. I dump the whole bin onto a tarp every few weeks, mix it, and put it back. Or I just stir the top layers. Either way works.
In winter I move the bin to a sunnier spot. Cold slows everything. But the pile still works if I keep adding scraps and browns.
Smells? Only if I mess up the balance. A quick layer of leaves fixes most odor issues in a day.
Pests? My lid stays latched. Holes stay small. No problems after the cheese incident.
The Pallet Version I Built Next (When I Got Greedy)
My little plastic bin filled up fast once the garden got going. So I graduated.
I scored four free heat-treated pallets from a local warehouse. I stood three of them in a U shape and screwed them together. The fourth became a front gate that lifts off.
I lined the bottom with hardware cloth so nothing tunnels up. Done in two hours with a drill and some screws.
That three-sided setup holds way more. I can turn the pile by just forking it into a second bay if I ever build one. For now the single bay works great.
Honestly? The pallet compost bin diy feels more permanent. It looks like it belongs in the garden. And the free factor still makes me smile.
Build two adjacent bays from the start to easily turn the pile by forking it from one bay to the other.
Common Mistakes I Made (So You Can Skip Them)

I started too small. One tiny bin fills quick. Build bigger than you think you need or make two at once.
I forgot air. My first week I barely drilled holes. The pile went anaerobic and stank. More holes fixed it overnight.
I got impatient. Compost takes time. Mine took about three months for the first usable batch. Hot piles go faster. Cold piles take longer. Either way, rushing never helps.
I put the bin too close to the house once. Bad idea. Even a good pile can attract flies if you open it a lot. Farther back works better.
How I Know When the Compost Is Ready
The pile shrinks. A lot. What started full ends up half size.
It looks dark and crumbly. No big chunks of food left.
It smells like fresh dirt after rain. Not sour. Not rotten.
It feels cool. Hot piles mean the microbes are still working hard. Cool means they finished.
I sift out any leftover sticks and toss them back in the new pile. The rest goes straight on the garden beds. Tomatoes, peppers, flowers. Everything loves it.
Frequently Asked Questions
How long does a compost bin diy project take to start producing usable compost?
Mine gave me the first batch in about three months with weekly turning. Without turning it can take six to twelve months. Hotter weather speeds it up.
Can I do a compost bin diy setup if I live in an apartment?
Yes. I helped a friend make a small worm bin version that lives under her sink. Or try a sealed bokashi bucket if space is tight. Outdoor options work best with a balcony or patio.
What is the cheapest compost bin diy method that still works well?
The plastic storage tote wins for me. Free pallets come in second if you can find them. Wire fencing rolled into a circle costs under $20 and takes ten minutes.
Do I need special tools for a basic compost bin diy build?
Nope. A drill for holes and a screwdriver or hammer if you go the pallet route. I used basic hand tools the whole time.
Will my compost bin diy attract animals or smell bad?
Only if you add the wrong stuff or forget the lid. Stick to plant scraps, keep it moist but not soggy, and cover greens with browns. My bin sits quietly in the yard with zero drama.
Final Thoughts from My Backyard
I started with one cheap plastic tote and a pile of kitchen scraps. That simple compost bin diy project changed how I garden and how I think about waste. Now I run two systems: the original tote for kitchen bits and the pallet bay for yard waste.
You do not need perfect conditions or expensive gear. You just need to start. Grab a bin. Drill some holes. Throw in your peels and leaves. Check it once a week.
Your garden will thank you. Your trash bill will drop. And you get that quiet satisfaction every time you scoop finished compost onto a hungry plant bed.
I still smile when I open the lid and see the dark earthy goodness inside. That pile started as banana peels and coffee grounds. Now it grows my food. Pretty cool if you ask me.
Go build yours this weekend. You will wonder why you waited so long.


