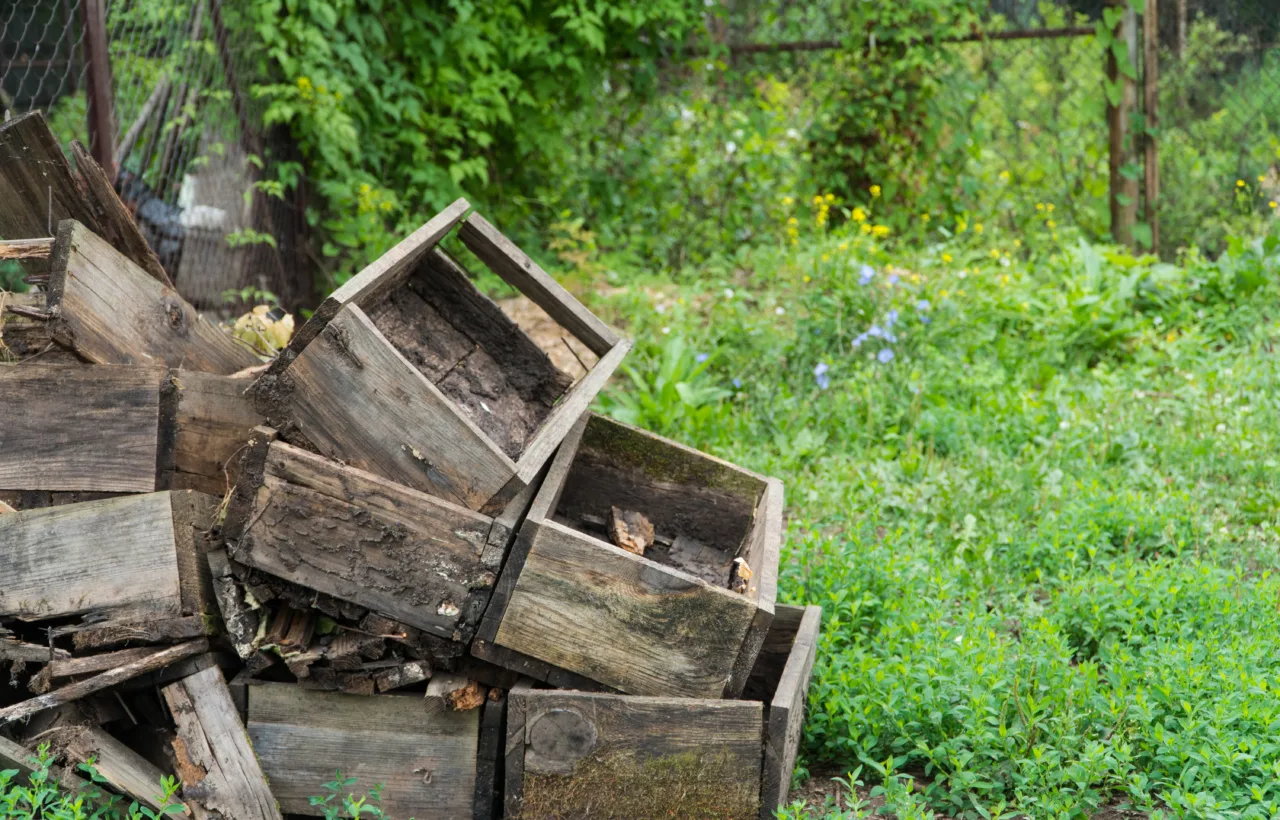

I built my first diy pallet compost bin on a Saturday morning with nothing but four free pallets and a handful of screws. Kitchen scraps and grass clippings piled up faster than I could haul them to the curb. I needed a solution that cost next to nothing and actually worked. That bin changed everything for my garden.
Honestly? I almost bought one of those fancy tumbling composters first. Then I saw the price tag. Nope. Free pallets from the local hardware store solved it. Now I want to walk you through exactly how I did it so you can do the same.
Why a DIY Pallet Compost Bin Beats Store-Bought Every Time
I used to think composting required special equipment. Wrong. Pallets give you airflow, structure, and size without spending a dime.
See, most commercial bins trap moisture or cost $100-plus. My pallet version breathes. It holds enough material to heat up properly. And when one side finishes, I just open the front and shovel the black gold into the garden beds.
The biggest win for me: zero waste. Pallets that would have gone to the dump now make soil. IMO, that feels better than any plastic bin ever could.
Finding the Right Pallets for Your DIY Pallet Compost Bin
Not every pallet works. I learned this the hard way.
Look for the stamp. Heat-treated pallets say HT. Avoid anything marked MB. That means methyl bromide, and you do not want those chemicals near your food garden.
I grab mine behind the big-box store after delivery days. Ask the manager first. Most say yes. Hardwood ones last longer. Softwood pine works fine for a couple years if you keep it off wet ground.
Size matters too. Standard 48×40-inch pallets give you a solid 3x3x3-foot cube once assembled. That volume heats up fast. Smaller ones make cute but less effective bins.
Pro tip I wish I knew earlier: check for loose nails and broken boards. A quick hammer and pry bar fix most of them.
Snap a photo of the pallet stamp before asking a store manager. It shows you know what you're looking for and builds trust.
Tools and Materials I Actually Used
You need almost nothing.
- Four matching pallets (five if you want a floor)
- 20-30 exterior wood screws or heavy-duty zip ties
- Drill or screwdriver
- Work gloves
- Optional: hinges and a latch for a front door
- Optional: chicken wire if your pallets have big gaps
That’s it. I spent $8 on screws because I already owned the drill. Total cost: under a ten-spot.
Step-by-Step: How I Built My DIY Pallet Compost Bin
I cleared a level spot near the garden but out of direct view from the house. Partial shade keeps the pile from drying out too fast.
Building the Basic Four-Sided Bin
I stood two pallets upright for the sides. Overlapped the corners. Drove three screws through the overlapping boards at the top, middle, and bottom. Same for the back pallet.
Front stays open or gets a fourth pallet that I can lift off. Some people wire everything together. Screws hold better when the pile gets heavy and wet.
If you want a floor, lay a fifth pallet down first. It improves drainage and keeps the finished compost cleaner.
Adding a Door for Easy Access
I cut one pallet in half with a saw. Attached the bottom half with two heavy hinges. Top half latches closed. Stable-door style.
This lets me open just the bottom to scoop finished compost without dumping the whole active pile. Game… wait, no. This simple door saved my back. Period.
Making a Three-Bin System (My Upgrade)
Once the single bin filled, I expanded. Seven pallets total. Three back panels. Two dividers. Two outer walls.
I screw them in place the same way. Now I have one bin for fresh scraps, one for turning, and one for finished material. Continuous flow. No more waiting months for the whole pile to finish.
Location Tips That Make or Break Your Bin
I put mine on bare soil so worms and microbes move in freely. Concrete or gravel works if you prefer cleaner edges, but soil contact speeds everything up.
Keep it at least ten feet from the house. Smells stay mild if you balance greens and browns, but why risk it. Easy hose access helps for watering dry piles.
I added a simple scrap-wood lid on rainy weeks. Optional but keeps the nutrients from washing away.
How I Fill and Maintain the Bin
Layer like lasagna. Browns first: dry leaves, cardboard, wood chips. Then greens: kitchen scraps, fresh grass, coffee grounds. Repeat.
I aim for two parts brown to one part green by volume. Too many greens and it gets slimy. Too many browns and it sits forever.
Turn every couple weeks with a pitchfork. Or just move the whole pile from one bay to the next in my three-bin setup. That counts as turning and aerates everything.
Moisture should feel like a wrung-out sponge. I stick my hand in. If it crumbles dry, I water. If it drips, I add more dry leaves.
In my climate the pile hits 140 degrees inside two weeks when I get the mix right. Steam rises on cold mornings. Best feeling ever.
Common Mistakes I Made (So You Don’t Have To)
First pile turned into a stinky mess. I dumped pure grass clippings. Lesson learned: always balance with carbon.
I also blocked airflow by packing too tight. Now I leave some woody sticks in the middle for channels.
Another early fail: placing it under the deck overhang. No rain meant I had to water constantly. Open sky works better.
And never add meat, dairy, or oily foods. Attracts critters. Stick to plant stuff and you’ll stay pest-free.
Real Results From My First Year
My garden beds exploded. Tomatoes doubled in size. Soil that used to crust over now holds moisture like a sponge.
I stopped buying bagged compost completely. FYI, one cubic yard of finished material from my bin replaced three expensive bags from the nursery.
Neighbors started asking questions. Two of them built their own versions after seeing mine. Free soil spreads fast.
Variations Worth Trying
Want something prettier? I saw people weave willow or add lattice fronts. Looks intentional instead of industrial.
For tiny yards, two pallets make a lean-to against a fence. Still works.
Wire mesh floor instead of a pallet bottom keeps rodents out better in some areas.
I even tried lining the inside with cardboard the first fill. It breaks down and adds more carbon. Nice bonus.
Troubleshooting When Things Go Wrong
Pile not heating? Add more greens or water. Or turn it.
Smells like ammonia? Too many greens. Bury them under browns and turn.
Fruit flies? Cover fresh scraps with a thick brown layer immediately.
Winter freeze? Insulate the sides with straw bales or just wait. Activity slows but resumes in spring. I keep adding kitchen scraps all winter. They break down once it warms.
Frequently Asked Questions
How long does a diy pallet compost bin last? Mine is still going strong after three years. Hardwood pallets hold up longer. Softwood might need replacing boards eventually, but screws make repairs easy.
Do I need a permit or anything special? No. It’s just four pallets in your backyard. Check HOA rules if you have one, but most people never notice.
Can I make a diy pallet compost bin without screws? Yes. Heavy wire or long zip ties work. I prefer screws for stability when the pile gets wet and heavy, but both methods succeed.
What size should my diy pallet compost bin be? At least 3x3x3 feet for proper heating. Smaller piles stay cold. Bigger works if you have the space and material.
Is pallet wood safe for vegetable gardens? Only if marked HT or untreated. Avoid MB stamps completely. I stick to that rule and never worry.
Final Thoughts From My Backyard
Building this diy pallet compost bin took me less than an hour the first time. Now I can’t imagine gardening without it. Free materials. Better soil. Less trash.
You already have most of what you need sitting behind stores or at construction sites. Grab four pallets this weekend. Stand them up. Screw the corners. Start layering.
Your garden will thank you next season. Mine still does every time I spread a fresh wheelbarrow of that dark, crumbly gold. Honest work. Real results. And it all started with free wood someone else threw away.
Go build yours.


