
I started my apartment balcony garden diy project on a gray concrete slab that felt more like a storage shelf than anything alive. Two plastic chairs, a dead plant in a cracked pot, and zero inspiration. That was my fifth-floor reality. I wanted herbs for cooking and something green to look at after work. I had no backyard, no real experience, and a landlord who barely answered emails. Still, I made it work.
This is the story of how I did it. No fancy budget. No design degree. Just trial, error, and a few lessons that stuck. If your balcony feels too small or too exposed, keep reading. I will walk you through every step I took so you can skip the mistakes I made.
Checking the Basics Before You Buy a Single Pot
I almost skipped this part. Honestly? That nearly cost me the whole season.
First I measured the space. My balcony ran eight feet long by four feet deep. I took photos from every angle on my phone and noted the railing width. Then I tracked the sun for three full days. South-facing meant six solid hours of light in the middle. Wind hit hard on the open side. Weight rules from the building management capped me at lighter containers only.
See, those details matter more than pretty plants.
Sunlight decides almost everything. Full sun supports tomatoes and peppers. Partial shade favors lettuce and mint. Full shade still works for ferns and certain herbs. I used my phone compass and simply watched the light move.
Wind dries soil fast and tips tall pots. I learned to cluster containers against the wall and choose shorter varieties. Water access was another reality check. No outdoor spigot meant hauling a watering can from the kitchen sink. I bought a collapsible one that stores flat.
Check your lease or management office before you hang anything. Some buildings ban railing planters or limit drainage. A five-minute conversation saved me from hauling everything back inside later.
Weight calculations should include wet soil, mature plants, stored water, and furniture, not just empty containers.
Choosing Containers That Fit Real Life
Heavy ceramic pots look beautiful. They also weigh a ton when wet and crack if temperatures drop. I switched to lightweight options after the first week.
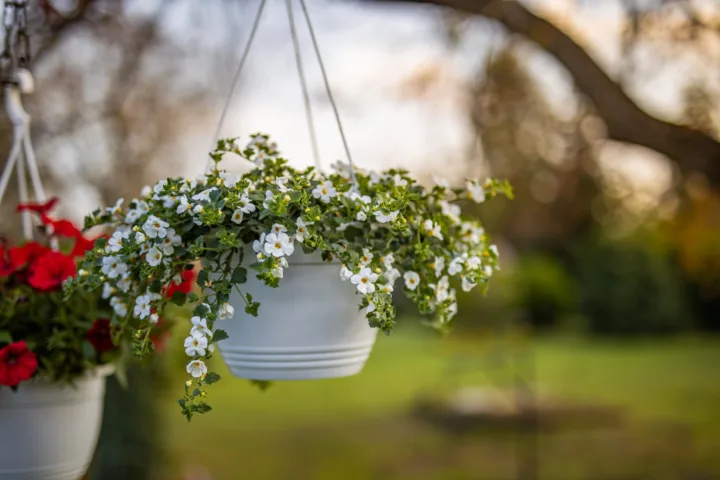
Plastic and fiberglass pots became my go-to. Fabric grow bags fold flat in winter and come with handles. Railing planters clamped on without drilling. Hanging baskets used the ceiling hooks I already had permission for.
Here is what worked best for me:
- Fabric grow bags for tomatoes and peppers. They drain well and stay light.
- Railing boxes for herbs and trailing flowers. Zero floor space used.
- Tiered stands for lettuce and strawberries. Every plant gets light.
- Self-watering pots for days I stayed late at work.
Drainage holes are non-negotiable. I drilled a few extra in decorative pots that lacked them. Saucers caught overflow so water never dripped onto the neighbor below.
IMO, matching containers create a cleaner look than a random mix of nursery plastic. I stuck with one color family and the whole space felt intentional instead of cluttered.
Before buying a self-watering pot, confirm its reservoir can be refilled without moving the container, especially on a tiered stand.
Picking Plants That Actually Survive Balcony Life
I wanted food and color. I also wanted plants that forgave my learning curve.
Herbs came first. Basil, thyme, rosemary, chives, and parsley. Mint got its own pot because it spreads like crazy. I planted them near the door so I could snip while cooking.
Vegetables needed more planning. Cherry tomatoes in five-gallon containers. Bush beans. Compact peppers. Lettuce and arugula in shallower boxes because they grow fast and keep producing when I cut leaves.
Flowers earned their spot too. Marigolds deterred pests. Nasturtiums trailed over the railing and every bloom was edible. Petunias added color that lasted until frost.
Group plants by water needs. Mediterranean herbs like rosemary and thyme prefer drier soil. Basil and lettuce like steady moisture. Mixing them in one pot creates problems.
I started with six plants total. That felt manageable. Once those thrived I added more. Starting small kept me from feeling overwhelmed when something failed.
Determinate or patio tomatoes suit five-gallon balcony containers better than indeterminate vines, which quickly demand more root space and support.
Matching Plants to Your Light
Full sun (six or more hours): tomatoes, peppers, basil, rosemary, zinnias.
Partial sun (four to six hours): lettuce, parsley, chives, nasturtiums, strawberries.
Shade (under four hours): mint, ferns, certain hostas if you want foliage only.
I tested a few shade-tolerant options on the darker end of the balcony and they still looked good. No plant has to be perfect. It just has to live.
Laying Out the Space So It Feels Bigger
My first attempt looked like a plant storage unit. Pots everywhere. No place to sit. I fixed that by creating simple zones.
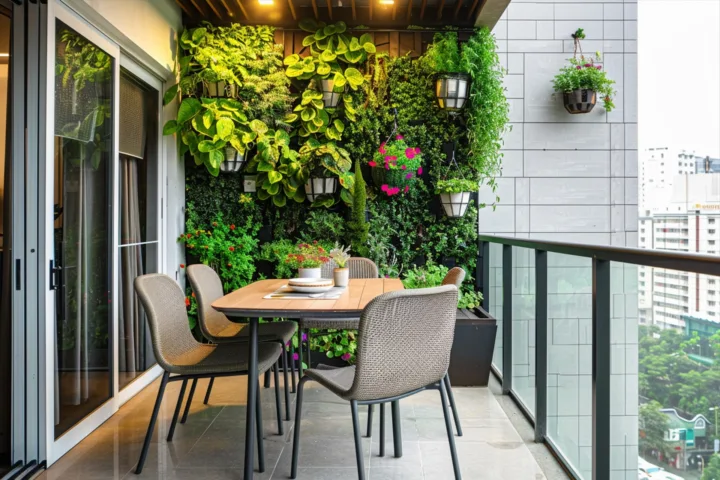
One corner held the vegetable containers. The railing became the herb and flower strip. A small bistro table and two chairs claimed the middle. Vertical space did the heavy lifting.
I hung baskets from the ceiling. A narrow trellis leaned against the wall for climbing beans later in the season. A tiered stand lifted smaller pots so nothing got lost in the shadows.
Leave room to walk and sit. A garden you cannot enjoy becomes another chore. I kept at least a third of the floor clear. That single decision changed how often I used the space.
Privacy mattered too. Fast-growing annual vines on a simple trellis created a green screen by midsummer. Morning glories worked for me. Just keep the seeds away from pets.
Secure freestanding trellises at two points before vines mature, because an open balcony can turn leafy growth into a wind sail.
Watering, Feeding, and the Daily Reality
Container soil dries faster than ground soil. Wind and reflected heat make it worse.
I checked moisture every morning by sticking a finger an inch into the soil. Dry meant water. Deep watering until it ran out the bottom worked better than frequent light sprinkles. Self-watering pots and a couple of watering globes helped on busy weeks.
Fertilizer became necessary because frequent watering washes nutrients away. I used a balanced liquid feed every two weeks during peak growth. Half strength kept things simple.
Pests showed up eventually. Aphids on the basil. I sprayed them off with water and introduced a few ladybugs. Yellow sticky traps handled fungus gnats. Most problems stayed small because I inspected plants while watering.
Winter forced hard choices. I brought the hardiest herbs inside. Everything else got composted or given away. Starting fresh each spring felt easier than forcing plants through cold months on an exposed balcony.
Flush containers with plain water monthly to reduce fertilizer salt buildup, especially after repeated feeding and frequent runoff.
Real Mistakes I Made and What Fixed Them
I overcrowded the first season. Plants competed for light and air. Spacing them properly the next year improved everything.
I chose one indeterminate tomato that grew eight feet tall and threatened the railing. Determinate or dwarf varieties stay manageable.
I ignored wind until a storm dumped three pots. Now I cluster the tallest ones against the building wall and use heavier bases or plant caddies with brakes.
Soil quality mattered more than I expected. Regular garden soil compacted and drained poorly. Bagged potting mix made for containers stayed lighter and healthier.
These lessons cost me a few plants and some pride. They also taught me faster than any perfect guide could.
Frequently Asked Questions
How much does an apartment balcony garden diy project usually cost to start? I spent under $150 on my first setup by shopping sales and using grow bags instead of ceramic. Focus on a few solid containers and starter plants rather than buying everything at once.
Can I grow vegetables successfully on a shady balcony? Leafy greens and some herbs handle lower light well. Fruiting plants like tomatoes need more sun, so I stick those on the brightest edge or skip them if light is limited.
What is the biggest challenge with apartment balcony garden diy setups? Watering consistency and wind. Containers dry out fast and lightweight pots tip easily. Self-watering options and smart placement solved most of that for me.
Do I need special permission from my landlord? Yes. Check weight limits, drainage rules, and whether railing planters are allowed. A quick email prevents bigger problems later.
How do I keep the space looking good instead of messy? Repeat the same pot style or color, use odd-numbered groupings, and leave clear floor space. Vertical layers and one strong focal plant make the whole balcony feel designed.
Final Thoughts From My Own Balcony
I still walk out each morning and pick basil for eggs or check the tomatoes for color. The concrete slab feels different now. It feels like mine.
Start smaller than you think you should. Measure the light. Choose containers that match your real life. Plant what you will actually use. Water with attention. The rest follows.
Your balcony does not need to look like a magazine cover. It just needs to give you something back each day. Mine does. Yours can too. Grab one pot this weekend and begin.